Showing posts with label papercraft. Show all posts

Thursday, 9 April 2020

Brighten someone's day with a rainbow card!

I decided to make several cards to leave in my neighbours' letterboxes to bring a bit of cheer to them during New Zealand's countrywide lockdown. I copied an embossing technique I saw online from a fellow demonstrator in the USA, Connie Tumm.


It's a quick and easy card to make as long as you have six different embossing folders. If you don't have that many folders, or none at all, you can create the card without embossing the coloured cardstock or maybe just emboss a few pieces.

I used cardstock from the five 2018-2020 In Colors plus Gorgeous Grape to make a my 6-colour rainbow cards. I know there are 7 colours in a rainbow (red, orange, yellow, green, blue, indigo and violet) but I didn't have enough room on my cards and I think it looks just as good without a second blue colour.


For the base of the cards I used Whisper White Note Cards & Envelopes which are 5" x 3-1/2" (12.7 x 8.9 cm) and I cut a Basic Black cardstock mat to 4-1/2" x 3" (11.5 x 7.5 cm). I also used 4" x 2-3/4" (10 x 7 cm) coloured cardstock -- Lovely Lipstick, Grapefruit Grove, Pineapple Punch, Call Me Clover, Blueberry Bushel, and Gorgeous Grape.


After embossing each coloured cardstock with a different 3-D Embossing folder (Brick & Mortar, Tin Tile, Hammered Metal, Country Floral, Scripty, Button Button) I cut each piece into 5/8" (1.5 cm) strips which gave me enough to make 6 cards.


I decorated the front of each card with a different sentiment in Memento Tuxedo Black Ink using the Stitched So Sweetly dies except for two cards which I fussy cut. Some of the cards were embellished with epoxy shapes or jewels to add a bit of sparkle to them. I even stamped the back of each envelope using my Stamparatus for accurate placement.

Back of envelope stamped with 'Stamping Your Way to the Top' stamp set
Instead of signing the cards and sealing the envelopes, I made up a poem to put inside so that the recipient could share the card with someone else.
This little card was made for you 

to brighten up your day.

If it made you smile then its job is done 

and you should send it on its way.

Please give it to someone you know 

to pass along the cheer.

Since all of us need to know 

there is always someone there! 
Have a look at my video for more details on how to make your own rainbow cards and for lots of tips on using embossing folders.


Brightening someone's day by giving them a handmade card is very satisfying, even if you don't see the recipient's face when they open the envelope.

Saturday, 15 February 2020

Crafting is a natural anti-depressant

Sometimes life throws you a curve ball, like it did to me last week when my mother died suddenly. I live in New Zealand and all of my family (except for my two daughters) live in the United States. So I feel a bit helpless as I am not able to go to the USA to be with my siblings during this sad time.

When I first heard the news, besides crying, I felt like doing nothing. I just sat around the house for a few days with my memories and thinking about everything that will never be said or done with my mother again. I could feel depression coming on as I didn't want to talk to anyone or eat anything.

It is times like these when I try to keep myself busy. When I experienced other life-changing events several years ago I threw myself into DIY (do-it-yourself) projects to keep me from wallowing in my sadness. That is how I got 80% of my house renovated. I still have the kitchen to finish, but I hit a wall -- a wall is literally standing in the way of completing it!

Now that I am a Stampin' Up! demonstrator I turn to my paper crafts to keep me busy. It's much less messy and quicker to achieve results than renovations. However I did spend a couple days during the past week finishing a deck I made out of some wooden pallets.
To stave off depression, I've made lots of cards over the past week and I find my mood has changed to a more positive one. I am still sad but I think more about all the wonderful memories I have of my mother and I no longer dwell on the things I cannot change. I enjoyed making these Valentines for the shops I sell my cards at in my small town, even though I didn't celebrate Valentine's Day myself.
I then turned my attention to making samples for an upcoming class. I didn't design these cards myself, but I enjoyed putting them together and thinking about all the fun my customers will have making these at the Painted Poppies class.
Being creative and doing physical activities has been shown to boost your mood by releasing dopamine. There is lots of research shown online to back this up and I truly believe it. I have a more positive mood when I throw myself into a project, especially when I have no control over what is making me depressed. Being with others is helpful as well, but sometimes you just feel too sad to be around people.
Image may contain: possible text that says 'MORE CRAFTING MORE DOPAMINE MORE HAPPY!'
That is when keeping active with crafts is my saviour. It doesn't change what has happened but it gives me a purpose and makes me feel better. Often times I lose myself in the task at hand whether it be building a deck, renovating my house, stitching or creating cards and other papercrafts. Besides being a natural anti-depressant, crafting helps me relax and gives me a feeling of accomplishment.

So if you are going through a challenging time I suggest you find something to keep you busy such as making cards or other papercrafts and I would be happy to help you with that!

Friday, 8 November 2019

Snowman 'Empathy' Card

I came up with an idea to make a card showing a snowman whose head has fallen off. Why has it fallen off ? I don't know. Maybe it was starting to melt. Maybe there was a gust of wind that blew it off. Maybe the snowman was in a snowball fight and got hit in the head. Maybe whoever was making the snowman went away and never finished putting the head on the body. No matter what story you create, it seems a bit sad to see the snowman reaching for it's fallen head. Since this didn't seem to be a Christmas card (even though there is a snowman), I decided to make it into an 'empathy' card.
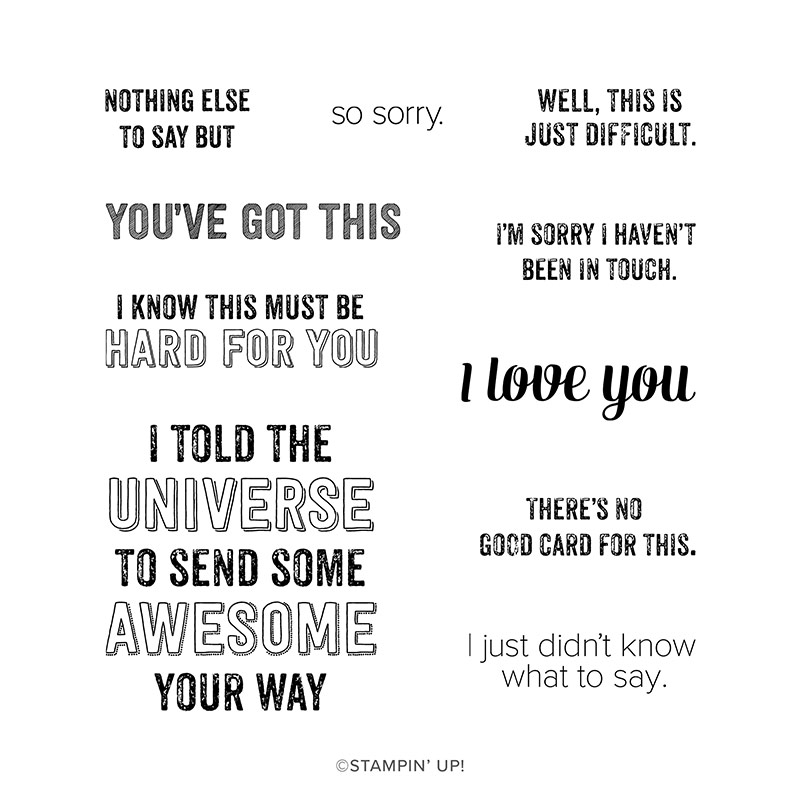
The inside of the card on the left says "I know this must be hard for you" and the inside of the card on the right says "I just didn't know what to say."

Genuine Gems Cling Stamp Set
The Genuine Gems stamps were perfect for the sentiments because this stamp set has lots of sayings for those times you just can't find the appropriate words. This card would be perfect to give to someone to let them know you are thinking of them during a difficult time in their life.
The base of the card is a standard Whisper White A6 size (5-13/16 x 4-1/8"). I used two Balmy Blue pieces cut to 14.3 x 10 cm (5-5/8 x 4") for the background on the front and a mat on the inside. I cut one piece of Whisper White cardstock to 13.8 x 9.5 cm (5-7/16 x 3-3/4") for the inside of the card. I used two 2 x 10 cm (2-3/4 x 4") thin Whisper White pieces for the snowdrifts on the front of the card. I cut three circles using the smallest Layering Circles dies out of Whisper White cardstock to make the snowman.

SEASONAL LAYERS DIES
Seasonal Layers Dies
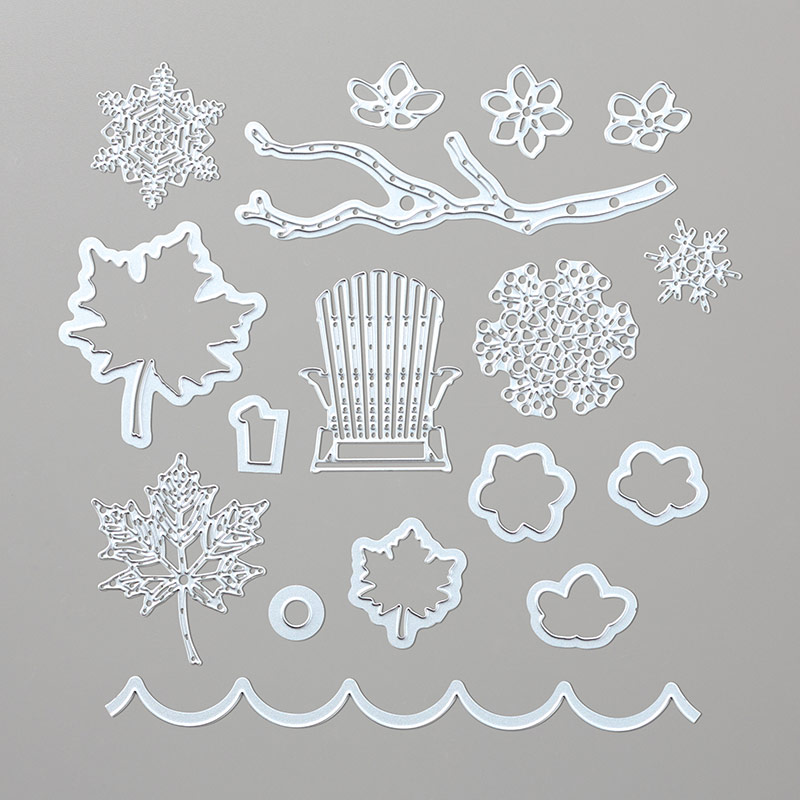
I stuck the snowman pieces to the card with Tombow Multipurpose Liquid Glue and Stampin' Dimensionals, tucking parts into the snowdrifts. I cut a scrap of Basic Black cardstock into a hat shape and glued a little strip of Old Olive cardstock on it as a hat band before placing it on the card with dimensionals. I cut a long triangle from a scrap of Pumpkin Pie cardstock and drew little lines on it with a Basic Black Stampin' Write pen to make the carrot nose. The two arms are cut out of Early Espresso cardstock using just the top part of the branch die from the Seasonal Layers die set. All pieces were glued into place using Tombow.

I made a video with instructions -- actually two videos because my phone stopped recording just before I had finished the card. In the first video I show you how to get the snowstorm effect by splattering Snowfall Accents Puff Paint on the Balmy Blue background before heating it with a Heat Tool. I also demonstrate how to tear the thin Whisper White cardstock for the bottom of the card. These pieces are layered to make a snowdrift effect for the snowman to be stuck in. To make the eyes and buttons I used Stampin' Blends to colour Basic Pearls and Rhinestone Jewels. I then had the difficult task of choosing which words to stamp on the front and inside of the card with Memento Tuxedo Black ink. There are so many good choices from the Genuine Gems stamp set!


If you live in New Zealand you can order all the products you need to make this cute snowman card at my shop or from your demonstrator.

#KeepCalmAndCraft #ComputerAndCraftDesigns #StampinUp #creativetherapy #StayHome #PaperCraftIdeas #ChristmasCard #HandmadeCard #SnowmanCard #Empathy 

Sunday, 3 November 2019

Want To Melt A Snowman?

I live in a country where Christmas is hot and sunny because it is summertime here in New Zealand in December, however I still love all the traditional festive images of snowflakes, starlit nights, Santa in his red suit and dreaming of a white Christmas. I really like snowmen as they come in lots of different sizes and shapes, which got me thinking of a melting snowman. I remember making one out of felt many years ago so I decided to try to recreate it using paper.

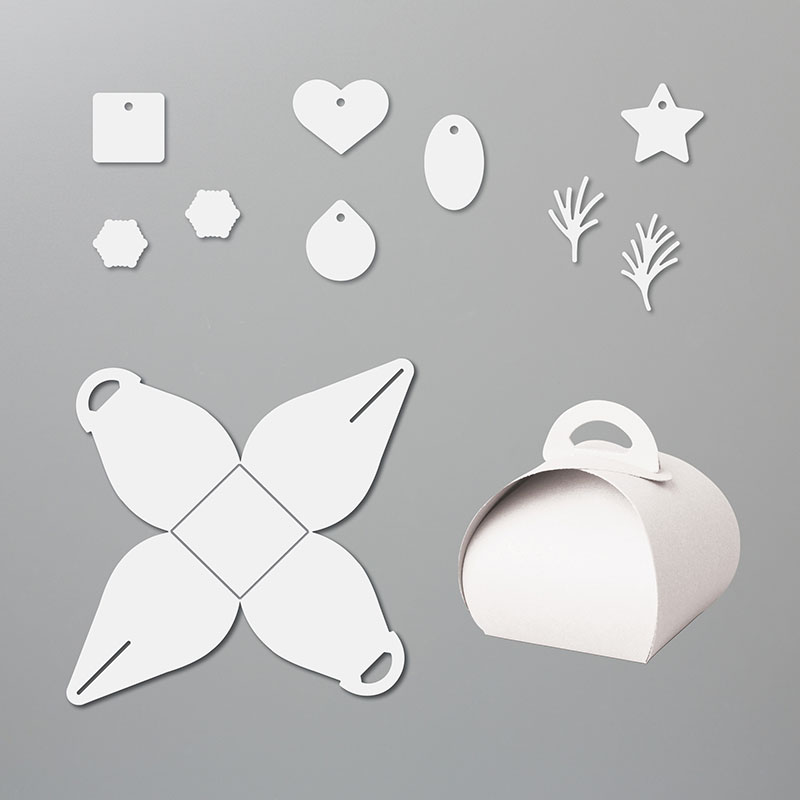
I cut an A4 piece of Whisper White cardstock at 14 cm (5.5") on the long side. I used the 14 x 21 cm (5.5" x 8.25") piece to die cut the Mini Curvy Keepsake Box to make the snowman head.
Mini Curvy Keepsake Box dies
Frosted Foliage stamp set
Christmas Countdown stamp set
I then cut the remaining 15.7 x 21 cm (6.25" x 8.25") piece into a 'melted' blob for the body of the snowman. I stamped all over both pieces with Silvery Shimmer ink using the little star/snowflake stamp from the Christmas Countdown stamp set.
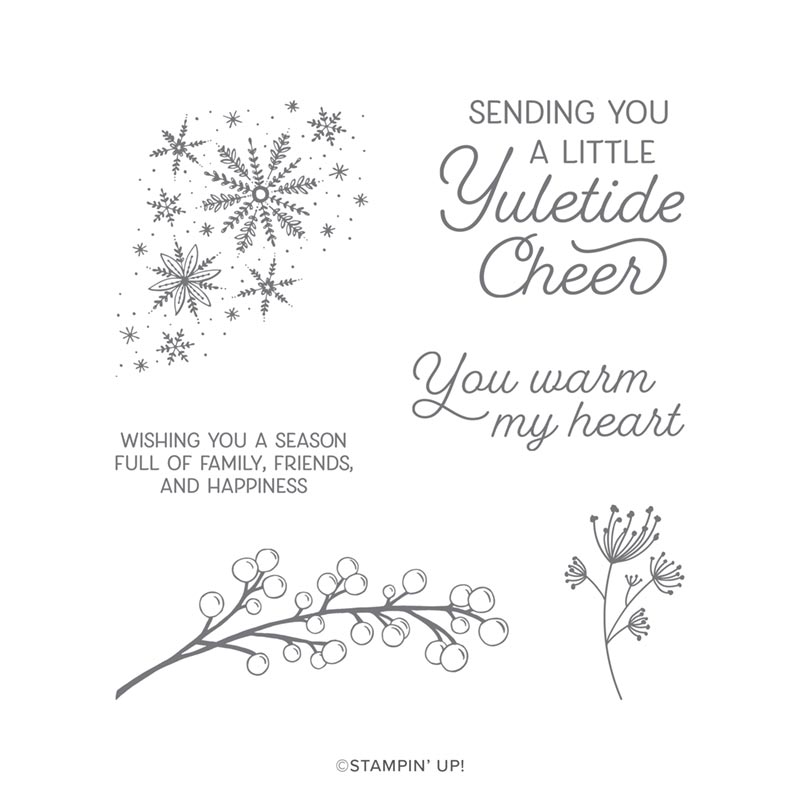
On the remainder of the 14 cm Whisper White cardstock I stamped the words 'You Warm My Heart' from the Frosted Foliage stamp set using Memento Tuxedo Black ink. I then punched it out with the Story Label punch and popped it on to the melted snowman using dimensionals.
SEASONAL LAYERS DIES
Seasonal Layers dies

I cut a scrap of Basic Black cardstock into a hat shape and glued a little strip of Old Olive cardstock on it as a hat band. I attached it to the melted snowman body using black mini dimensionals. I cut a long triangle from a scrap of Pumpkin Pie cardstock and drew little lines on it with a Basic Black Stampin' Write pen to make the carrot nose. The two arms are cut out of Early Espresso cardstock using the branch die from the Seasonal Layers die set.

Before assembling the box I drew a 'melting' mouth on one side with the Basic Black Stampin' Write pen and I used a Basic Black Dark Stampin' Blends pen to colour two Pearl Basic Jewels for the eyes. I then glued all the pieces to the base and used three Red Rhinestone Jewels for the buttons which had fallen off the body as it melted.

Have a look at this video for instructions on how to make one for yourself.


If you live in New Zealand you can order all the products you need to make this adorable snowman at my shop or from your demonstrator. Then you can get started on melting your own snowman!

#KeepCalmAndCraft #ComputerAndCraftDesigns #StampinUp #creativetherapy #StayHome #PaperCraftIdeas #ChristmasCard #HandmadeCard #SnowmanCard #CurvyKeepsake 

Thursday, 31 October 2019

Custom Handmade Christmas Cards

I love papercrafts and that is why being an independent Stampin' Up! demonstrator is a perfect fit for me. I really enjoy making cards and other handicrafts and love to show my creations to other people. That is how I got a custom Christmas card order from my daughter's boss. Last year I was showing her a Christmas card I had just made and she asked if I could make 20 of them for her to give to her customers. That was my first custom order!

So this year I created a couple 'sample' cards using the So Many Stars bundle especially for my daughter's boss. I showed her the two cards a few weeks ago and she chose to order the design on the right with the swirls.
I used my computer to print her company's name on whisper white cardstock which I cut to size for the inside of each card. I then went about making 20 of these Christmas cards using balmy blue cardstock, silver foil, silver glimmer paper, silvery shimmer delicata metallic ink for the background stars and silver embossing powder for the sentiment.

I love the Stitched Stars dies because they look beautiful in glimmer paper and the stitching even makes plain paper look more elegant. I used the little stars which cut out of the swirl die as accents on the front of the card as well as one on the back of the envelope, which I stamped in balmy blue ink with the speckled stars from the So Many Stars photopolymer stamp set.
I don't have much family here in New Zealand and the cost of postage to send cards to my relatives in the USA is very expensive so I don't send many Christmas cards, however I am still able to satisfy my desire to make handmade Christmas cards by doing custom orders.

So if you live in New Zealand and would like some handmade cards just let me know. Or better yet, I can teach you how to make your own cards at one of my classes! Just have a look at my website for my contact details and upcoming classes.

#KeepCalmAndCraft #ComputerAndCraftDesigns #StampinUp #creativetherapy #StayHome #PaperCraftIdeas #ChristmasCard #HandmadeCard #SoManyStars 

Saturday, 25 May 2019

Stampin' Spots Come To The Rescue!

I was creating some cards with my Stamparatus for a customer order and the coloured ink pads I needed to use were very 'juicy' which is a common problem with new pads and sometimes due to humidity.

I tried to make the card a few times with light pressure and scraping the ink to one side of the pad, but I still got too much ink on the photopolymer stamp and thus smeared the image. The only other solution I knew of was to scrape off the excess ink or dab the ink pad onto paper which I don't like to do as it wastes the ink.


Then I remembered I had some Stampin' Spots which are perfect for use on the Stamparatus as you don't get ink all over the plates when you ink up your stamps. Fortunately I had some un-inked Stampin' Spots so I dabbed them on top of the 'juicy' parts on my ink pads. This served two purposes -- it removed the excess ink from the pad and created an inked Stampin' Spot which was perfect for use with the Stamparatus.


In the end I was able to create several identical cards quickly and easily, plus I removed some of the excess ink from my full-size pads. This was definitely a win-win!


#ComputerAndCraftDesigns #StampinUp #creativetherapy #PaperCraftIdeas #HandmadeGifts #HandmadeCard

Thursday, 23 May 2019

Apron Gift Boxes with Mini TicTacs


These adorable little boxes were made using the Apron Of Love stamp set and matching dies. The moment I saw this set I thought of creating a container with it. It was so easy to make as I just die cut two sides of the apron from designer series paper and then attached them together with a little piece of cardstock between the two aprons.


The only stamping I did on this craft was the sentiment on the apron pocket and the tiny card I made to go into the little pocket. I love this set as it has so many parts to make wonderful cards and crafts for any occasion -- Mother's Day, Father's Day, friends, thank you, etc.


I put mini TicTacs in them as gifts for my customers last year and I made some more with chocolates and hand sanitisers in them to sell at my craft markets. You could make the container bigger for other items, like a Tombow glue bottle, soap, lollies or anything you want!


Of course you can use this set for cards, scrapbooking or even home decor. The possibilities are endless and you can see a few of these ideas on my website and on Pinterest.

Unfortunately this set is going to retire on June 3rd, so if you'd like to make this project you will need to buy the Apron of Love set soon. If you are in New Zealand you can contact me to order or look online to find a Stampin' Up! demonstrator in your country to order from.

#ComputerAndCraftDesigns #StampinUp #creativetherapy #PaperCraftIdeas #HandmadeGifts #3DPapercrafts

Sunday, 5 May 2019

Quick and Easy Crafting with Kits


Sometimes I lose my crafting mojo and even though I can find lots of beautiful things to create online, when I sit down at my table I feel overwhelmed. That is when a kit comes to the rescue!

Much like going to a class, a kit provides you with everything you need to make several projects. The only thing missing is the teacher and classmates, but sometimes I just want to be alone and do my crafting in the comfort of my pajamas. I certainly can't do that at a class! 😉

When I became an independent Stampin' Up! demonstrator over 2 years ago I bought a couple kits from the current catalogue. I followed the instructions and made all the cards exactly as shown in the pictures. This quickly gave me a large quantity of cards to offer for sale at the craft markets I started attending and I didn't have to invest a lot of money in full products to make things.

Cards from 2017-18 All-Inclusive Kits
Now that I am a 'seasoned' demonstrator I still use kits for a variety of reasons. Even though Stampin' Up! offers a multitude of coordinating products and has a beautiful catalogue with hundreds of fabulous project ideas sometimes I just need something quick and easy to do. That is why the kits come in different styles, depending on what the crafter wants and needs -- all-inclusive kits, project kits and limited-time kits.

Different kits from the 2018-19 catalogues
I love kits because of the versatility of the products they have which allows me to make cards quickly or I use the items to create other projects. Using a kit is a great way to try different things without having to purchase a full set of products. With a kit you can use different embellishments, such as twine, vellum, glitter paper, foil paper, pearls, ribbons, dsp and dimensionals. Some kits also have different shapes and sizes of cards and envelopes as well as different cardstock colours. The other great thing is you get to play with cutout shapes without having a die cutting machine or a punch.

Another wonderful benefit of using kits is you get exclusive products which usually cannot be purchased separately. Each kit comes with an ink spot, cards, envelopes and embellishments created just for that kit. So purchasing several kits with different ink colours will allow you to collect a supply of ink without having to invest in the full-size ink pads. I personally prefer using ink spots with the Stamparatus as it creates less mess on the plates. The spots are also easier to travel with.

The 'All-Inclusive' kits come with everything you need to make the cards -- stamps, ink, cards, envelopes, embellishments and dimensionals. These kits are great for 'on the go' crafting as you have everything you need except for scissors, Tombow multipurpose liquid glue or Tear & Tape adhesive. The supplies usually come in a sturdy box for easy storage or you can use the box as gift packaging when you complete your kit. The kits usually come with matching envelopes so you are ready to post the cards once you are done. When you complete an 'all-inclusive' kit you then have stamps and an ink spot to use for other projects which is why these kits cost a bit more than other kits.

Made To Bloom all-inclusive card kit #148537 $57 NZD
Lots of Happy all-inclusive card kit #146388 $74 NZD
Soft Sayings all-inclusive card kit #145466 $74 NZD
The 'Project' kits do not come with stamps as the stamp set is sold separately. So you can use any stamp set you have to complete the cards in this type of kit or you can purchase the recommended stamp set to make them as shown in the instructions. The benefit of having the stamp set separate from the kit is that you can purchase more than one kit if you wish to make a lot of cards and you won't end up with duplicate stamps. Sometimes these kits include an exclusive item, such as the clear storage box in the 'Incredible Like You' project kit. You will need to use your own scissors, adhesive, inks and stamps to complete the cards in a project kit, however that is reflected in the lower price.

Incredible Like You project kit #148552 $57 NZD
Matching Incredible Like You stamp set #148708 $36 NZD
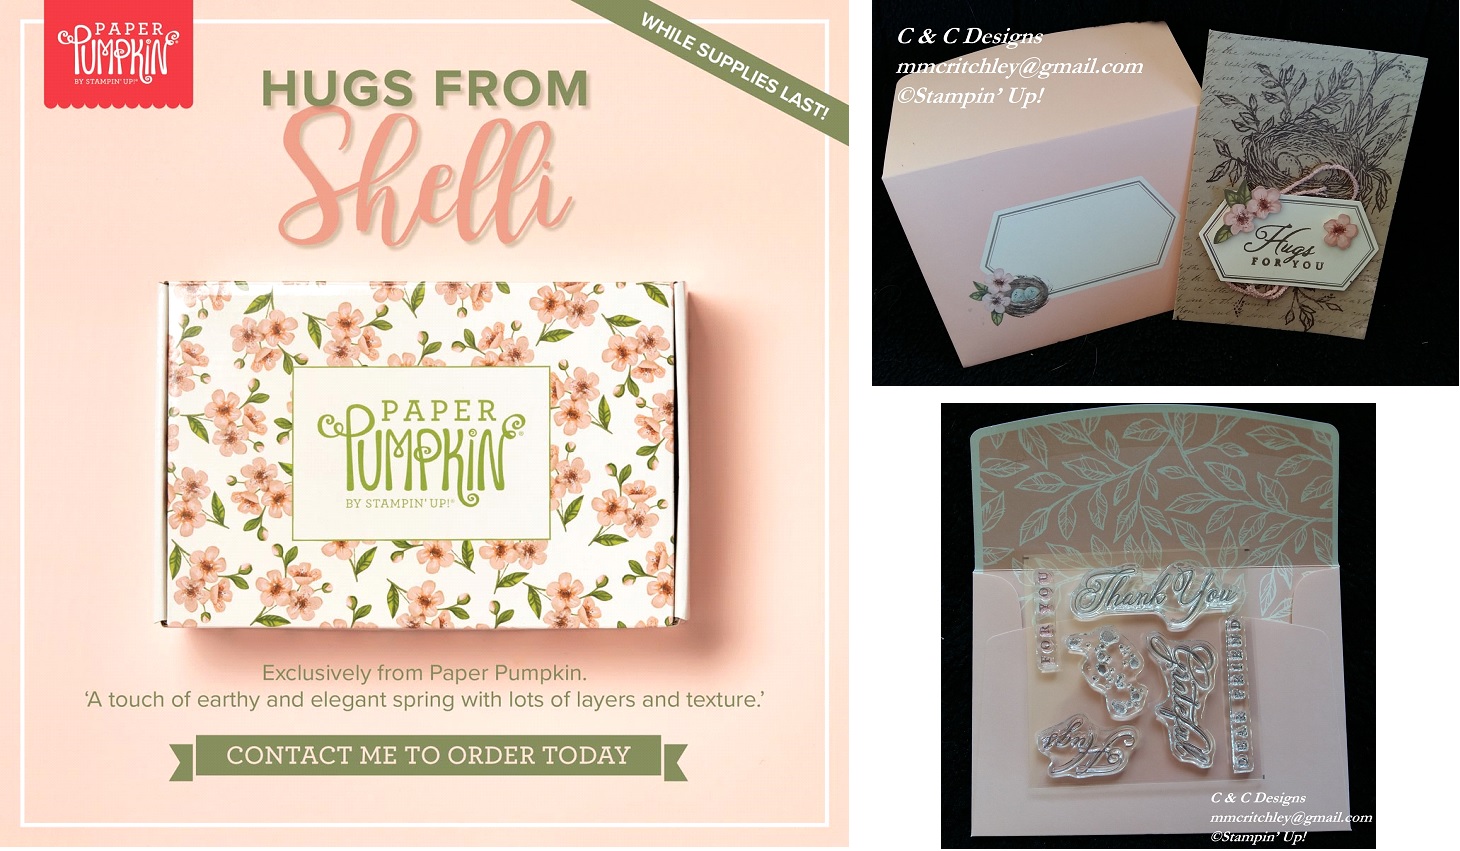
Occasionally Stampin' Up! comes out with limited-time offers and on May 15th there will be an exclusive kit offered here in New Zealand. In the USA and Canada, crafters can subscribe to a stamping kit from Paper Pumpkin which has exclusive Stampin' Up! products in it each month. However for one time only, we will be able to get a kit from Paper Pumpkin which is called the 'Hugs From Shelli' kit and it will include an exclusive stamp set not available anywhere else, one Classic Stampin’ Spot®, paper and crafting materials to create 12 cards (3 cards of 4 unique designs), 12 coordinating envelopes, adhesives and embellishments for all 12 cards in a decorated storage box.

This kit was created with the help of Shelli Gardner, co-founder of Stampin' Up! It will only cost $44 NZD and is available for a limited time, so if you'd like one of these kits please let me know asap as when they sell out they will be gone forever. The Paper Pumpkin kits are always a surprise so I can't show you what will be in it as I don't know, however I was lucky enough to get to make one of the exclusive cards when I attended OnStage last month and I even got to keep the photopolymer stamps!


Hugs from Shelli Paper Pumpkin kit #152032 $44 NZD
When I am pressed for time, I sometimes use a kit for one of my classes so I don't have to prep all the different elements for the cards. Kits are also wonderful if you need a lot of a similar cards made quickly, such as birthday or thank you cards. Sometimes just making a few cards from a kit can get my mojo going so I can then get back into my creative groove!

#ComputerAndCraftDesigns #StampinUp #creativetherapy #PaperCraftIdeas #HandmadeGifts #HandmadeCard #PapercraftKit

Saturday, 20 April 2019

Lots of inspiration through swapping

One of my favourite things to do when I attend an OnStage event is to swap 3-D papercrafts and cards with fellow demonstrators. Not everyone attending the event participates in swapping, but I find this is a great way to see what other people create as well as get a collection of projects to inspire me. Sometimes I am so impressed with a swap I receive which uses products I don't own that I end up buying them. As if I need an excuse to get more craft supplies! 😁

In an earlier post I showed the swaps I had made for OnStage Live in Auckland. I also made some gifts to give to new friends and ended up using some of those as swaps as well. I was pleasantly surprised at how many people were swapping and I quickly ran out of the 100 I had brought.

I love seeing how talented Stampin' Up! demonstrators are and want to share everyone's creations with you, so here are pictures of the more than 100 swaps I was given at OnStage April 2019. Most of these are simply card fronts however a few are complete cards and treat holders.
The inside of some of my swaps.
I can hardly wait to make swaps for the next OnStage event in November, but for now I'll just have keep looking at all of these beauties . . . and maybe even CASE a few of them!


Wednesday, 3 April 2019

Creative Space

When making papercrafts you need a place to do your creating. Some people are lucky enough to have a large house with a dedicated room or maybe even a converted garage or sleepout which has been made into a craft room. However I suspect many people are probably like me and have to find space to create where ever they can.

When my children were still living at home, I used to keep everything in boxes in a closet and get things out only when I was making a project. I would take over the dining table during the day but I would have to clean everything up each evening in time for dinner. However sometimes I wasn't finished creating, so I would leave everything on the table and my family would have to eat on their laps siting on the couch or in their bedrooms. I guess I wasn't going to get the Mother-of-the-Year award!

The bad thing about crafting out of a closet is that I didn't always know where things were. Sometimes I knew I had a specific item I needed but I couldn't find it so I would just buy another one. That is how I ended up with so many 'googly' eyes -- every Christmas when I went to make candy cane reindeer I couldn't find the eyes! And now I have lots of other things I forgot I had bought.

When I became an independent Stampin' Up! demonstrator I wanted to have everything easily accessible. So I created some space using an old computer desk in the hallway. I was able to store all my stamps on the top shelves of the desk and my other bits and bobs on the lower shelves where the computer and printer used to sit. Having the pull-out keyboard drawer was handy for storing my Stampin' Trimmer.

This setup worked well for a little while as I was able to find things readily, and except for having to use the dining table for my Big Shot, I made things quickly and easily. It was nice to sit in one spot and reach everything I needed. I did have less space to spread out than what I had with the dining table, though sometimes I would use that space as well.

The only problem with that setup was I am a night owl and I do most of my creative work from 8 pm until after midnight. However my desk was right outside my daughter's bedroom and she would often yell at me to turn the hallway light off and stop making noise as she was trying to get some sleep. So here's a tip . . . do not setup your creative space in an area which will impact others!

So I then moved into a room which was vacated by my other daughter when she moved out. You would think I'd have plenty of space to be creative, but no! Half of the room was full of furniture and belongings she had left behind, including a drum set. I piled all of her belongings on one side of the room and made a little pathway through the middle of the room so I could access a large table to make cards and other projects. This worked for a little while until I acquired too many stamping supplies, if that is even possible! 😜


I slowly got rid of some of the belongings and sold the drum set so I was finally able to access more of the room. After a year of clearing out things, and acquiring more Stampin' Up! products, I had made a decent area to call my craft space. I still have some work to do to get the room completely organised along with painting the walls and fixing the closet doors, but it is a good start. I have big plans for my craft room!

I now have all my stamp sets stacked alphabetically and my other supplies are in drawers or on shelves within easy reach of my desk chair. I bought a small trolley for my Big Shot which has drawers to store accessories and it can be wheeled out to the dining room when I hold my weekly classes. And now that Stampin' Up! is offering modular storage, I will be able to tailor my creative space to my way!