Showing posts with label curvy keepsake box. Show all posts

Saturday, 23 November 2019

Swaps Received from November 2019 Auckland OnStage

OnStage was so much fun! I love seeing my fellow demonstrators and all the products which will be coming out in the new year. It's such a great way to get excited about what's to come, especially when I currently have tunnel vision making lots of cards and gifts for orders and upcoming Christmas markets.
Paperartsie Team at Auckland OnStage
Besides getting my hands on the new Occasions and Sale-A-Bration catalogues, I love to get some new products. However I think my favourite thing about attending OnStage is getting to swap papercraft gifts with other demonstrators. It's such an exciting thing to do at the beginning of the event and is a great way to mingle with everyone there.
Freebies from OnStage November 2019
I know I can (and do) go online to get inspiration and ideas from around the world. You just have to look at my Pinterest page for the proof. But I like to get samples which I can refer back to whenever I want, which is why I love swaps! Plus it makes me feel so special knowing that someone made that little gift or card to trade with me! Here are pictures of the swaps I received this year and I have made a video showing them in more detail with the names of those who made each, if there was one included with the swap.
If you'd like more information about any of these please message me and I'll give you the details attached to the swap. Some demonstrators have included instructions or product details with their swaps and others have just included their names so you can look it up at their website.

If you'd like to enjoy the thrill of OnStage then you should join Stampin' Up! You'll get a great discount on your starter kit as well as an ongoing discount on any of your future orders. Contact me or your demonstrator for more information and maybe you'll be swapping with me at next year's OnStage!

Sunday, 3 November 2019

Want To Melt A Snowman?

I live in a country where Christmas is hot and sunny because it is summertime here in New Zealand in December, however I still love all the traditional festive images of snowflakes, starlit nights, Santa in his red suit and dreaming of a white Christmas. I really like snowmen as they come in lots of different sizes and shapes, which got me thinking of a melting snowman. I remember making one out of felt many years ago so I decided to try to recreate it using paper.

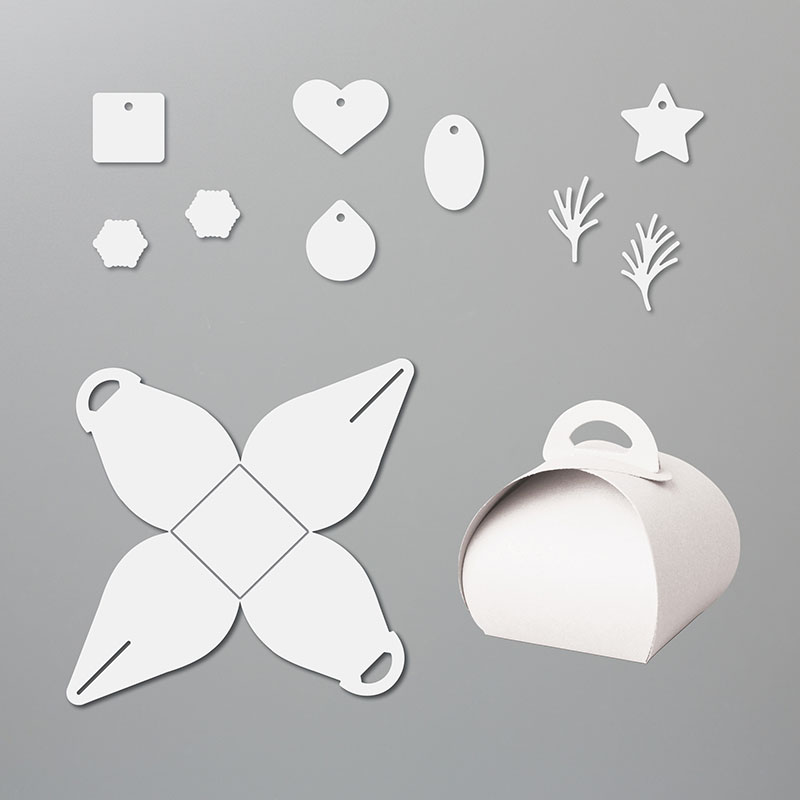
I cut an A4 piece of Whisper White cardstock at 14 cm (5.5") on the long side. I used the 14 x 21 cm (5.5" x 8.25") piece to die cut the Mini Curvy Keepsake Box to make the snowman head.
Mini Curvy Keepsake Box dies
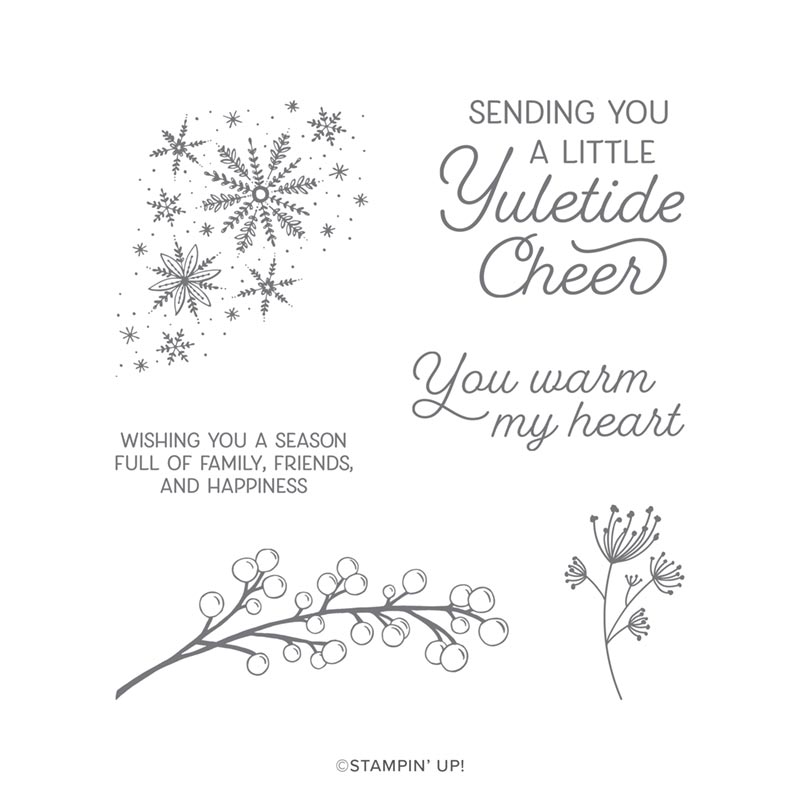
Frosted Foliage stamp set
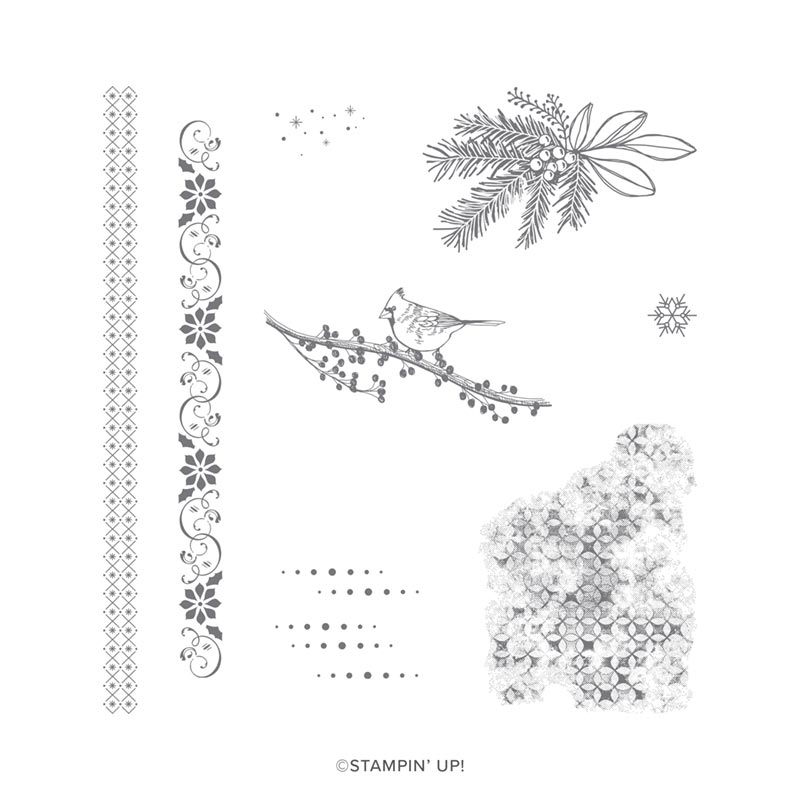
Christmas Countdown stamp set
I then cut the remaining 15.7 x 21 cm (6.25" x 8.25") piece into a 'melted' blob for the body of the snowman. I stamped all over both pieces with Silvery Shimmer ink using the little star/snowflake stamp from the Christmas Countdown stamp set.
On the remainder of the 14 cm Whisper White cardstock I stamped the words 'You Warm My Heart' from the Frosted Foliage stamp set using Memento Tuxedo Black ink. I then punched it out with the Story Label punch and popped it on to the melted snowman using dimensionals.
SEASONAL LAYERS DIES
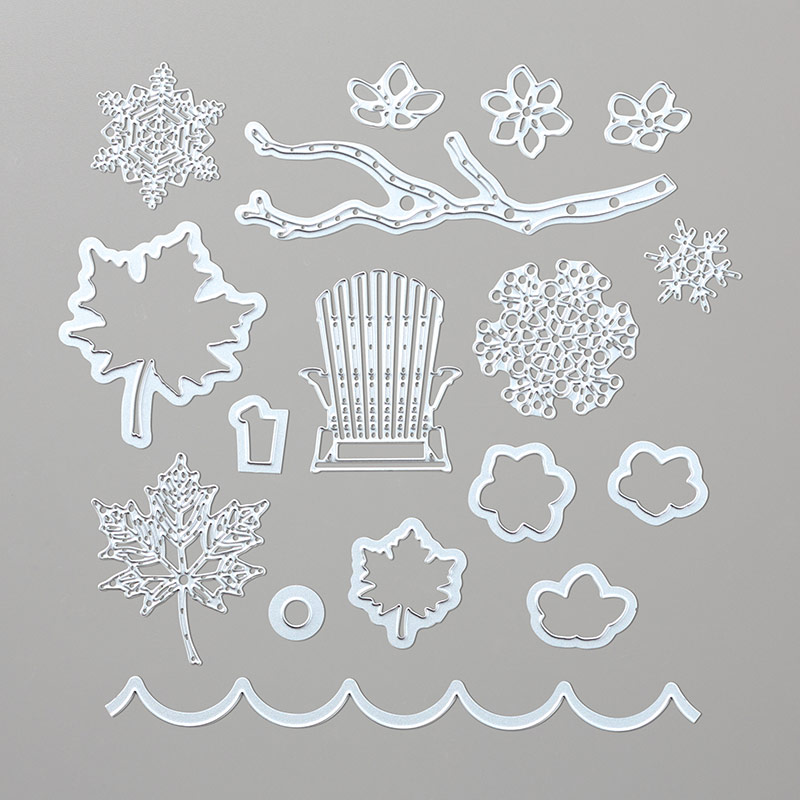
Seasonal Layers dies

I cut a scrap of Basic Black cardstock into a hat shape and glued a little strip of Old Olive cardstock on it as a hat band. I attached it to the melted snowman body using black mini dimensionals. I cut a long triangle from a scrap of Pumpkin Pie cardstock and drew little lines on it with a Basic Black Stampin' Write pen to make the carrot nose. The two arms are cut out of Early Espresso cardstock using the branch die from the Seasonal Layers die set.

Before assembling the box I drew a 'melting' mouth on one side with the Basic Black Stampin' Write pen and I used a Basic Black Dark Stampin' Blends pen to colour two Pearl Basic Jewels for the eyes. I then glued all the pieces to the base and used three Red Rhinestone Jewels for the buttons which had fallen off the body as it melted.

Have a look at this video for instructions on how to make one for yourself.


If you live in New Zealand you can order all the products you need to make this adorable snowman at my shop or from your demonstrator. Then you can get started on melting your own snowman!

#KeepCalmAndCraft #ComputerAndCraftDesigns #StampinUp #creativetherapy #StayHome #PaperCraftIdeas #ChristmasCard #HandmadeCard #SnowmanCard #CurvyKeepsake