Showing posts with label pens. Show all posts

Friday, 8 November 2019

Snowman 'Empathy' Card

I came up with an idea to make a card showing a snowman whose head has fallen off. Why has it fallen off ? I don't know. Maybe it was starting to melt. Maybe there was a gust of wind that blew it off. Maybe the snowman was in a snowball fight and got hit in the head. Maybe whoever was making the snowman went away and never finished putting the head on the body. No matter what story you create, it seems a bit sad to see the snowman reaching for it's fallen head. Since this didn't seem to be a Christmas card (even though there is a snowman), I decided to make it into an 'empathy' card.
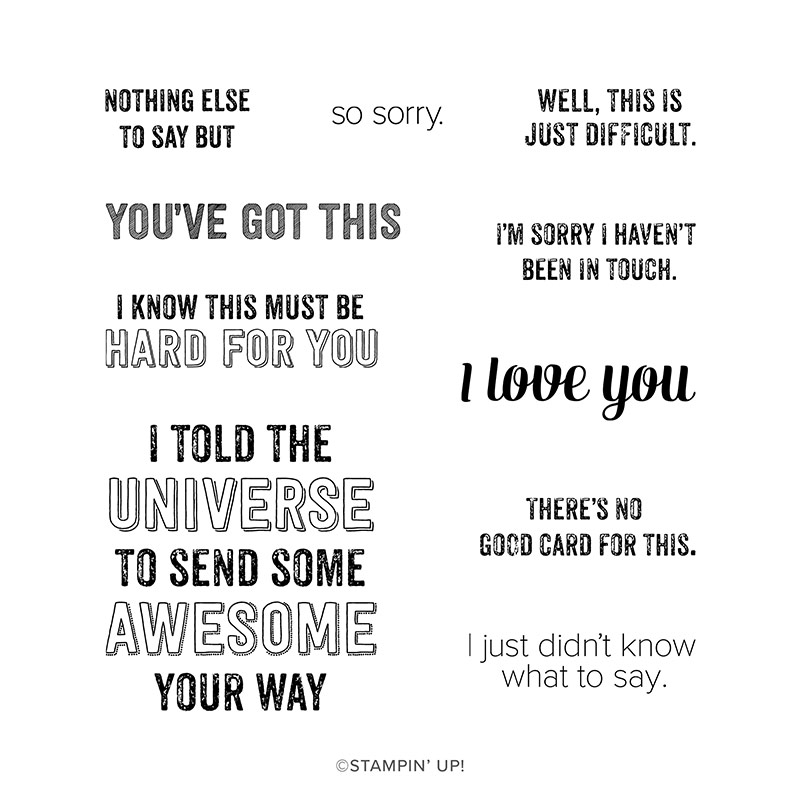
The inside of the card on the left says "I know this must be hard for you" and the inside of the card on the right says "I just didn't know what to say."

Genuine Gems Cling Stamp Set
The Genuine Gems stamps were perfect for the sentiments because this stamp set has lots of sayings for those times you just can't find the appropriate words. This card would be perfect to give to someone to let them know you are thinking of them during a difficult time in their life.
The base of the card is a standard Whisper White A6 size (5-13/16 x 4-1/8"). I used two Balmy Blue pieces cut to 14.3 x 10 cm (5-5/8 x 4") for the background on the front and a mat on the inside. I cut one piece of Whisper White cardstock to 13.8 x 9.5 cm (5-7/16 x 3-3/4") for the inside of the card. I used two 2 x 10 cm (2-3/4 x 4") thin Whisper White pieces for the snowdrifts on the front of the card. I cut three circles using the smallest Layering Circles dies out of Whisper White cardstock to make the snowman.

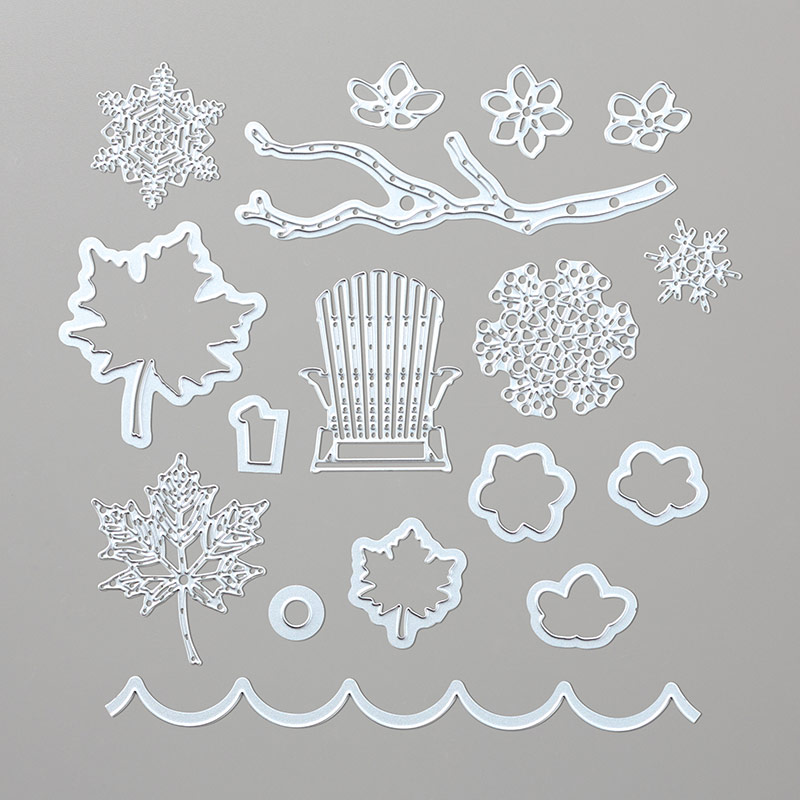
SEASONAL LAYERS DIES
Seasonal Layers Dies
I stuck the snowman pieces to the card with Tombow Multipurpose Liquid Glue and Stampin' Dimensionals, tucking parts into the snowdrifts. I cut a scrap of Basic Black cardstock into a hat shape and glued a little strip of Old Olive cardstock on it as a hat band before placing it on the card with dimensionals. I cut a long triangle from a scrap of Pumpkin Pie cardstock and drew little lines on it with a Basic Black Stampin' Write pen to make the carrot nose. The two arms are cut out of Early Espresso cardstock using just the top part of the branch die from the Seasonal Layers die set. All pieces were glued into place using Tombow.

I made a video with instructions -- actually two videos because my phone stopped recording just before I had finished the card. In the first video I show you how to get the snowstorm effect by splattering Snowfall Accents Puff Paint on the Balmy Blue background before heating it with a Heat Tool. I also demonstrate how to tear the thin Whisper White cardstock for the bottom of the card. These pieces are layered to make a snowdrift effect for the snowman to be stuck in. To make the eyes and buttons I used Stampin' Blends to colour Basic Pearls and Rhinestone Jewels. I then had the difficult task of choosing which words to stamp on the front and inside of the card with Memento Tuxedo Black ink. There are so many good choices from the Genuine Gems stamp set!


If you live in New Zealand you can order all the products you need to make this cute snowman card at my shop or from your demonstrator.

#KeepCalmAndCraft #ComputerAndCraftDesigns #StampinUp #creativetherapy #StayHome #PaperCraftIdeas #ChristmasCard #HandmadeCard #SnowmanCard #Empathy 

Sunday, 3 November 2019

Want To Melt A Snowman?

I live in a country where Christmas is hot and sunny because it is summertime here in New Zealand in December, however I still love all the traditional festive images of snowflakes, starlit nights, Santa in his red suit and dreaming of a white Christmas. I really like snowmen as they come in lots of different sizes and shapes, which got me thinking of a melting snowman. I remember making one out of felt many years ago so I decided to try to recreate it using paper.

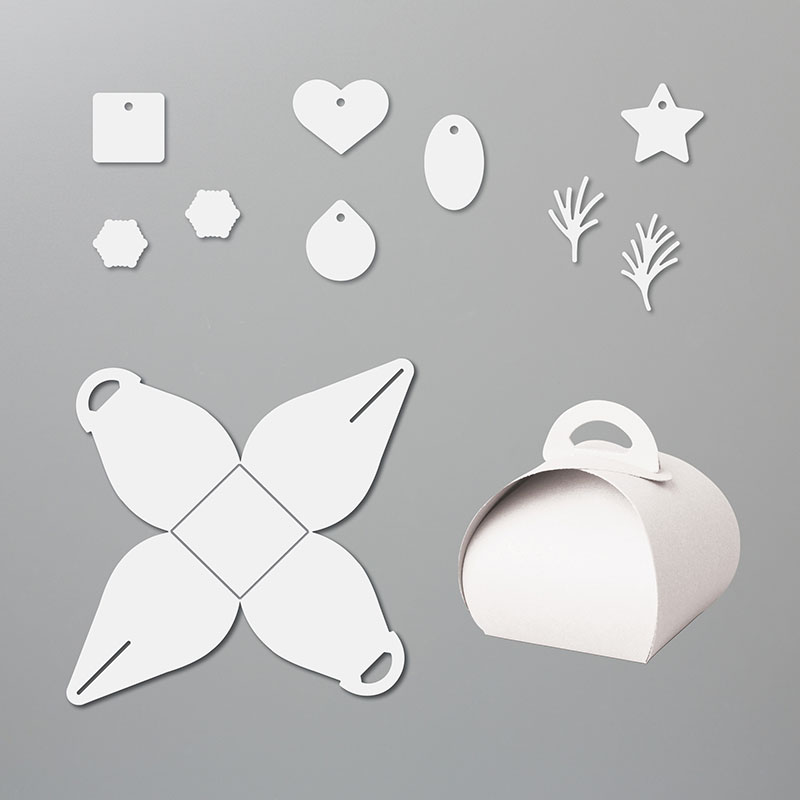
I cut an A4 piece of Whisper White cardstock at 14 cm (5.5") on the long side. I used the 14 x 21 cm (5.5" x 8.25") piece to die cut the Mini Curvy Keepsake Box to make the snowman head.
Mini Curvy Keepsake Box dies
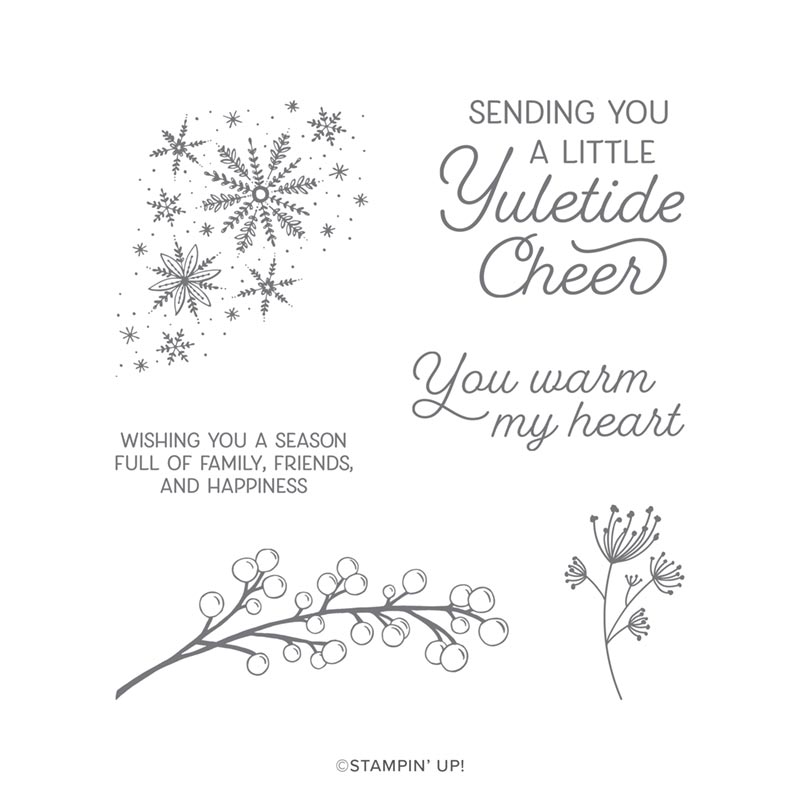
Frosted Foliage stamp set
Christmas Countdown stamp set
I then cut the remaining 15.7 x 21 cm (6.25" x 8.25") piece into a 'melted' blob for the body of the snowman. I stamped all over both pieces with Silvery Shimmer ink using the little star/snowflake stamp from the Christmas Countdown stamp set.
On the remainder of the 14 cm Whisper White cardstock I stamped the words 'You Warm My Heart' from the Frosted Foliage stamp set using Memento Tuxedo Black ink. I then punched it out with the Story Label punch and popped it on to the melted snowman using dimensionals.
SEASONAL LAYERS DIES
Seasonal Layers dies

I cut a scrap of Basic Black cardstock into a hat shape and glued a little strip of Old Olive cardstock on it as a hat band. I attached it to the melted snowman body using black mini dimensionals. I cut a long triangle from a scrap of Pumpkin Pie cardstock and drew little lines on it with a Basic Black Stampin' Write pen to make the carrot nose. The two arms are cut out of Early Espresso cardstock using the branch die from the Seasonal Layers die set.

Before assembling the box I drew a 'melting' mouth on one side with the Basic Black Stampin' Write pen and I used a Basic Black Dark Stampin' Blends pen to colour two Pearl Basic Jewels for the eyes. I then glued all the pieces to the base and used three Red Rhinestone Jewels for the buttons which had fallen off the body as it melted.

Have a look at this video for instructions on how to make one for yourself.


If you live in New Zealand you can order all the products you need to make this adorable snowman at my shop or from your demonstrator. Then you can get started on melting your own snowman!

#KeepCalmAndCraft #ComputerAndCraftDesigns #StampinUp #creativetherapy #StayHome #PaperCraftIdeas #ChristmasCard #HandmadeCard #SnowmanCard #CurvyKeepsake 

Wednesday, 3 April 2019

Creative Space

When making papercrafts you need a place to do your creating. Some people are lucky enough to have a large house with a dedicated room or maybe even a converted garage or sleepout which has been made into a craft room. However I suspect many people are probably like me and have to find space to create where ever they can.

When my children were still living at home, I used to keep everything in boxes in a closet and get things out only when I was making a project. I would take over the dining table during the day but I would have to clean everything up each evening in time for dinner. However sometimes I wasn't finished creating, so I would leave everything on the table and my family would have to eat on their laps siting on the couch or in their bedrooms. I guess I wasn't going to get the Mother-of-the-Year award!

The bad thing about crafting out of a closet is that I didn't always know where things were. Sometimes I knew I had a specific item I needed but I couldn't find it so I would just buy another one. That is how I ended up with so many 'googly' eyes -- every Christmas when I went to make candy cane reindeer I couldn't find the eyes! And now I have lots of other things I forgot I had bought.

When I became an independent Stampin' Up! demonstrator I wanted to have everything easily accessible. So I created some space using an old computer desk in the hallway. I was able to store all my stamps on the top shelves of the desk and my other bits and bobs on the lower shelves where the computer and printer used to sit. Having the pull-out keyboard drawer was handy for storing my Stampin' Trimmer.

This setup worked well for a little while as I was able to find things readily, and except for having to use the dining table for my Big Shot, I made things quickly and easily. It was nice to sit in one spot and reach everything I needed. I did have less space to spread out than what I had with the dining table, though sometimes I would use that space as well.

The only problem with that setup was I am a night owl and I do most of my creative work from 8 pm until after midnight. However my desk was right outside my daughter's bedroom and she would often yell at me to turn the hallway light off and stop making noise as she was trying to get some sleep. So here's a tip . . . do not setup your creative space in an area which will impact others!

So I then moved into a room which was vacated by my other daughter when she moved out. You would think I'd have plenty of space to be creative, but no! Half of the room was full of furniture and belongings she had left behind, including a drum set. I piled all of her belongings on one side of the room and made a little pathway through the middle of the room so I could access a large table to make cards and other projects. This worked for a little while until I acquired too many stamping supplies, if that is even possible! 😜


I slowly got rid of some of the belongings and sold the drum set so I was finally able to access more of the room. After a year of clearing out things, and acquiring more Stampin' Up! products, I had made a decent area to call my craft space. I still have some work to do to get the room completely organised along with painting the walls and fixing the closet doors, but it is a good start. I have big plans for my craft room!

I now have all my stamp sets stacked alphabetically and my other supplies are in drawers or on shelves within easy reach of my desk chair. I bought a small trolley for my Big Shot which has drawers to store accessories and it can be wheeled out to the dining room when I hold my weekly classes. And now that Stampin' Up! is offering modular storage, I will be able to tailor my creative space to my way!