Find ideas, instructions and materials used to make a variety of paper-craft projects using Stampin' Up! products. As an independent Stampin' Up! demonstrator in New Zealand I love to share my passion for creating things with paper including cards, boxes, gifts and decorations. I find that making things is a fun and relaxing past-time which relieves stress and gives me a purpose to be active every day. If you have any questions or want to learn more about Stampin' Up! feel free to contact me.
In New Zealand and Australia we celebrate ANZAC Day on April 25th every year to remember those who have paid the ultimate sacrifice to keep our countries safe. ANZAC is the acronym for Australian and New Zealand Army Corps and was created in WWI.
A symbol of this remembrance day is a red poppy known as Flanders' Poppy, which was the first plant to re-emerge from the churned up soil of soldiers' graves during the First World War. Most people wear a cloth poppy on their shirt on ANZAC day, and during the week leading up to the ceremonies, as a sign of respect for those who have fought in wars.
I decided to create a wreath of poppies using the Poppy Moments dies with the intention of laying it at my local war memorial or putting on my front door. I thought maybe others would like to create poppy wreaths as well so I have made my design into a Mailbag Make. This is a perfect project to be doing at home with the kids or if you are not able to get out to craft classes. I have made each poppy a little bit different using a variety of techniques with the ink and glue.
The Poppy Wreath Mailbag Make includes everything you need to get crafting straight out of the mailbag! You will receive several die cut poppy and leaf elements as well as a Fine Tip Glue Pen, a bottle of Real Red Ink Refill and a sponge dauber. You will also get a link to a private instructional video showing you how to put everything together including tips and techniques using the ink refill.
Have a look at this 'sneak peak' video for more information and details on how to order.
I hope you like my project and find a way to celebrate ANZAC day on April 25th!
I love the look of paper lanterns and when I saw the Power Of Hope stamp set, available for free during Sale-A-Bration, I immediately thought of making one. I looked at some paper lanterns I had left over from attending the Auckland Lantern Festival in previous years and attempted to copy them in miniature.
I used a piece of petal pink vellum 5" x 4" (12.7 cm x 10 cm) for the little lantern and stamped the images in Memento back ink all around it between two 1/2" (1.25cm) score lines. After the ink dried I cut 1/4" (0.5 cm) slices between the top and bottom score lines to create the curved lantern effect. I then glued the lantern sides together, overlapping one of the 1/4" (0.5 cm) slices. I used a couple strips of petal pink cardstock 1/2" x 5" (1.25 cm x 12.7 cm) to give it stability on the top and the bottom. I hung a petal pink Best Dressed Tassel using gold thread at the bottom of the lantern. This also created a way to hold the battery-operated tealight. I also used a 1/4" x 6" (0.5 cm x 15.24 cm) piece of petal pink cardstock to create a handle at the top. Using three flowers from the Seasonal Layers Dies, I die cut the petal pink cardstock and vellum to decorate the little lantern, thus hiding my joins on the top and bottom strips.
I love the way this lantern came out and it was so easy to make. If you'd like to make one yourself, have a look at my video for instructions.
If you make a lantern I'd love to see it. Please post your pictures in the comments or on my Facebook page.
I've been having so much fun with the new Tulip Builder Punch which is part of the Timeless Tulips Bundlefrom Stampin' Up!
I started off stamping and then punching out the flowers and leaves to give dimension to my cards but then I decided to take things to a another level with three dimensional flowers.
It is so quick and easy to make adorable tulips with this punch.
You can stamp the cardstock before punching or just decorate them using other techniques such as sponging, embossing, water colouring, blending, spritzing, or colourong with pencils or pens. You can also combine several of these techniques to add even more colour and depth to your tulips.
Tulip Builder Punch
To make these 3-D tulips all you need is some cardstock and the Tulip Builder Punch. You should punch out five flower pieces from a 2" x 6" piece of cardstock. Score the centre of each flower from the tip of the middle petal and fold each one in half lengthwise. If you want to decorate the flowers, you should do this now before gluing the sections together.
To decorate the tulips you will need some additional items besides just cardstock. Depending on the technique you use you may need some ink, pencils, pens, sponges, embossing folders, or daubers.
Glue all five flower pieces together to form the tulip, making sure you place a wooden skewer in the centre for the stem. You should colour the skewer with Stampin' Blends before attaching it to the flower. Punch out two leaf pieces from Garden Green cardstock and glue them together on the wooden stem. You could attach a banner with a sentiment to the stem if you wish.
Have a look at my video below to see how to put the flowers together along with other tips for decorating the tulips. I show samples of cards I've made at the end of the video as well as how to stamp the reverse image on a leaf using the Stamparatus.
If you like these tulips check out my other videos and blog posts using this stamp set!
Last year I made my first pop-up card by watching several different videos online and I even taught several classes using the Animal Outings and Signs of Santa stamps and Designer Series Paper. I really love how pretty pop-up cards are and how they show off the designs. They are perfect if you have a stamp set that has too many cute images and a flat card just won't do it justice.
This year I had a customer order five pop-up Christmas cards and now that I have a YouTube Channel I decided to make an instructional video to show how they are made. I re-sized the card base to fit in a standard size envelope (A6) and so I could create a card from one piece of paper. In fact, I can get 1-1/2 card bases from one A4 sheet of cardstock, so I can make three cards from two pieces of paper.
Pop-Up Christmas Cards
Most Wonderful Time Product Medley
Several of the cards I made for my customer used retired stamps and DSP, but three are made with current products -- Truck Ride dies, Stitched Stars dies and the Most Wonderful Time Product Medley from the 2019 Holiday catalogue.
The video shows you how to make the Christmas tree and reindeer card using supplies from the Most Wonderful Time Product Medley along with Old Olive and Whisper White cardstock and Old Olive and Golden Glitz inks.
Most Wonderful Time Christmas Pop-Up Card
I mentioned the sizes in the video and I have a Word Document I created last year with instructions in metric sizes showing the Signs of Santa bundle which is now retired. If you would like a copy of the instructions please give me your email address and I will send it to you. I would love to see the cards you make with my instructions!
OnStage was so much fun! I love seeing my fellow demonstrators and all the products which will be coming out in the new year. It's such a great way to get excited about what's to come, especially when I currently have tunnel vision making lots of cards and gifts for orders and upcoming Christmas markets.
Paperartsie Team at Auckland OnStage
Besides getting my hands on the new Occasions and Sale-A-Bration catalogues, I love to get some new products. However I think my favourite thing about attending OnStage is getting to swap papercraft gifts with other demonstrators. It's such an exciting thing to do at the beginning of the event and is a great way to mingle with everyone there.
Freebies from OnStage November 2019
I know I can (and do) go online to get inspiration and ideas from around the world. You just have to look at my Pinterest page for the proof. But I like to get samples which I can refer back to whenever I want, which is why I love swaps! Plus it makes me feel so special knowing that someone made that little gift or card to trade with me! Here are pictures of the swaps I received this year and I have made a video showing them in more detail with the names of those who made each, if there was one included with the swap.
If you'd like more information about any of these please message me and I'll give you the details attached to the swap. Some demonstrators have included instructions or product details with their swaps and others have just included their names so you can look it up at their website.
If you'd like to enjoy the thrill of OnStage then you should join Stampin' Up! You'll get a great discount on your starter kit as well as an ongoing discount on any of your future orders. Contact me or your demonstrator for more information and maybe you'll be swapping with me at next year's OnStage!
I love making things with paper and swapping at the Stampin' Up! OnStage event in Auckland is a good excuse for me to get creative. To that end, I made little sewing kit holders to give to my fellow demonstrators on November 16th. I saw the idea online from another demonstrator, Tracy Grant, but I changed the design to turn it into a 'matchbook' fold and sized it to get the most out of the sheets of cardstock I used.
It Starts With Art Bundle
I used the It Starts With Art stamp set with matching dies for these little swaps. This is one of my favourite sets as it has such lovely images which are relevant for most crafters, especially if you are like me and love stamping as much as you love embroidery. The images are so cute -- re-inkers, ribbon, sequins, buttons, pens, clips and thread bobbins -- and they have matching dies so it is easy to quickly put a project together.
I chose the colours of cardstock and ink to match the four colours of Nature's Twine that I used -- Grapefruit Grove, Mint Macaron, Crumb Cake and Blackberry Bliss. I then sized the matchbooks to fit the little travel sewing kits I had purchased online. Each base piece of cardstock was 5 cm x 14 cm (2" x 5-1/2") and I scored them at 6 cm and 12.7 cm (2-3/8" and 5"). I folded the cardstock in at the score lines and then stapled the smaller bottom piece in place allowing me to tuck the longer top piece into it to make the matchbook.
I embossed a contrasting piece of 4.5 cm x 5 cm (1-3/4" x 2") cardstock with the Button Button Embossing Folder and glued it to the front of the matchbook. I cut long button and ribbon shapes using the Arts & Crafts dies to decorate the bottom front of each little matchbook to cover up the staple.
In order to stamp the thread holders, I first die cut the shapes out of Whisper White thick cardstock and placed them in a template I had made for the Stamparatus. This allowed me to quickly stamp each one accurately, since I was making 80 of them. I then put some Snail Adhesive on the back of each one to hold the ends of the twine in place as I wrapped it around the shape. I used about 46 cm (18") of twine for each thread spool and popped them up on the embossed piece of the holder using Stampin' Dimensionals. I then glued a die cut button on to the twine in a contrasting colour.
Steps to make mini sewing kit holders
I finished them by using a bit of Snail Adhesive to hold a mini sewing kit in place on the inside of each little matchbook.
Here is my YouTube video showing exactly how I made these swaps.
Watch out for my next blog post where I will showcase the talents of my fellow Stampin' Up! demonstrators with pictures of the swaps I receive. I love the ideas I get from swapping at OnStage!
I live in a country where Christmas is hot and sunny because it is summertime here in New Zealand in December, however I still love all the traditional festive images of snowflakes, starlit nights, Santa in his red suit and dreaming of a white Christmas. I really like snowmen as they come in lots of different sizes and shapes, which got me thinking of a melting snowman. I remember making one out of felt many years ago so I decided to try to recreate it using paper.
I cut an A4 piece of Whisper White cardstock at 14 cm (5.5") on the long side. I used the 14 x 21 cm (5.5" x 8.25") piece to die cut the Mini Curvy Keepsake Box to make the snowman head.
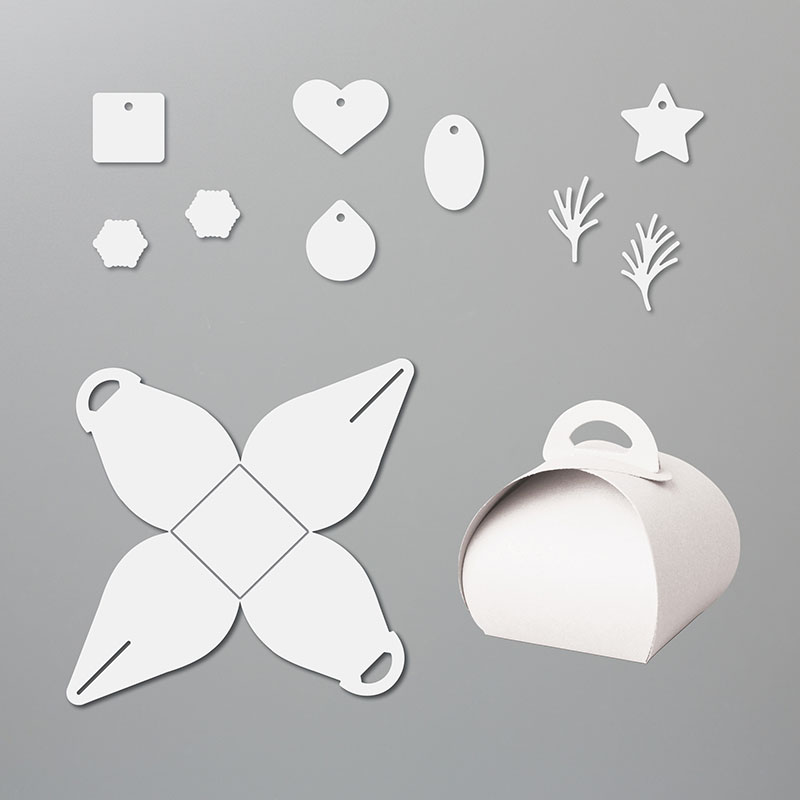
Mini Curvy Keepsake Box dies
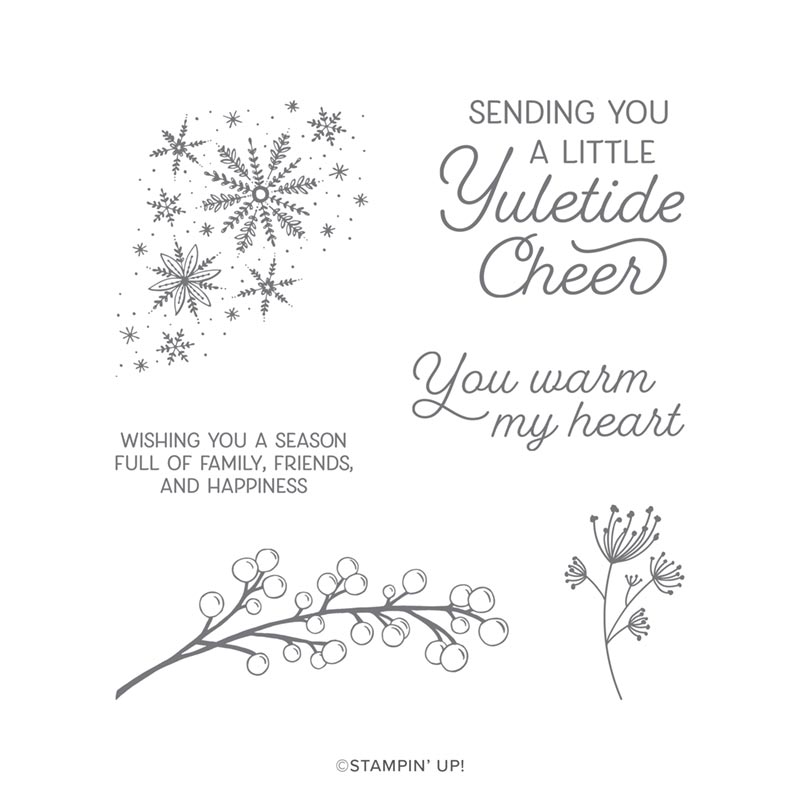
Frosted Foliage stamp set
Christmas Countdown stamp set
I then cut the remaining 15.7 x 21 cm (6.25" x 8.25") piece into a 'melted' blob for the body of the snowman. I stamped all over both pieces with Silvery Shimmer ink using the little star/snowflake stamp from the Christmas Countdown stamp set.
On the remainder of the 14 cm Whisper White cardstock I stamped the words 'You Warm My Heart' from the Frosted Foliage stamp set using Memento Tuxedo Black ink. I then punched it out with the Story Label punch and popped it on to the melted snowman using dimensionals.
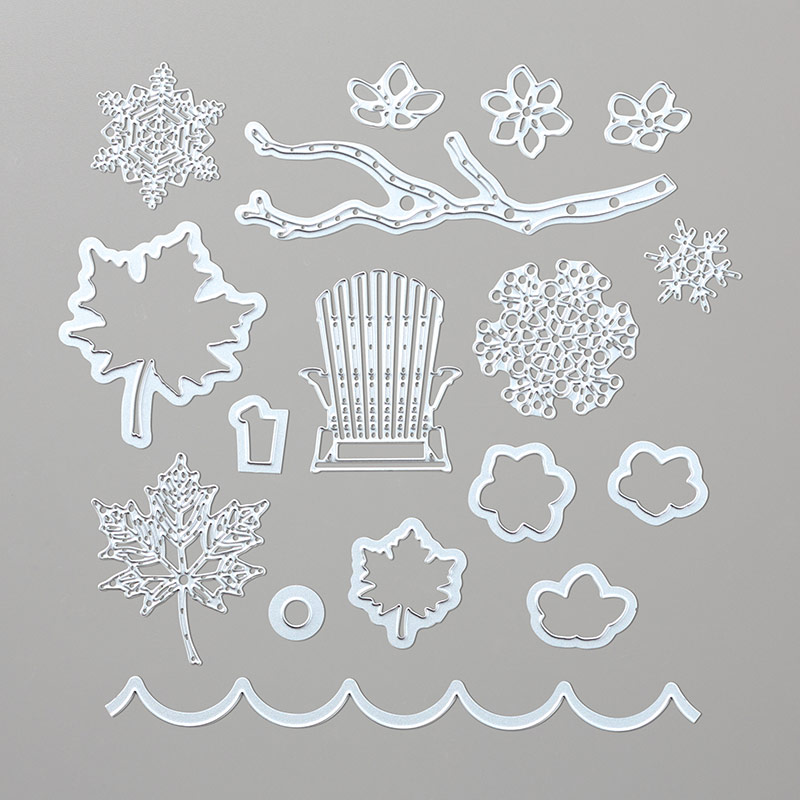
Seasonal Layers dies
I cut a scrap of Basic Black cardstock into a hat shape and glued a little strip of Old Olive cardstock on it as a hat band. I attached it to the melted snowman body using black mini dimensionals. I cut a long triangle from a scrap of Pumpkin Pie cardstock and drew little lines on it with a Basic Black Stampin' Write pen to make the carrot nose. The two arms are cut out of Early Espresso cardstock using the branch die from the Seasonal Layers die set.
Before assembling the box I drew a 'melting' mouth on one side with the Basic Black Stampin' Write pen and I used a Basic Black Dark Stampin' Blends pen to colour two Pearl Basic Jewels for the eyes. I then glued all the pieces to the base and used three Red Rhinestone Jewels for the buttons which had fallen off the body as it melted.
Have a look at this video for instructions on how to make one for yourself.
If you live in New Zealand you can order all the products you need to make this adorable snowman at my shop or from your demonstrator. Then you can get started on melting your own snowman!
These adorable little boxes were made using
the Apron Of Love stamp set and matching dies. The moment I saw this set I thought of creating a container with it. It was so easy to make as I just die cut two sides of the apron from designer series paper and then attached them together with a little piece of cardstock between the two aprons.
The only stamping I did on this craft was the sentiment on the apron pocket and the tiny card I made to go into the little pocket. I love this set as it has so many parts to make wonderful cards and crafts for any occasion -- Mother's Day, Father's Day, friends, thank you, etc.
I put mini TicTacs in them as gifts for my customers last year and I made some more with chocolates and hand sanitisers in them to sell at my craft markets. You could make the container bigger for other items, like a Tombow glue bottle, soap, lollies or anything you want!
Of course you can use this set for cards, scrapbooking or even home decor. The possibilities are endless and you can see a few of these ideas on my website and on Pinterest. Unfortunately this set is going to retire on June 3rd, so if you'd like to make this project you will need to buy the Apron of Love set soon. If you are in New Zealand you can contact me to order or look online to find a Stampin' Up! demonstrator in your country to order from. #ComputerAndCraftDesigns#StampinUp#creativetherapy#PaperCraftIdeas#HandmadeGifts#3DPapercrafts
One of my favourite things to do when I attend an OnStage event is to swap 3-D papercrafts and cards with fellow demonstrators. Not everyone attending the event participates in swapping, but I find this is a great way to see what other people create as well as get a collection of projects to inspire me. Sometimes I am so impressed with a swap I receive which uses products I don't own that I end up buying them. As if I need an excuse to get more craft supplies! 😁
In an earlier post I showed the swaps I had made for OnStage Live in Auckland. I also made some gifts to give to new friends and ended up using some of those as swaps as well. I was pleasantly surprised at how many people were swapping and I quickly ran out of the 100 I had brought.
I love seeing how talented Stampin' Up! demonstrators are and want to share everyone's creations with you, so here are pictures of the more than 100 swaps I was given at OnStage April 2019. Most of these are simply card fronts however a few are complete cards and treat holders.
The inside of some of my swaps.
I can hardly wait to make swaps for the next OnStage event in November, but for now I'll just have keep looking at all of these beauties . . . and maybe even CASE a few of them!