Showing posts with label decoration. Show all posts

Saturday, 22 August 2020

Open Book Easel Card

I watched a video by a Canadian demonstrator, Tina Zinck, about the Open Book Easel Card technique. This method creates very impressive cards but it is a simple technique. Since I am spending more time at home due to the pandemic I finally got a chance to try this technique and now I am totally in love with Open Book Easel Cards!

You can make them for any occasion just by changing up the type of designer series paper and stamps you use. So far I have made six different cards using a variety of papers and colours, but I'm sure I'll be making lots more!
The first card I made used the Scripty 3D Embossing Folder on Gold Foil along with 'Tis the Season Designer Series Paper for the pages of the book. The front piece was from the new Wonder of the Season Specialty Designer Series Paper which has the words of a Christmas story written in gold foil. I decorated it with a gold embossed poinsettia and other embellishments from the Poinsettia Petals Bundle.
Next I made a 'friendship' card using products from the Snowflake Splendor Suite Collection with Silver Foil and Metallic Mesh Ribbon in shades of blue to match the Feels Like Frost Specialty Designer Series Paper. I used the new Lovely Labels Pick A Punch on the inside of the card to layer up the sentiment for the stand holder.
I used a gold foil edged card as the background for my Christmas Tree design. The layers were made from papers in the Most Wonderful Time Product Medley along with the stamps and dies. I used the Scripty 3D Embossing Folder to create the top layer and lightly sponged some Old Olive ink on the lettering to make it stand out. I made some Gold Foil ornaments for the Christmas tree using the little bauble die from the Little Treat Box Dies.
I then decided to make a monochrome card using some black and white music paper (retired from Stampin' Up!). I used a piece with the music and words for Deck the Halls as the front layer and I didn't feel I should cover it up, so I decorated around it with a garland made from the Wreath Builder Dies. I added a little bow with the Real Red Braided Linen Trim and embellished the wreath with Red Rhinestone Basic Jewels.
I made a smaller card using a Whisper White Notecard and some more of the music designer series paper. To make the unusual page shape I used Celebration Labels Dies. I used the Poinsettia Petals Bundle to embellish the front of the card.
For the final card I made a video using the World of Good Suite Collection. I made the page layers with designer series paper and some Memories & More cards.
I hope I have inspired you to make your own Open Book Easel Card and be warned . . . you will get addicted to making them!

Monday, 4 May 2020

Many different features and uses of Stampin' Up! punches

Stampin' Up! punches are well made and heavy compared to other companies but that is only one of the many features of these fabulous products. There is so much to say about these punches that I have made three short videos to explain everything and I have included them throughout this blog post.

My Stampin' Up! Punches Stacked
All the punches have a locking mechanism which allows them to be locked in the closed position for easy transportation and storage. You simply slide the dark grey lock towards the punch hole to unlock, which allows it to open up for use. To lock the punch, just hold it closed and slide the grey plastic towards the front of the punch. This keeps it flat so you can store the punch stacked on a shelf or in a drawer.

The shapes and sizes of some punches -- the two on the far left are unlocked and the rest are locked and stacked.
The image on the top of each punch shows the actual size of the item that will be created when you use the punch. The front, angled edge of the punch has a small picture of the image as well, so you can easily find the punch when they are stacked.


When I first get a new punch I use it on some cardstock so I can test how it works. I am then left with a template which is very useful when designing my projects.

Punch templates are handy when designing a project as you can use them to choose the correct size for your sentiments.
I can place the template over my cardstock to see how the image will fit my project. I can also use the templates to determine which size label punch will fit the sentiments I want to use.

Some cards and papercraft projects with the punches I used to make them.
The templates are also very useful when using a punch that has more than one image. Place the stamps on top of the cutout sections of the template (the negative space) to arrange them so they will perfectly fit in the punch after you have stamped the cardstock.


I show you how to do this with the Hot Air Balloon punch in this video.


Stampin' Up! punches are strong and durable but sometimes they do get dull with a lot of use. You can sharpen them easily by punching some aluminium as shown in my next video.


You can use the image you have leftover after sharpening to make some interesting projects. Here I have made some flowers with the daisy and leaf punches. I just attached the metal images to some green wire and gently shaped the flowers with a bone folder and my fingers.

Some little metal flowers and leaves made from aluminium cans, wire and buttons.
I hope you've learnt some things about using punches from this post and my videos. Punches are great tools for enhancing your cards and to complement your projects!

#KeepCalmAndCraft #ComputerAndCraftDesigns #StampinUp #creativetherapy #StayHome #Punches

Thursday, 19 March 2020

Power of Hope Vellum Lantern

I love the look of paper lanterns and when I saw the Power Of Hope stamp set, available for free during Sale-A-Bration, I immediately thought of making one. I looked at some paper lanterns I had left over from attending the Auckland Lantern Festival in previous years and attempted to copy them in miniature.

I used a piece of petal pink vellum 5" x 4" (12.7 cm x 10 cm) for the little lantern and stamped the images in Memento back ink all around it between two 1/2" (1.25cm) score lines.

After the ink dried I cut 1/4" (0.5 cm) slices between the top and bottom score lines to create the curved lantern effect. I then glued the lantern sides together, overlapping one of the 1/4" (0.5 cm) slices.

I used a couple strips of petal pink cardstock 1/2" x 5" (1.25 cm x 12.7 cm)  to give it stability on the top and the bottom.

I hung a petal pink Best Dressed Tassel using gold thread at the bottom of the lantern. This also created a way to hold the battery-operated tealight. I also used a 1/4" x 6" (0.5 cm x 15.24 cm) piece of petal pink cardstock to create a handle at the top. 

Using three flowers from the Seasonal Layers Dies, I die cut the petal pink cardstock and vellum to decorate the little lantern, thus hiding my joins on the top and bottom strips.


I love the way this lantern came out and it was so easy to make. If you'd like to make one yourself, have a look at my video for instructions.
If you make a lantern I'd love to see it. Please post your pictures in the comments or on my Facebook page.


#Vellum #Lantern #Tealight #PowerOfHope #KeepCalmAndCraft #ComputerAndCraftDesigns #StampinUp #creativetherapy #StayHome #SaleABration

Thursday, 23 January 2020

A Bouquet of Paper Tulips

I've been having so much fun with the new Tulip Builder Punch which is part of the Timeless Tulips Bundle from Stampin' Up!

I started off stamping and then punching out the flowers and leaves to give dimension to my cards but then I decided to take things to a another level with three dimensional flowers.

It is so quick and easy to make adorable tulips with this punch.

You can stamp the cardstock before punching or just decorate them using other techniques such as sponging, embossing, water colouring, blending, spritzing, or colourong with pencils or pens. You can also combine several of these techniques to add even more colour and depth to your tulips.
Tulip Builder Punch

To make these 3-D tulips all you need is some cardstock and the Tulip Builder Punch. You should punch out five flower pieces from a 2" x 6" piece of cardstock. Score the centre of each flower from the tip of the middle petal and fold each one in half lengthwise. If you want to decorate the flowers, you should do this now before gluing the sections together.

To decorate the tulips you will need some additional items besides just cardstock. Depending on the technique you use you may need some ink, pencils, pens, sponges, embossing folders, or daubers.

Glue all five flower pieces together to form the tulip, making sure you place a wooden skewer in the centre for the stem. You should colour the skewer with Stampin' Blends before attaching it to the flower. Punch out two leaf pieces from Garden Green cardstock and glue them together on the wooden stem. You could attach a banner with a sentiment to the stem if you wish.

Have a look at my video below to see how to put the flowers together along with other tips for decorating the tulips. I show samples of cards I've made at the end of the video as well as how to stamp the reverse image on a leaf using the Stamparatus.
If you like these tulips check out my other videos and blog posts using this stamp set!

#KeepCalmAndCraft #ComputerAndCraftDesigns #StampinUp #creativetherapy #StayHome #TimelessTulips #SaleABration #3DFlower #Stamparatus

Sunday, 3 November 2019

Want To Melt A Snowman?

I live in a country where Christmas is hot and sunny because it is summertime here in New Zealand in December, however I still love all the traditional festive images of snowflakes, starlit nights, Santa in his red suit and dreaming of a white Christmas. I really like snowmen as they come in lots of different sizes and shapes, which got me thinking of a melting snowman. I remember making one out of felt many years ago so I decided to try to recreate it using paper.

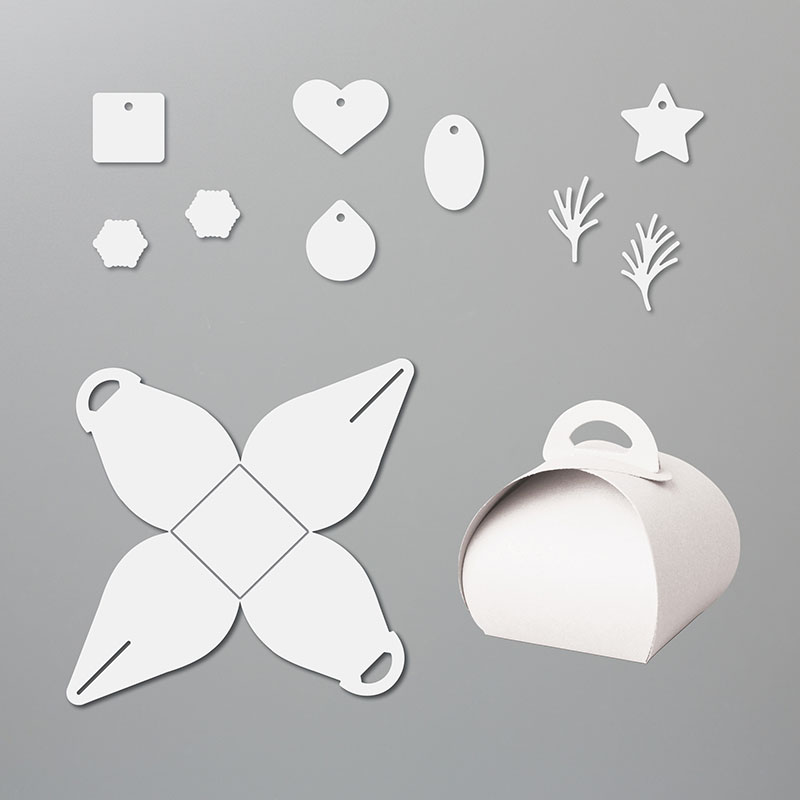
I cut an A4 piece of Whisper White cardstock at 14 cm (5.5") on the long side. I used the 14 x 21 cm (5.5" x 8.25") piece to die cut the Mini Curvy Keepsake Box to make the snowman head.
Mini Curvy Keepsake Box dies
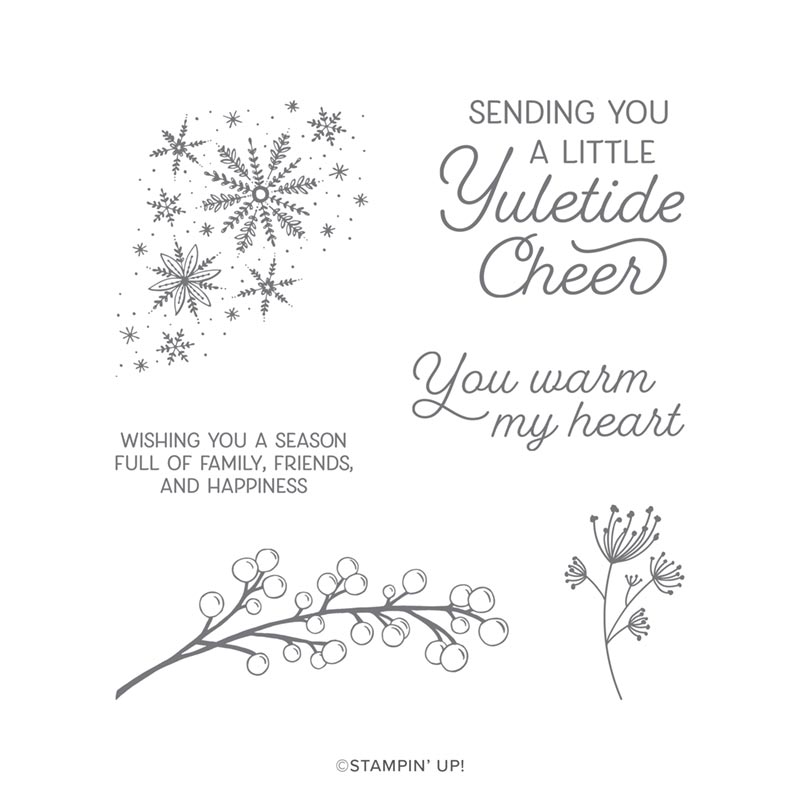
Frosted Foliage stamp set
Christmas Countdown stamp set
I then cut the remaining 15.7 x 21 cm (6.25" x 8.25") piece into a 'melted' blob for the body of the snowman. I stamped all over both pieces with Silvery Shimmer ink using the little star/snowflake stamp from the Christmas Countdown stamp set.
On the remainder of the 14 cm Whisper White cardstock I stamped the words 'You Warm My Heart' from the Frosted Foliage stamp set using Memento Tuxedo Black ink. I then punched it out with the Story Label punch and popped it on to the melted snowman using dimensionals.
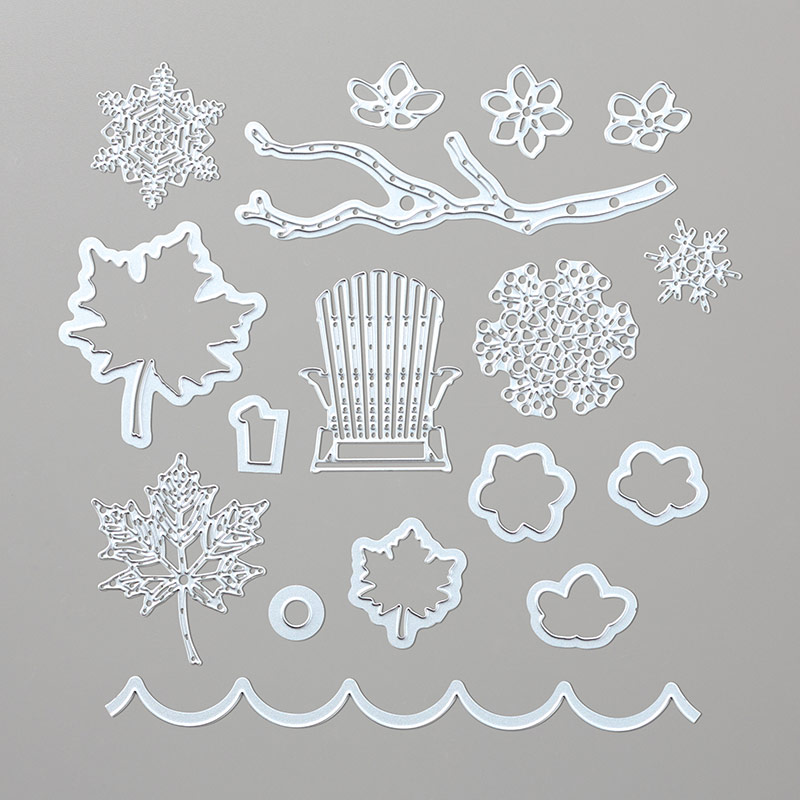
SEASONAL LAYERS DIES
Seasonal Layers dies

I cut a scrap of Basic Black cardstock into a hat shape and glued a little strip of Old Olive cardstock on it as a hat band. I attached it to the melted snowman body using black mini dimensionals. I cut a long triangle from a scrap of Pumpkin Pie cardstock and drew little lines on it with a Basic Black Stampin' Write pen to make the carrot nose. The two arms are cut out of Early Espresso cardstock using the branch die from the Seasonal Layers die set.

Before assembling the box I drew a 'melting' mouth on one side with the Basic Black Stampin' Write pen and I used a Basic Black Dark Stampin' Blends pen to colour two Pearl Basic Jewels for the eyes. I then glued all the pieces to the base and used three Red Rhinestone Jewels for the buttons which had fallen off the body as it melted.

Have a look at this video for instructions on how to make one for yourself.


If you live in New Zealand you can order all the products you need to make this adorable snowman at my shop or from your demonstrator. Then you can get started on melting your own snowman!

#KeepCalmAndCraft #ComputerAndCraftDesigns #StampinUp #creativetherapy #StayHome #PaperCraftIdeas #ChristmasCard #HandmadeCard #SnowmanCard #CurvyKeepsake 

Thursday, 23 May 2019

Apron Gift Boxes with Mini TicTacs


These adorable little boxes were made using the Apron Of Love stamp set and matching dies. The moment I saw this set I thought of creating a container with it. It was so easy to make as I just die cut two sides of the apron from designer series paper and then attached them together with a little piece of cardstock between the two aprons.


The only stamping I did on this craft was the sentiment on the apron pocket and the tiny card I made to go into the little pocket. I love this set as it has so many parts to make wonderful cards and crafts for any occasion -- Mother's Day, Father's Day, friends, thank you, etc.


I put mini TicTacs in them as gifts for my customers last year and I made some more with chocolates and hand sanitisers in them to sell at my craft markets. You could make the container bigger for other items, like a Tombow glue bottle, soap, lollies or anything you want!


Of course you can use this set for cards, scrapbooking or even home decor. The possibilities are endless and you can see a few of these ideas on my website and on Pinterest.

Unfortunately this set is going to retire on June 3rd, so if you'd like to make this project you will need to buy the Apron of Love set soon. If you are in New Zealand you can contact me to order or look online to find a Stampin' Up! demonstrator in your country to order from.

#ComputerAndCraftDesigns #StampinUp #creativetherapy #PaperCraftIdeas #HandmadeGifts #3DPapercrafts

Saturday, 27 April 2019

Stamping Outside the Paper!

I know the title of my blog is Papercraft Addiction, but sometimes I need to do crafting without paper. Crazy thought, I know! However I did used ink and stamps, so it's still a hand-craft.

I watched a video online and then attended my upline's technique class to learn how to stamp on to a ceramic mug. The main things you need to know to do this technique are that you use StazOn ink and bake the mug at 180 degrees Celsius for at least 20 minutes to make the ink stick to the mug. You can then colour the image with Stampin' Blends and re-bake it to fix the ink to the mug. However I am not sure the image would stay on if you wash the mug in a dishwasher, but I don't have one so I can't test that theory.

At the class I attended I was able to get a good image after only a couple tries and then I was asked to help other students as I seemed to have mastered the technique. I was so impressed with how easy it seemed that I went out and bought 10 mugs so I could make some to sell at my monthly craft markets.

Well, I don't know what happened from when I learned the technique to the day I tried to stamp my own mugs because it seemed so simple before, but when I was doing it at my own home I kept having problems. Fortunately I could wipe off the ink before it dried and try, try, try, try again!

I think my first problem was that I attempted to put too many images on the mug in one go. The mug kept slipping and smearing the images. I then decided to only use a couple of stamps and eventually I got an image that I was happy with. I thought I had finally figured out the correct pressure, angle, and speed, but no! I continued to wipe off more ink than I kept on the mugs.

I would say this technique is best for patient people or stubborn ones like me, as I was determined to get all 10 mugs stamped! My frustrations were increasing as I couldn't understand why it had been so easy the first time I did it only the week before.

I learned a lot from my mistakes though, like the images don't go on straight because the mug is curved. That is why most of my sentiments are at quirky angles, but I think it looks like it was meant to be that way. At least that's my story and I'm sticking with it!

Finally with multiple adjustments in stamp placement . . . trying it while standing . . . trying it while sitting . . . rolling the mug from the left . . . from the right . . . and even backwards . . . I was finally able to get all 10 mugs stamped and baked.

The next step was to colour them. Although after having so much trouble stamping the images I was afraid of messing them up, but I persevered. I used the Stampin' Blends to colour each mug. I started with the easy one -- the panda holding a balloon. Then I coloured the daffodils and discovered that even though the mugs had been 'heat set' in the oven the Blends would smear the black ink if I rubbed too hard or too long in one spot.

After a bit of a learning curve, I finally got the hang of how to colour each mug without ruining the image. I even found out that the Color Lifter works like an eraser to remove the ink, even the black ink which had already been baked on. It was really handy in fixing some of the smeared images. And if I didn't like the colour/shade I used I could go over it with a different colour and the previous ink would come off.

So here are the final, coloured mugs which I hope to sell at my markets. I am a bit worried that the images will come off when the mugs are washed so I think I will add a note to them saying they should be gently hand-washed.
Since I didn't use paper maybe I should change the name of my blog to Stamping Addiction or Try Try Again Crafting or Trying Crafter or just Stubborn Crafter Who Won't Give Up! What do you think?

#ComputerAndCraftDesigns #StampinUp #creativetherapy #PaperCraftIdeas #HandmadeGifts

Friday, 29 March 2019

Welcome to my Papercraft Addiction

I am starting this blog to showcase my passion for papercrafts. I love being creative and enjoy most arts and crafts including stitching, mosaics, colouring and of course stamping. I find creating something (whether it comes out as planned or not) is very relaxing and empowering. There is lots of research on the subject to show that doing arts and crafts can be very effective in relieving stress. I have been making things with paper all my life and have tried almost every papercraft there is including decoupage, embossing, flower making, kirigami, origami, paper mache, tea bag folding, weaving and quilling . . . to name just a few.

I am always willing to learn new things and when I find something that ignites my passion, whether it be easy or hard to do, I fully immerse myself in it and I really enjoy teaching others. That is how I became an independent Stampin' Up! demonstrator two years ago. I went to a class and fell in love with the products, techniques and all the wonderful people.

In this day of rising costs, creating home-made cards is a way to save money since a store bought one can cost over $4 here in New Zealand and they are not as special as one made by your own hands. Making your own cards allows you the freedom to create something special for the recipient which can be personalised to reflect them, for example adding a favourite animal or colour.

I also really enjoy making non-traditional papercrafts such as boxes, bags, home decor, 3-D cards and gifts. There are so many things which can be made with paper and you are only limited by your imagination -- or for me my limit is based on my internet access as my imagination doesn't always work! lol

I just love how all the Stampin' Up! products coordinate so well from the matching coloured cardstock, ink and embellishments to punches and dies that work with designer series paper and stamp sets. It is so easy to create professional looking projects quickly.

With this blog I want to show all the amazing things which I can make with just some paper, cutting tools, ink and adhesives. I also hope to encourage others to discover the joys of being creative as I share my Papercraft Addiction!

#ComputerAndCraftDesigns #StampinUp #creativetherapy #PaperCraftIdeas #HandmadeCard