Friday 12 November 2021

Gift Card Holders -- Dress Up Your Gift Giving

When my children were little I loved finding that special gift they really wanted for Christmas but now that they are all grown up I find it difficult to get them presents because they just buy whatever they want as soon as they have the money. 

So now I give them gift cards which they can use on what they really want . . . and who doesn't need extra money. But a gift card (or cash) alone doesn't seem special enough so I package it inside a handmade greeting card!

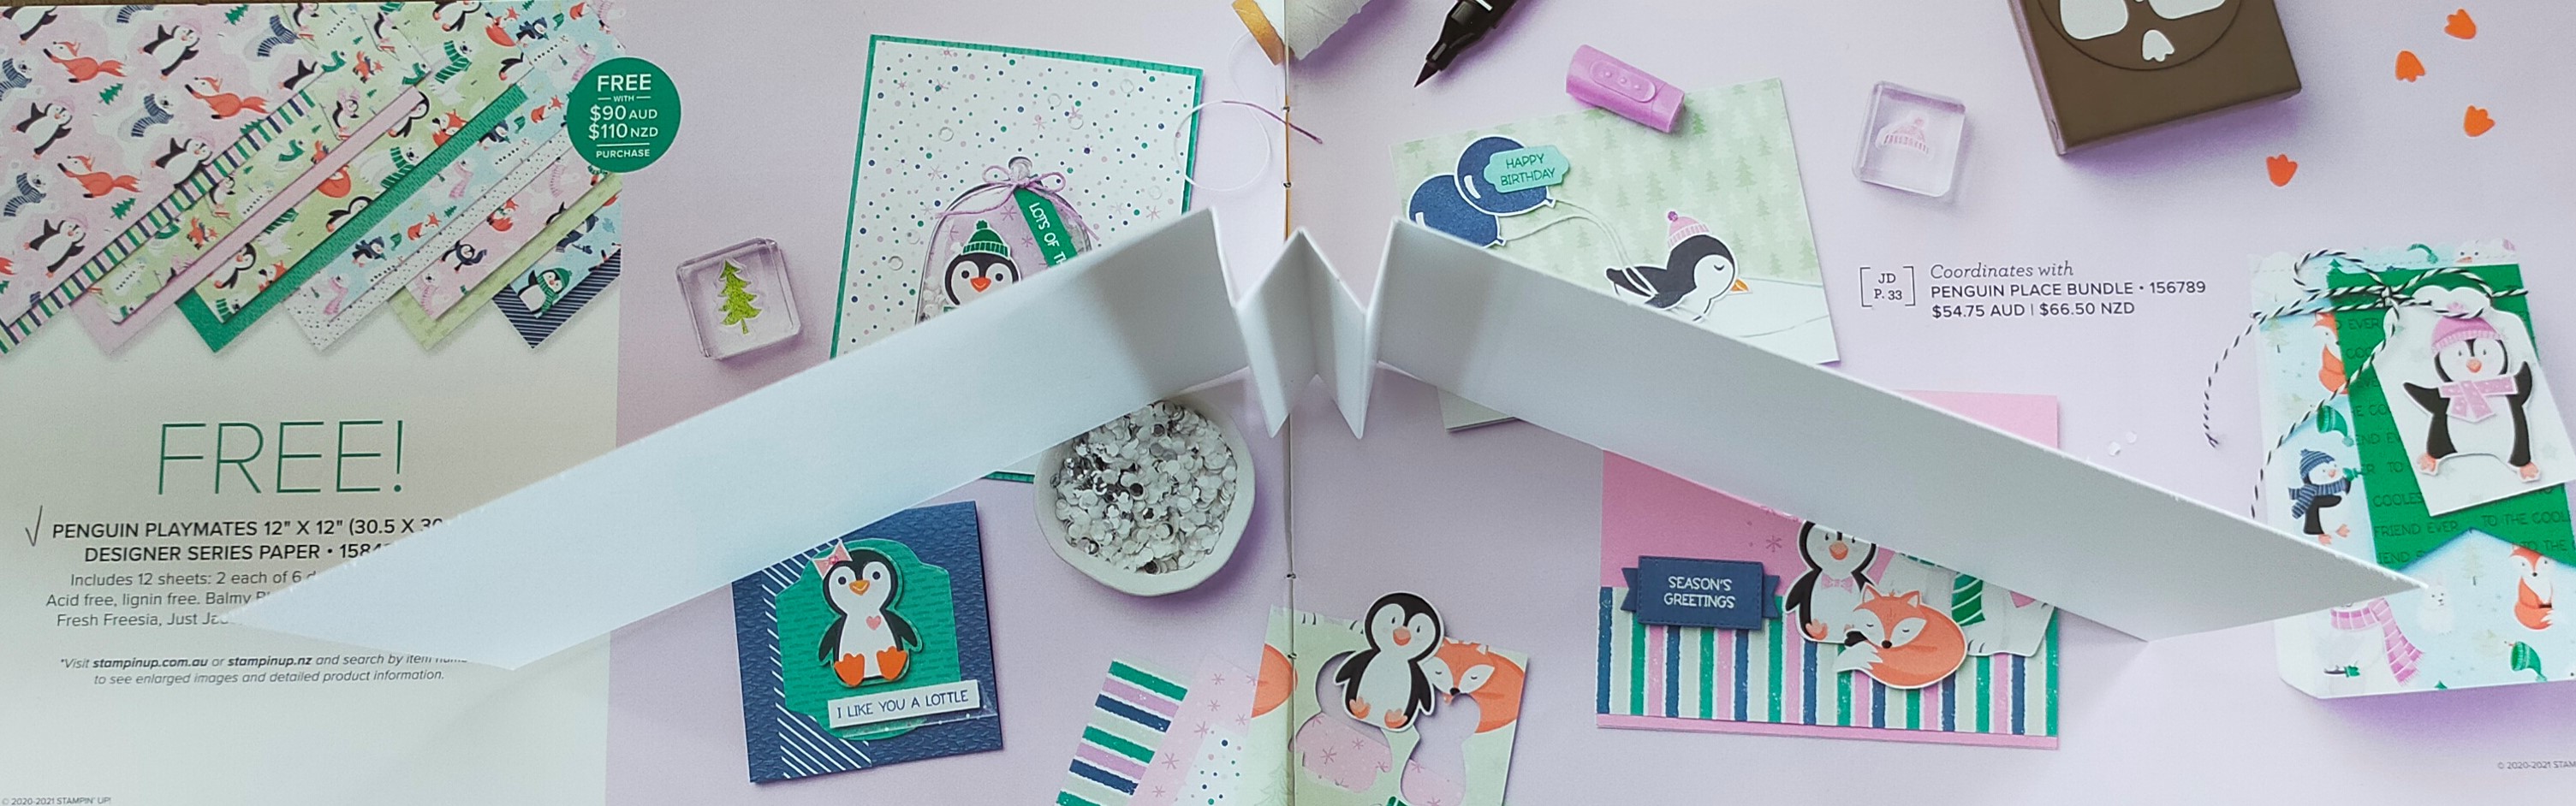
You can make a left or right opening card with this fun fold technique.
You can hide a gift card or cash behind the removable tag on the front of this card.
The tag can be used for gift giving as well or just leave it in the card as extra decoration.
This fun fold video shows how to make the tag/gift card holder cards.
These two cute cards used the Sweet Little Stockings bundle of products.
The inside of these cards reveal a pocket for you to hide a gift card or cash.
If you'd like to recreate these cute cards have a look at my instructional video here.
You can even change any existing greeting card into a gift card holder using a bit of extra paper and a punch as shown in my Quick Tip video.
I hope I've inspired you to dress up your prezzy card giving this year and I'd love to see what you make!

Thursday 14 October 2021

Tombstone Treat Boxes -- Tips and Tricks for decorating them

The Tombstone Treat Boxes from Stampin' Up! are so adorable and the perfect size to hide treats and gifts for your ghouls and goblins this Halloween!

The Tombstone Treat Boxes are shipped as a flat-packed kit ready for you to make 8 double-sided gift boxes which can also be used as table decorations. However by using a little Basic White cardstock you can make 16 single-sided boxes that are perfect to treat your little ghouls and goblins this Halloween!


There are two sizes for the inside of the Tombstone Boxes so you'll need to make a back section to fit the size front you are using. Either start with a 6" x 5" (15 cm x 12.5 cm) or 4-3/4" x 5-3/4" (12 cm x 14 cm) rectangle and then score all four sides at 1-1/4" (3.2 cm). After you fold and burnish on the score lines, cut a slit in each of the sides before sticking them together as shown in this picture (as well as in my video).


Here are some of the treat boxes I made using a variety of products from Stampin' Up!


You can even make them in to a light up box, like the two in the centre of the following picture. You just need to die cut an image into the front of the tombstone, add some vellum and use a battery-operated tea light in the box. This would be really spooky at night!


You can heat emboss a sentiment on the tombstone, but make sure you do this before putting the box together.


In my YouTube video I show you how to make this ghost using the Diorama Dies as well give you tips and tricks for creating with the tombstone gift boxes. You can have a look at my video here.


Monday 30 August 2021

Snow Scene Diorama Booklet using the Penguin Playmates Designer Series Paper

This card came together because I wanted to try my Layering Diorama Dies as well as the alcohol vellum technique. I used my Stampin' Blends pens to colour on a piece of Vellum and then put some drops of isopropyl alcohol on it to make the ink spread to create an interesting background which I die cut and glued to the final page of my booklet.


I created the inside pages of the booklet by cutting a 12" x 12" piece of Basic White card at 4" and scored the 12" side at 5", 5-1/2", 6", 6-1/2", and 7". I then concertina folded the scored sections to create the binding for the inside of my card.

I used four 5" x 4" pieces of Basic White cardstock for the inside pages and a 10-5/8" x 4-1/4" piece of Balmy Blue cardstock scored at 5-1/4" and 5-3/8" for the outside cover. I used the two middle size pieces of the diorama dies to die cut the 5" x 4" pieces of basic white cardstock as well as the front of the 12" basic white and balmy blue pieces so you can look through the entire booklet.


I used the left over pieces from cutting the holes in the white cardstock as masks to create some snowy hills on the card with my Blending Brushes and Balmy Blue Ink


I glued two of the 5" x 4" pieces of die cut basic white cardstock to each inside binding section; sandwiching some of the left over diorama pieces to create little hills in those cutout areas. I then glued the completed basic white inside section to the balmy blue cardstock to create the booklet. I fussy cut several small images from the Penguin Playmates DSP using them to create different scenes on the diorama cutout sections of the booklet with glue and mini dimensionals. 


I stamped snowflakes on the front in balmy blue ink using the Snowflake Wishes stamp set and the 'happy holidays!' words on the final page were from the Frosted Gingerbread stamp set. I finished the card by heat embossing words from the Snowflake Wishes stamp set on a piece of vellum using white embossing powder and fussy cutting around the words before gluing them to the front of the booklet.


This was a really fun booklet to make using a lot of different products and techniques. I love how it turned out and I enjoyed fussy cutting the adorable characters from the Penguin Playmates designer series paper which is only available for a limited time. I can hardly wait to make another one!


Friday 7 May 2021

Technicolor Cards -- The 'Real' and 'Unreal' Joseph's Coat Technique

Recently I saw an amazing butterfly card using a colouring technique called Joseph's Coat which was so beautiful I had to try it for myself. 

Butterfly Brilliance card with many colourful butterflies
After giving it a go with the Butterfly Brilliance stamp, I thought of Dolly Pardon's song 'Coat of Many Colors' and decide to make a colourful coat card using the Suit & Tie dies, Buffalo Check stamp and some sentiments from the Handsomely Suited stamp set. 
Coat of Many Colours card for Father's Day
This technique is an unique way of adding colour to a card. I used my blending brushes to create different sections of colour on a piece of Basic White cardstock. Then I stamped my image in Versamark and heat embossed it with Clear embossing powder. The next step was to cover the entire white piece with Memento Tuxedo Black ink. It sounds a bit strange at first but the clear embossed areas will resist the black ink and allow the technicolour to show through, which I believe is why this technique got it's name -- Joseph's Technicolour Dreamcoat!
Two cards made with the Josephs' Coat technique
It's an amazing technique but very messy with all that ink, so I decided to try to replicate it without all the mess. That is how I created my faux Joseph's Coat technique. I made my cards by stamping the images with Versamark ink on dark cardstock and then heat embossed with White embossing powder. I then used my Stampin' Blends markers to colour on the white embossed image. Since the Stampin' Blends are permanent markers the colour stays on top of the embossed sections.
Two cards made with the Faux Joseph's Coat technique
Here are the two techniques side-by-side for comparison -- Real & Unreal.
Card made using the real technique on the left and the faux technique on the right.
I don't think there's a lot of difference between the two techniques. What do you think?
The two cards on the left were made with the 'unreal' technique and the one on the right is 'real.'
This is such a fun way to add colour to projects and the possibilities are endless. I even made a little card to fit in a 3" x 3" envelope using several stamps from the Floral Essence photopolymer stamp set. This was a little tricky trying to line up the images since Versamark ink is clear, however using photopolymer stamps makes it easier. I think I did a pretty good job.
Mini card made by colouring white embossed image with Stampin' Blends.
I am a member of the Global Monthly Video Hop and this card was perfect for our May theme 'Only for Men'If you'd like to see how to do this new technique have a look at my video below and you can learn how to make your own coat of many colours!

I'd love to hear your feedback on this to learn which technique you prefer -- the real one or the fake one!

#KeepCalmAndCraft #ComputerAndCraftDesigns #StampinUp #CreativeTherapy #KeepStamping #RubberStamping #CardMaking #CoatOfManyColors

Saturday 13 February 2021

Let's have fun with the Sand & Sea!

The Sand & Sea products are one of my favourite collections in the new mini catalogue by Stampin' Up!

All the products work so well together -- Friends Are Like Seashells Photopolymer Stamps, Seaside Seashells Dies, Seashells 3D Embossing Folder, Opal Rounds self-adhesive gems, Seaside Shells stickers, Pearlescent Specialty Paper, and the Sand & Sea Designer Series Paper. You can stamp five of the shells on the large die cut image and them emboss them all in one go with your Cut & Emboss Machine!

Then you can use it as one large background image on a card or you can cut away each seashell to use them individually.

I even combined the two methods by attaching five stamped shells onto the large die cut image (Old Olive cardstock) and placed them on some Sand & Sea DSP.

You can get a stunning look by just embossing on the Pearlescent Specialty Paper.

For another card I highlighted the raised spots on the large die cut image using some Heat & Stick powder with the Gilded Leafing embellishment to make an elegant birthday card.

I created a card with the embossed background and added some sheen by sponging the Mossy Meadow cardstock with some Frost White Shimmer Paint. The shell and starfish were stamped on a piece of Sand & Sea Designer Series Paper before die cutting.


I sponged some Seaside Spray ink on Basic White cardstock which was embossed with the Painted Texture 3D folder to make it look like my seashells have been washed up on a sandy beach.

I used some blending brushes with the Pearlescent Specialty Paper to create realistic looking seashells and combined them with some of the beautiful Sand & Sea Designer Series Paper.

The coloured pearlescent shells also stand out well on a white embossed background.

I show you how to create this gorgeous card in my YouTube video below.

I've also made a few quick videos to show you how to get the best use out of the Sand & Sea dies and 3D embossing folder. You can see all of them on my C & C Designs channel.

There are so many things you can do with this fabulous collection that I am sure it will keep you crafting for a long time!

#KeepCalmAndCraft #ComputerAndCraftDesigns #StampinUp #CreativeTherapy #KeepStamping #RubberStamping #CardMaking


Thursday 4 February 2021

Hey Chick and Hey Birthday Chick are such fun sets to create a Z-fold card!

The Hey Chick stamp set has returned and works perfectly with the new Hey Birthday Chick stamp set from Stampin' Up!

I kept the original Hey Chick stamp set I got during Sale-A-Bration in 2017 and I am so glad I did because now there are dies that work with that set as well as new dies for the Hey Birthday Chick set.

These dies not only cut out the chicken images from the stamp sets, they also have a lot of extra accent pieces you can cut from cardstock.

I love the fence and chicken wire as well as the adorable corn pieces which can be put together on the stalk or used separately.

There is even a little die that will cut out marks that look like chicken scratches on the ground!

I made a few cards back in 2017 with the original Hey Chick stamp set but I don't like fussy cutting so I was limited with my creativity.


I made a round spinner card using buttons on the backs of each egg so they would not slide too quickly as they moved around the middle of the card.


I also made a spinner card with one egg being tossed between two colourful chickens!

With the new dies and a bit of inspiration after seeing a Z-fold card made by Patti Bagin, I threw myself into making my own fun fold card.


Here is the front of the card when closed. The little blue bow tie and chicks are made from the dies and I think they are so cute!


This is the card fully opened with all the chickens saying Happy Birthday!


This is a close-up shot of the front of the card as it would stand on a shelf.


I added layers to my card using Crumb Cake cardstock to hold up the chickens on the interior.


I coloured all the images with Stampin' Blends to give it a vibrant look!


Everywhere you look there is something different going on. The dies for these stamps sets allow you to make any type of farm scene you want!


I really like the cute little chick die cuts to which I added some colour with my pens.


The chicken tied to a balloon was so large I had to put it at an angle to use it on this landscape card.


I especially liked using the little die to create chicken scratch on the ground and the wooden fence can be made to any length by attaching more die cut pieces.


I even decorated a large piece of white cardstock on the back of the card so I had room to write a birthday message to the recipient.