Showing posts with label masking. Show all posts

Saturday, 5 March 2022

You Matter to the World!

Today I was going to make some cards for St. Patrick's Day and as I looked through my sentiment stamp sets I came across the Inspired Thoughts set which had words that made me think of the war in Ukraine. I then saw my Celebrate Sunflowers Bundle and knew I needed to make a card to express my feelings.

I gathered together some Balmy Blue and Bumblebee Cardstock to symbolise the colours of the Ukrainian flag which reminds me of my Swedish heritage. The Here Together Bundle was perfect for these cards because of the meaningful words. I used the Here For You Dies to cut the words 'you matter' out of blue cardstock which I glued to a piece of yellow to create the bottom of one card. The top of the card was the same size in blue just like the Ukrainian flag.


I decided to use the negative piece for a second card so I carefully glued all the little blue pieces on to some yellow cardstock. This created the bottom of my second card. I continued using both parts of my die cuts for each card to create the sunflowers and leaves. I stamped the largest sunflower from the Celebrate Sunflower Stamp Set using Bumblebee ink on balmy blue cardstock before die cutting it. I then used the largest detailed Sunflower Die to cut a flower from the yellow Simply Marbleous Designer Series Paper and glued the outline on to that piece to make a yellow and blue flower.

To make my second flower I used part of an Adhesive Sheet on Basic White Cardstock to help me stick down all the little inside pieces of the large sunflower die cut. I die cut another sunflower outline with Basic Black Cardstock and stuck that down on the white cardstock to add contrast to the sunflower. This one was popped up using some dimensionals on the top of the 'flag' card.

I masked off some of the words on two stamps from the Here Together set to create the inside sentiments for the 'flag' card and added a small stamped sunflower coloured with some Stampin' Blends.

The words 'Sheltering you with love at a time when words fall short' from the Inspired Thoughts stamp set matched perfectly for the inside of the card that I had stamped 'know that you are loved' from the Celebrate Sunflower Stamp Set.

I am so grateful I can craft when I feel anxious about what's happening in the world around me. I hope you too have some way to relax in this ever-changing world. Stay Safe and Keep on Crafting!

#KeepCalmAndCraft #ComputerAndCraftDesigns #StampinUp #CreativeTherapy #KeepStamping #RubberStamping #CardMaking #CelebrateSunflowers

Monday, 30 August 2021

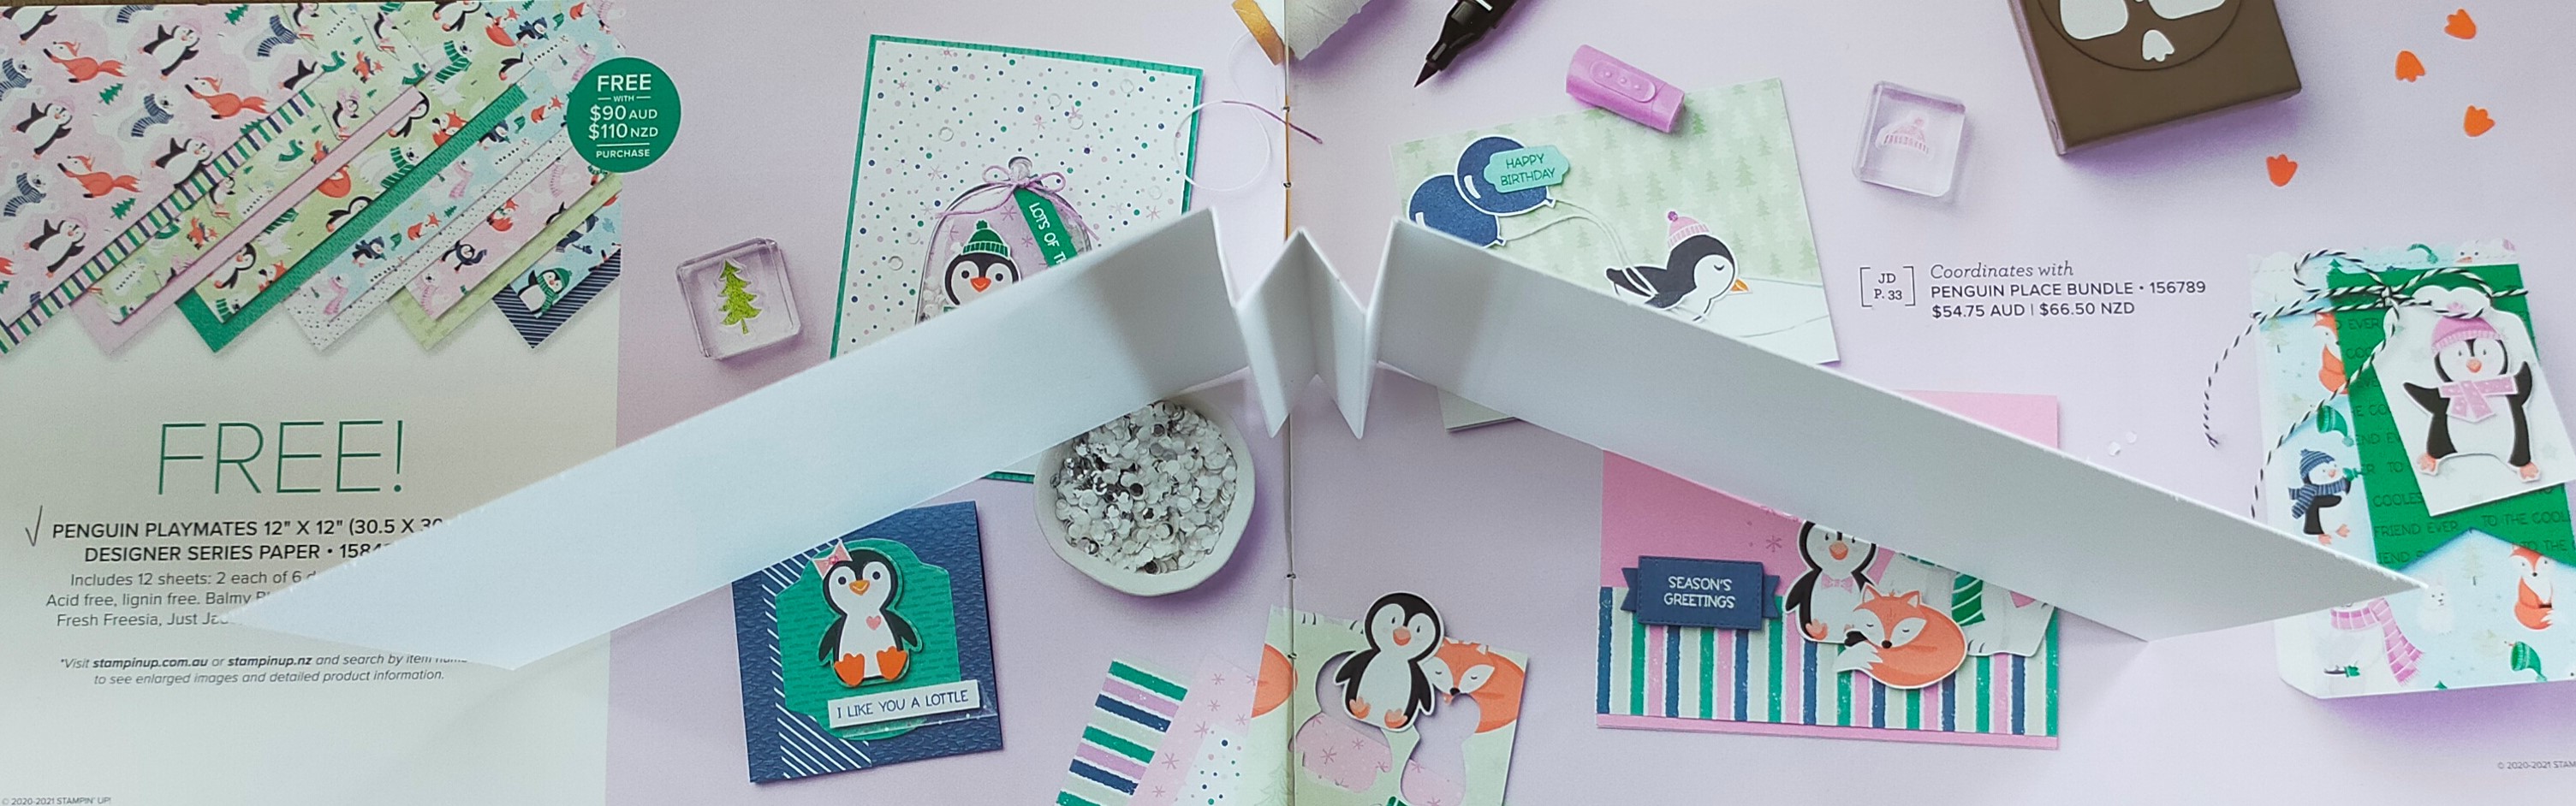
Snow Scene Diorama Booklet using the Penguin Playmates Designer Series Paper

This card came together because I wanted to try my Layering Diorama Dies as well as the alcohol vellum technique. I used my Stampin' Blends pens to colour on a piece of Vellum and then put some drops of isopropyl alcohol on it to make the ink spread to create an interesting background which I die cut and glued to the final page of my booklet.


I created the inside pages of the booklet by cutting a 12" x 12" piece of Basic White card at 4" and scored the 12" side at 5", 5-1/2", 6", 6-1/2", and 7". I then concertina folded the scored sections to create the binding for the inside of my card.

I used four 5" x 4" pieces of Basic White cardstock for the inside pages and a 10-5/8" x 4-1/4" piece of Balmy Blue cardstock scored at 5-1/4" and 5-3/8" for the outside cover. I used the two middle size pieces of the diorama dies to die cut the 5" x 4" pieces of basic white cardstock as well as the front of the 12" basic white and balmy blue pieces so you can look through the entire booklet.


I used the left over pieces from cutting the holes in the white cardstock as masks to create some snowy hills on the card with my Blending Brushes and Balmy Blue Ink. 


I glued two of the 5" x 4" pieces of die cut basic white cardstock to each inside binding section; sandwiching some of the left over diorama pieces to create little hills in those cutout areas. I then glued the completed basic white inside section to the balmy blue cardstock to create the booklet. I fussy cut several small images from the Penguin Playmates DSP using them to create different scenes on the diorama cutout sections of the booklet with glue and mini dimensionals. 


I stamped snowflakes on the front in balmy blue ink using the Snowflake Wishes stamp set and the 'happy holidays!' words on the final page were from the Frosted Gingerbread stamp set. I finished the card by heat embossing words from the Snowflake Wishes stamp set on a piece of vellum using white embossing powder and fussy cutting around the words before gluing them to the front of the booklet.


This was a really fun booklet to make using a lot of different products and techniques. I love how it turned out and I enjoyed fussy cutting the adorable characters from the Penguin Playmates designer series paper which is only available for a limited time. I can hardly wait to make another one!


Friday, 30 October 2020

Special Halloween Card and Treat Holders

The spooky season is upon us and I've made a peekaboo card with the Apple Builder Punch and matching stamp set.


When you pull the skull you will see what is hiding behind the jack-o’-lantern.


Boo! It's a scared little owl hiding behind a small jack-o’-lantern!


There's more spookiness inside the card with an owl being scared by a little spider in the tree.

If you'd like to make your own peekaboo card, I show you how in this video.

The owl from the Have a Hoot set is so adorable that I used it to decorate a package made from the Little Treat Box Dies.


I also made several other treat holders with the Little Treat Box dies in Halloween colours of Basic Black and Pumpkin Pie.


I then made a coffin box using last year's little boxes which I embossed with the new Cobwebs 3D Embossing Folder.


I used the retired Cookie-Cutter Halloween stamps and punch to create a vampire which pops out of coffin.


I even made a little 3-D pumpkin using the the Apple Builder Punch. I cut out five pumpkin shapes I had stamped on Pumpkin Pie cardstock and then stuck each one together to form a little 3-D pumpkin. I then embellished the pumpkin using a decorative die from the Butterfly Beauty Dies and some Old Olive cardstock which I glued into the top of the pumpkin and along the bottom to look like a vine.


I've had so much fun making lots of cute cards and decorations with products from Stampin' Up! I hope you enjoyed seeing them.


Saturday, 25 January 2020

How to make a field of tulips with the masking technique

Masking is a great way to give depth to a card, allowing you to create the illusion of images being in the background. With the masking technique I have created a field of tulips on a card by only using a couple of flower stamps.
This technique can be used in so many different ways to create beautiful cards and images. It's a fairly simple technique in which you use a piece of sticky note paper to protect your stamped image from ink placed on top of it.

This is a standard A6 card done as a portrait orientation with the fold at the top. The base of the card is an A4 piece of Garden Green cardstock cut down the middle on the short side (21 cm side) at 10.5 cm and scored at 14.8 cm (11-3/4" x 4-1/8" scored at 5-7/8").

I used Whisper White cardstock for the front and the inside layers cut to 14.3 cm x 10 cm (5-5/8" x 4"). The other products I used are listed at the bottom of my YouTube video which you can see below.

In the video I show you how to make the blue card using the Timeless Tulip Bundle (Timeless Tulips Photopolymer Stamp Set and Tulip Builder Punch) along with tips on how to successfully mask the images. The colours I used are Seaside Spray, Garden Green and Tuxedo Black Memento ink.

I have stamped off with some of the images to create a lighter shade which looks like lavender.
I hope you like my video and cards and will give the masking technique a try for yourself!

#KeepCalmAndCraft #ComputerAndCraftDesigns #StampinUp #creativetherapy #StayHome #TimelessTulips #MaskingTechnique