Find ideas, instructions and materials used to make a variety of paper-craft projects using Stampin' Up! products. As an independent Stampin' Up! demonstrator in New Zealand I love to share my passion for creating things with paper including cards, boxes, gifts and decorations. I find that making things is a fun and relaxing past-time which relieves stress and gives me a purpose to be active every day. If you have any questions or want to learn more about Stampin' Up! feel free to contact me.
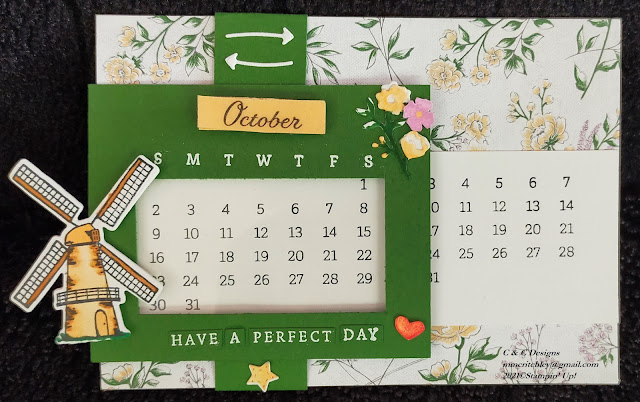
Ever since I got the Days To Remember photopolymer stamp set from Stampin' Up! I've been wanting to make a perpetual calendar. However I haven't had time to come up with my own idea and then I saw a fabulous sliding card designed by fellow demonstrator, Jessica Lewis. I changed her design to fit the A4 cardstock I was working with and used a different colour scheme and designer series paper (DSP) to make my perpetual calendar.
I used the image and dies from Nature's Harvest for January.
While making the card I had an idea to make it even more fun to use. I added a couple magnets to the left side of the slider so I could change out the image. I then stamped, coloured and cut out a dozen images on basic white cardstock. I put two magnets on the back of each image before covering them with some cardstock so they could be placed on the left of the slider each month.
I also stamped out the extra little images from the Days to Remember stamp set -- flower, star and heart -- cut them out of basic white cardstock and then put a little bit of Tombow Multipurpose Liquid Glue behind each, leaving the glue to dry. This made the glue tacky so the pieces could be repositionable. I put a piece of window sheet behind the opening so that I could put the extra pieces over any numbers not needed for the month I was viewing, like February.
February brings valentine's from the bear in the Count On Me stamp set.
March is my birthday month so I got a balloon from the Hey Birthday Chick stamp set!
I had a lot of fun searching through new and old stamp sets to find pictures I wanted for each month.
April is autumn here in New Zealand so a tree from Beauty of Friendship is perfect this month.
Celebrate Mother's Day in May with a bouquet of flowers from the Blessings of Home stamp set.
June is a chilly winter month here in New Zealand so I used a snow covered tree from the Cabin Dies.
Mid-winter means dreaming of far away places in July with the Sailing Home lighthouse.
August welcomes spring with Flowering Tulips coming through the cold ground.
Celebrate Father's Day in September here in New Zealand with a tie from Handsomely Suited.
October brings thoughts of upcoming summer holidays using the Tulip Fields Bundle.
Count On Me stamps return with a summery kangaroo for the month of November.
A little black kitty from the Sweet Little Stockings set reminds me that Christmas is coming.
Here in New Zealand our seasons and holidays are different than the rest of the world, so I chose a variety of animals, flowers and buildings for my calendar.
I also created a pocket inside with matching Heart & Home DSP so that I can easily store all my images.
I hope you like my card/calendar and if you'd like to make your own have a look at Jessica's video for instructions. Just make the few changes I mentioned above if you'd like yours to have interchangeable images like mine.
This card came together because I wanted to try my Layering Diorama Dies as well as the alcohol vellum technique. I used my Stampin' Blends pens to colour on a piece of Vellum and then put some drops of isopropyl alcohol on it to make the ink spread to create an interesting background which I die cut and glued to the final page of my booklet.
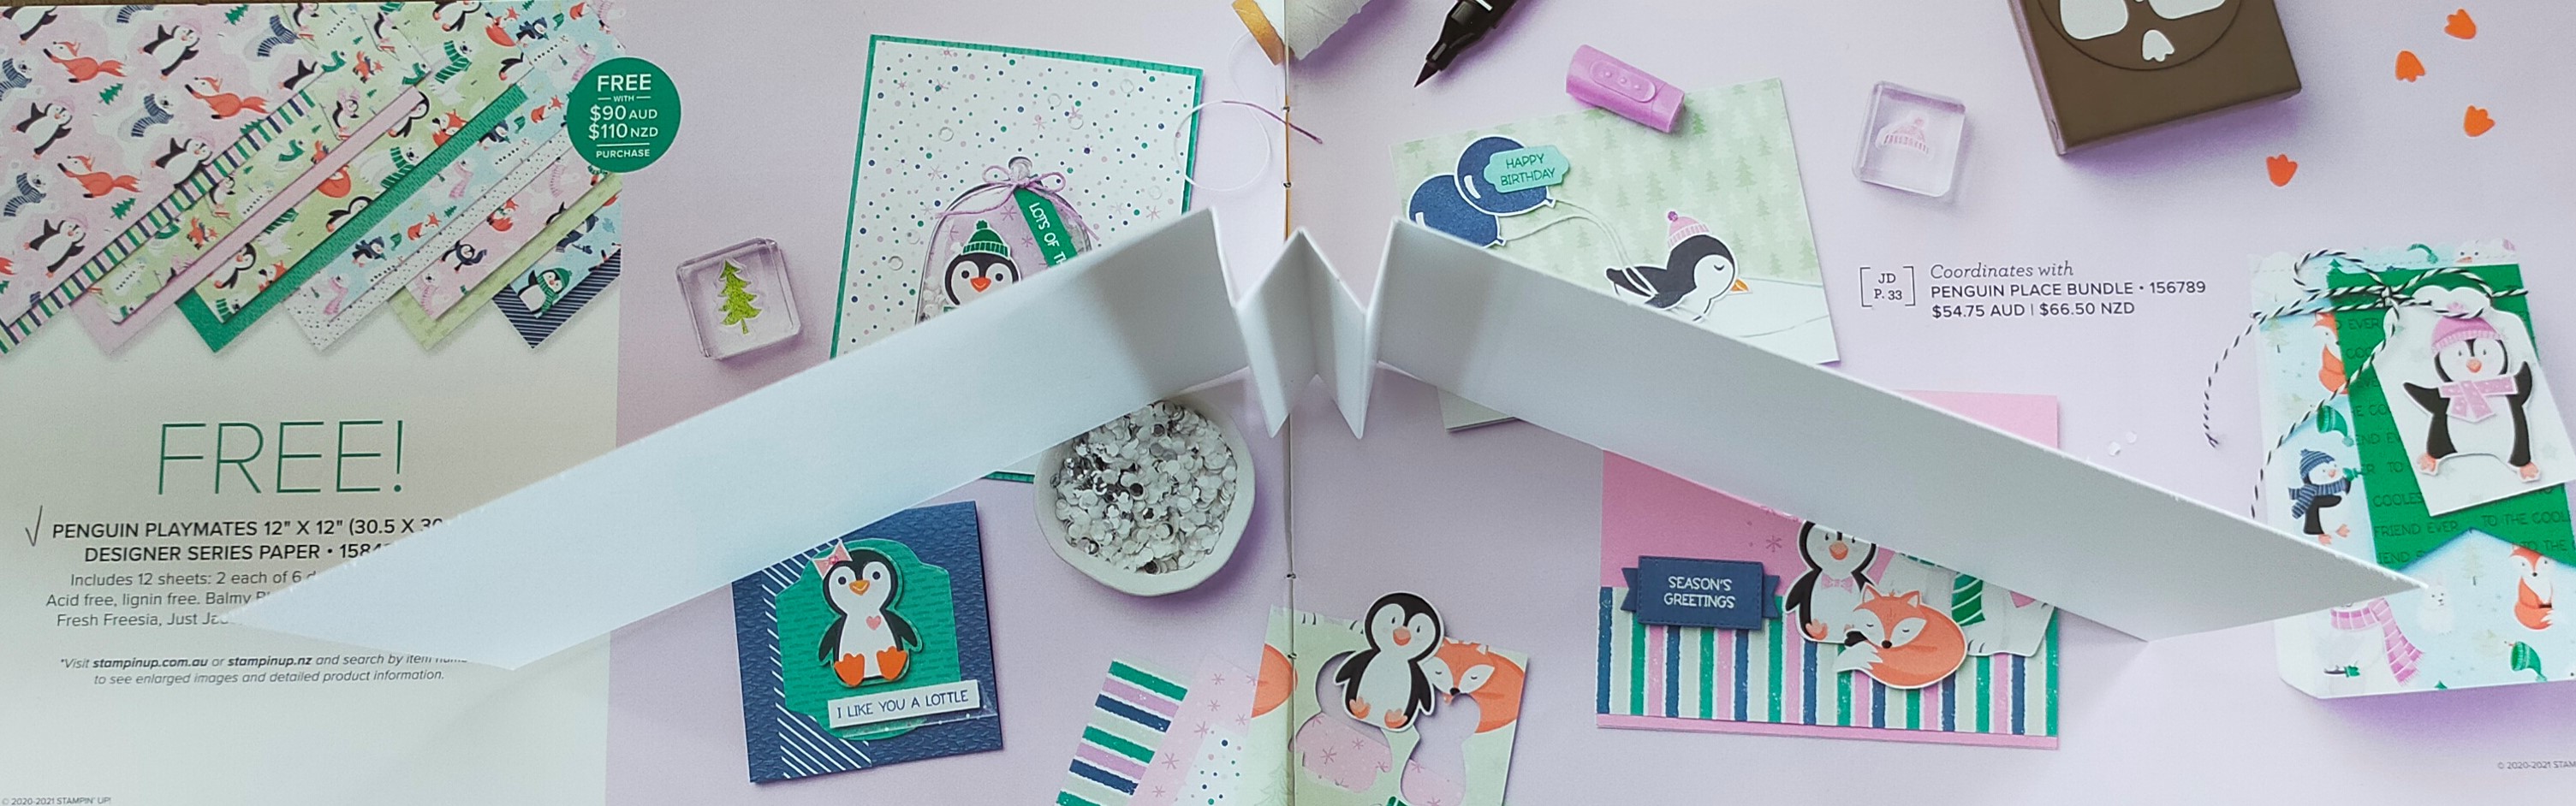
I created the inside pages of the booklet by cutting a 12" x 12" piece of Basic White card at 4" and scored the 12" side at 5", 5-1/2", 6", 6-1/2", and 7". I then concertina folded the scored sections to create the binding for the inside of my card.
I used four 5" x 4" pieces of Basic Whitecardstock for the inside pages and a 10-5/8" x 4-1/4" piece of Balmy Blue cardstock scored at 5-1/4" and 5-3/8" for the outside cover. I used the two middle size pieces of the diorama dies to die cut the 5" x 4" pieces of basic white cardstock as well as the front of the 12" basic white and balmy blue pieces so you can look through the entire booklet.
I used the left over pieces from cutting the holes in the white cardstock as masks to create some snowy hills on the card with my Blending Brushes and Balmy Blue Ink.
I glued two of the 5" x 4" pieces of die cut basic white cardstock to each inside binding section; sandwiching some of the left over diorama pieces to create little hills in those cutout areas. I then glued the completed basic white inside section to the balmy blue cardstock to create the booklet. I fussy cut several small images from the Penguin Playmates DSP using them to create different scenes on the diorama cutout sections of the booklet with glue and mini dimensionals.
I stamped snowflakes on the front in balmy blue ink using the Snowflake Wishes stamp set and the 'happy holidays!' words on the final page were from the Frosted Gingerbread stamp set. I finished the card by heat embossing words from the Snowflake Wishes stamp set on a piece of vellum using white embossing powder and fussy cutting around the words before gluing them to the front of the booklet.
This was a really fun booklet to make using a lot of different products and techniques. I love how it turned out and I enjoyed fussy cutting the adorable characters from the Penguin Playmates designer series paper which is only available for a limited time. I can hardly wait to make another one!
There are so many fabulous new products in the January - June 2021 Mini Catalogue that I didn't know where to start to play. Then I saw a cute video on YouTube showing how to make a 2-way sliding card with snail and mushroom images so I had to give it a try myself with the new Snail Mail Suite of products from Stampin' Up!
The internal mechanism was simple enough -- a bit of thick cardstock and a piece of plastic -- which allows two images to move from opposite directions (2-ways). However choosing where to place the scene for the front of the card took me all day!
I used the Friendly Silhouettes and Curvy Dies to create the garden/grass scene along with the Subtle Embossing Folder. I stamped the sentiment from the Quite Curvy photopolymer stamp set because I could adjust it to fit the top corner of my card.
The first card I made, I fussy cut images from the Snail Mail Designer Series Paper. I could have used the Snail Dies to cut out two of the images but I find it relaxing fussy cutting DSP in the evenings while the TV is on.
I used an image of packages to cover the pull lever and stamped the mushroom image on the inside of the card which I coloured using Stampin' Blends.
I then recreated the card for an instructional video using the Snail Dies to create mushrooms for the front of the card.
In my video I explain how I got the different coloured mushrooms using the Snail Dies. I even used two little die cut mushrooms for the pull tab to make the snails move.
The inside of this card used the same mushroom stamp as my first card but I stamped and die cut the image on separate cardstock before adhering it to the inside.
I used the mushrooms to hide the smaller snail behind a hillside and cover up some gaps in my Old Olive cardstock.
I used Tuxedo Black Memento Ink to stamp the sentiments and snails for this card because I coloured them with Stampin' Blends pens.
I've listed all the products I used in the description of my C & C Designs video which shows how I made my card.
I think this technique would work great on lots of designs and I'm already thinking of what 2-Way Slider Card I'll make next!
As soon as I looked at the new catalogue I fell in love with the Playful Pets Suite from Stampin' Up! The dogs and cats on the Playful Pets designer series paper are so cute! They remind me of Disney movie characters and I couldn't wait to create something with them.
Playful Pets Designer Series Paper -- Product #152489
I had the perfect opportunity to work with this gorgeous paper when I was asked to make table gifts for an upcoming event, so I designed mini suitcases to fit packets of travel tissues. I decided to decorate them with the cute Pampered Pet images.
There is a set of matching Pet dies which fit the four animal images in the stamp set so you can easily cut them out with a die cutting machine. However, I fussy cut 50 dogs and cats out of a few pieces of the designer series paper and still had plenty of paper left over for other crafts!
There is a fifth die in the set that cuts out three cute little paw prints and I used them to decorate the bottom of my mini suitcases. I discovered there were little hearts in the centre of each paw print which I used as decoration as well. I was pleasantly surprised to find I could use the paw print die to cut out some of the hearts on the DSP. I also cut some of the matching dog and cat images with two of the dies.
I cut two little rectangle pieces of the designer series paper to decorate each suitcase and since the paper is double-sided I just turned it over to use the other image on the back side of the suitcase.
The sentiment was stamped on a 3/4" piece of Whisper White cardstock and then I used the Lovely Labels Pick a Punch to make the ends look pretty before adding a couple little hearts.
I popped each element up with some dimensionals. I also added a little suitcase handle on the top using the smallest Stitched Rectangles Dies and re-cut it into a small rectangular strip before adding a couple Metallic Pearls to make it look like rivets holding a stitched leather handle on to the suitcase.
I sized my mini suitcases to fit the little travel tissues I bought at Yoyoso, which can easily be slipped out the open side to use.
Here is a video I made to show you how easy it is to make these cute little suitcases.
I hope you enjoyed this project and can see how easy it is to create a decorative holder for everyday objects. If there is a special project you'd like to see me make, please let me know in the comments!
My latest Mailbag Make has been created using the Best Dressed designer series paper with some mini cards and envelopes. The supplies in this kit allow you to make two little 3-1/4" square booklets which you can use as a mini photo album, journal, or special gift.
The front of two booklets and one side of the Best Dressed DSP.
You get six mini cards with envelopes, pre-cut cardstock, and 12 square pieces of Best Dressed double-sided paper so you'll have a huge choice of colours and designs to decorate your books.
The back of two little booklets and the reverse side of the Best Dressed DSP.
You will also get a link to my private instructional video in which I show you how to make the booklets and explain how you can decorate them by fussy cutting some of the designer series paper. If you'd like to stamp your books, as I have done in my sample, you may like to purchase the Dressed To Impressstamp set.
There are enough supplies with this kit so you can make two little booklets with pages made from the mini cards and envelopes.
The first six pages of the booklets made from cards and envelopes and decorated with stamps and fussy cut images.
You can stamp on the pages with your own stamps and ink or attach your favourite photos to them.
The last six pages of the mini booklets decorated with fussy cut images from the designer series paper.
The envelopes pages make small pockets which are perfect for hiding little surprise messages!
The inside of my original booklet with stamped and die cut images as well as some fussy cut paper.
If you don't have any stamps you can write on the pages or just decorate them with images from the designer series paper.
If you want, you could make some mini cards instead of two booklets as you'll have plenty of supplies at hand with this Best Dressed Mailbag Make kit. Just add adhesives and some scissors!
Have a look at my Sneak Peek Video to see what's included in the Mailbag Make and to learn how to order yours!
I decided to make several cards to leave in my neighbours' letterboxes to bring a bit of cheer to them during New Zealand's countrywide lockdown. I copied an embossing technique I saw online from a fellow demonstrator in the USA, Connie Tumm.
It's a quick and easy card to make as long as you have six different embossing folders. If you don't have that many folders, or none at all, you can create the card without embossing the coloured cardstock or maybe just emboss a few pieces.
I used cardstock from the five 2018-2020 In Colors plus Gorgeous Grape to make a my 6-colour rainbow cards. I know there are 7 colours in a rainbow (red, orange, yellow, green, blue, indigo and violet) but I didn't have enough room on my cards and I think it looks just as good without a second blue colour.
For the base of the cards I used Whisper White Note Cards & Envelopes which are 5" x 3-1/2" (12.7 x 8.9 cm) and I cut a Basic Black cardstock mat to 4-1/2" x 3" (11.5 x 7.5 cm). I also used 4" x 2-3/4" (10 x 7 cm) coloured cardstock -- Lovely Lipstick, Grapefruit Grove, Pineapple Punch, Call Me Clover, Blueberry Bushel, and Gorgeous Grape.
After embossing each coloured cardstock with a different 3-D Embossing folder (Brick & Mortar, Tin Tile,Hammered Metal, Country Floral, Scripty, Button Button) I cut each piece into 5/8" (1.5 cm) strips which gave me enough to make 6 cards.
I decorated the front of each card with a different sentiment in Memento Tuxedo Black Ink using the Stitched So Sweetly diesexcept for two cards which I fussy cut. Some of the cards were embellished with epoxy shapes or jewels to add a bit of sparkle to them. I even stamped the back of each envelope using my Stamparatus for accurate placement.
Back of envelope stamped with 'Stamping Your Way to the Top' stamp set
Instead of signing the cards and sealing the envelopes, I made up a poem to put inside so that the recipient could share the card with someone else.
This little card was made for you
to brighten up your day.
If it made you smile then its job is done
and you should send it on its way.
Please give it to someone you know
to pass along the cheer.
Since all of us need to know
there is always someone there!
Have a look at my video for more details on how to make your own rainbow cards and for lots of tips on using embossing folders.
Brightening someone's day by giving them a handmade card is very satisfying, even if you don't see the recipient's face when they open the envelope.