Showing posts with label gift. Show all posts

Saturday, 30 July 2022

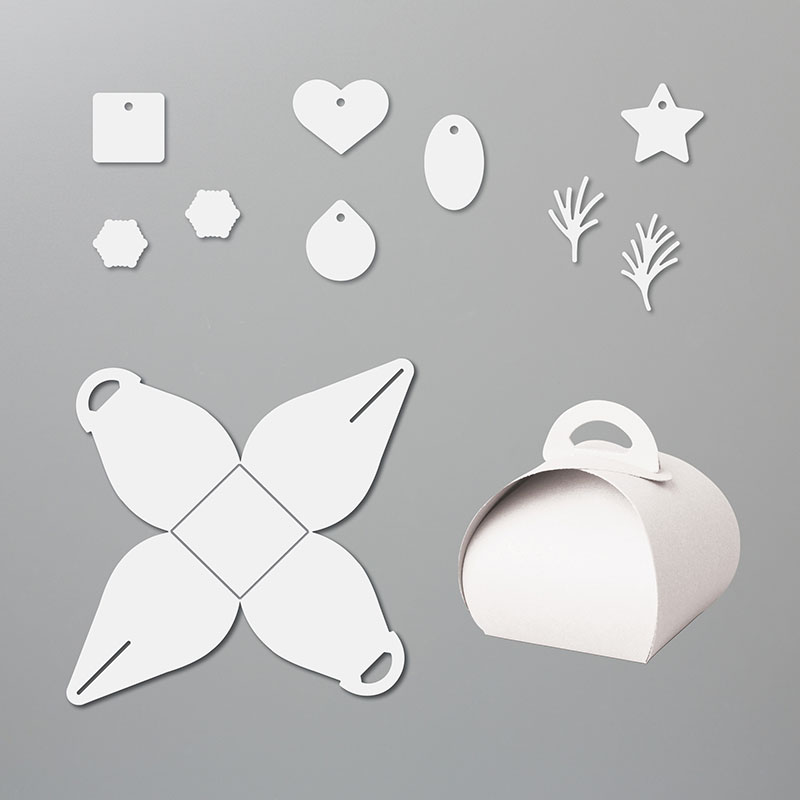
Dress up your gift giving with the Design a Treat Box Dies!

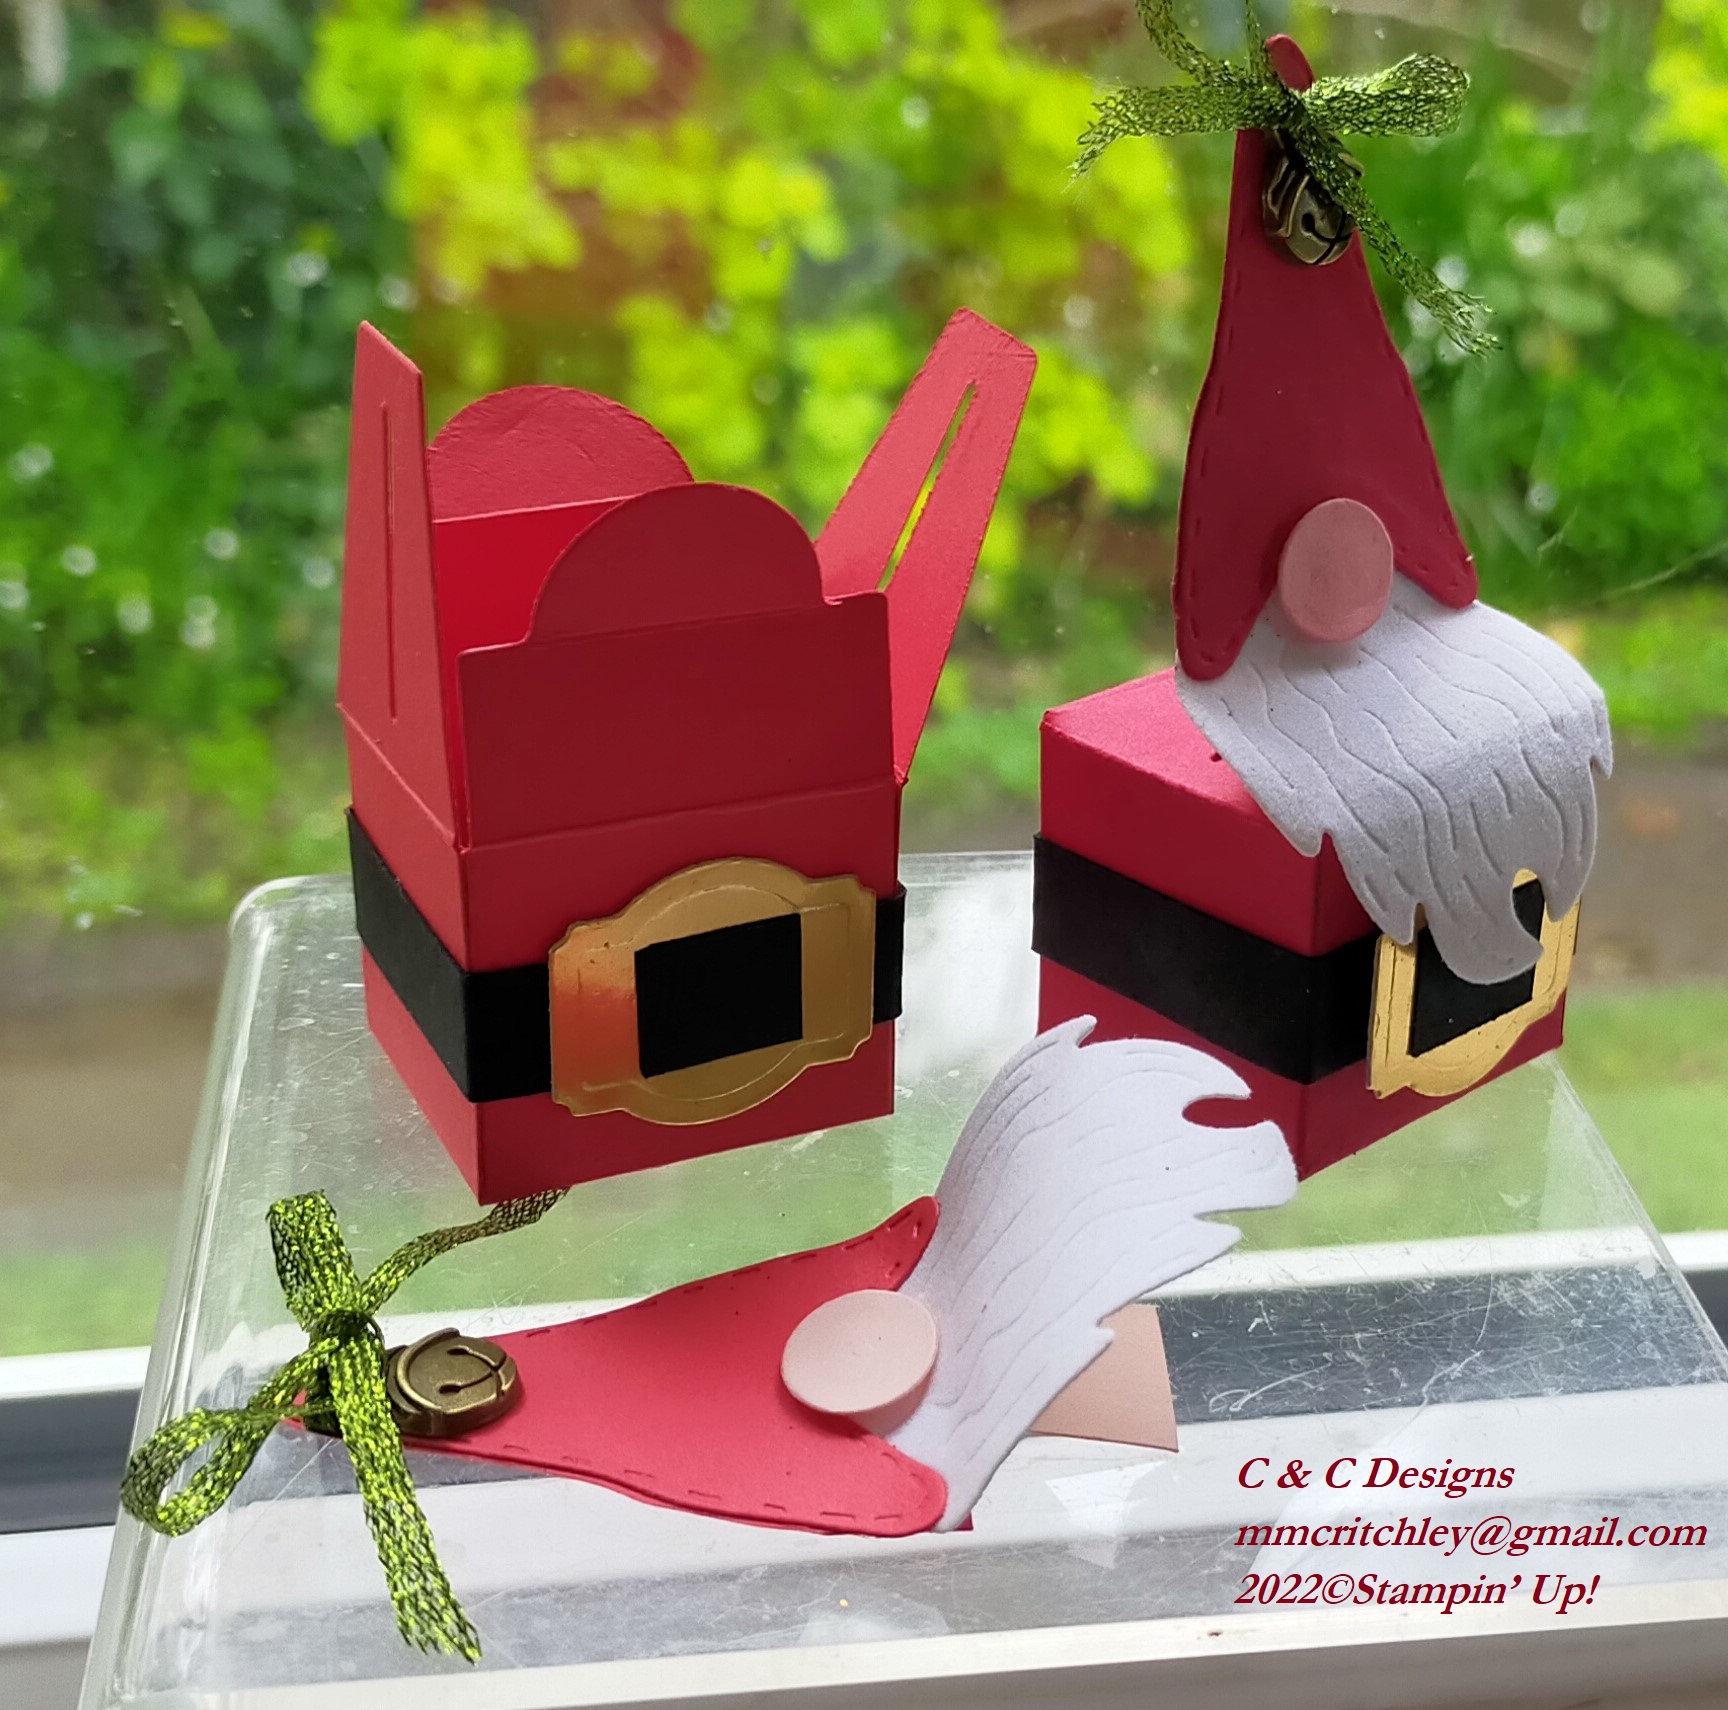
I've been having lots of fun playing with the new Design a Treat Box Dies from Stampin' Up! There is so much you can do with these dies along with the coordinating stamp set. This bundle allows you to make treat boxes for a variety of occasions -- birthdays, anniversaries, Easter, Halloween, Christmas and other celebrations.

I started by die cutting the little box from different papers -- cardstock, designer series paper, and glimmer sheets -- to see how the boxes come together. Then I couldn't stop creating! I just had to try out the different dies in this set.

I found that in order to still be able to open the boxes you need to die cut two of the top pieces (bow or bats) and glue them together just at the top so the centre will remain open. You can then slip it over the half-circle at the top of the box to decorate it.

When I first saw the dies in the Annual Catalogue I couldn't wait to get them to make a snowman. I stacked two white boxes for the body of the snowman with two 'branch' arms between them. I drew a face on the top box and used gems for the eyes and nose. I then made a little top hat from Basic Black cardstock and attached it to one side of the box top so that it could still be opened and closed.

The die set includes numbers from 0 to 9 so I decided to make an advent calendar tree. 

I used a piece of adhesive sheets on the back of gold foil before die cutting the numbers. This allowed me to easily attach them to my project. I chose to use the 'negative' image on red glimmer paper for my numbers. I will save the rest of the gold numbers for another project.

I die cut 12 boxes, 10 in Old Olive and 2 in Early Espresso cardstock.


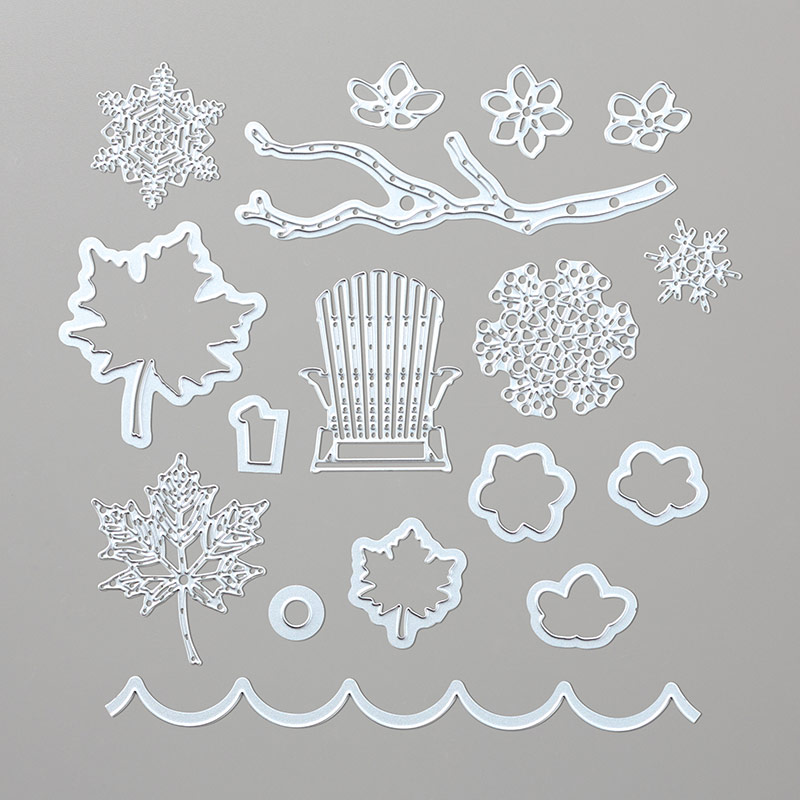
I embossed the green pieces with the pine branch folder from the Wintry 3D Embossing Folders set and the brown cardstock with the Timber 3D Embossing Folder to give them some texture. 

I enhanced the embossing on the green pieces by using a blending brush to add a little Old Olive ink to them.

By stacking the boxes sideways I was able make the tree so you can remove one box at a time to get the treats out. 

The boxes are small so you can only fit a Hersey Kiss or two in them. You could put an inspirational message inside each box or maybe a hint for a scavenger hunt to find a bigger gift!

After creating all these projects I had an idea of sticking four boxes together so they would fold up to create a bigger box, but it wouldn't stay closed so I just left the pieces on my table. When I went back to my table a day or two later, I thought the connected boxes looked like a caterpillar until I started playing with some of the die cut wings. Next thing I know, I was creating a dragon!

I used the wing die to create the arms, legs, tail and of course wings for my dragon. I created the look of scales with a spotty stamp from the Perfect Pomegranate host stamp set.

I had glued adjoining flaps together so that each box was connected but could still be opened. So this little dragon can hold lots of treats!

The eyes were made using the zero die and the oval die with some glimmer paper. I used more glimmer paper to make the flames using the antler die and the zero die for the mouth to 'blow' the flames out! I think my little dragon turned out really cute.


I am very surprised by how many different projects I made with these very versatile treat box dies. You can see them all in my video as well as a cute Santa 'gnome' to go along with the reindeer!

What would you make with these little boxes?


Wednesday, 20 May 2020

Best Dressed Mailbag Make

My latest Mailbag Make has been created using the Best Dressed designer series paper with some mini cards and envelopes. The supplies in this kit allow you to make two little 3-1/4" square booklets which you can use as a mini photo album, journal, or special gift.

The front of two booklets and one side of the Best Dressed DSP.
You get six mini cards with envelopes, pre-cut cardstock, and 12 square pieces of Best Dressed double-sided paper so you'll have a huge choice of colours and designs to decorate your books.

The back of two little booklets and the reverse side of the Best Dressed DSP.
You will also get a link to my private instructional video in which I show you how to make the booklets and explain how you can decorate them by fussy cutting some of the designer series paper. If you'd like to stamp your books, as I have done in my sample, you may like to purchase the Dressed To Impress stamp set.


There are enough supplies with this kit so you can make two little booklets with pages made from the mini cards and envelopes.

The first six pages of the booklets made from cards and envelopes and decorated with stamps and fussy cut images.
You can stamp on the pages with your own stamps and ink or attach your favourite photos to them.

The last six pages of the mini booklets decorated with fussy cut images from the designer series paper.
The envelopes pages make small pockets which are perfect for hiding little surprise messages!

The inside of my original booklet with stamped and die cut images as well as some fussy cut paper.
If you don't have any stamps you can write on the pages or just decorate them with images from the designer series paper.


If you want, you could make some mini cards instead of two booklets as you'll have plenty of supplies at hand with this Best Dressed Mailbag Make kit. Just add adhesives and some scissors!


Have a look at my Sneak Peek Video to see what's included in the Mailbag Make and to learn how to order yours!

#KeepCalmAndCraft #ComputerAndCraftDesigns #StampinUp #CreativeTherapy #Scrapbook #DesignerSeriesPaper #MiniBooklet #keepstamping

Sunday, 22 December 2019

Mini Calendar Easel Card with sticky note pad

I've finally finished my Christmas projects but I can't seem to stop crafting! So now I've turned my thoughts to the new year by making cute easel cards with mini calendars attached. The easel card design is simple and can be used for lots of different projects but here I use it to keep my sticky notes handy as well as a way for me to check the date!


For this project I used the Sailing Home cling stamps with the matching Smooth Sailing dies. I chose my colours from the Come Sail Away DSP -- Whisper White, Night of Navy and Mossy Meadow. On the first card I used an anchor from the Sail Away Trinkets, attaching it with a bit of the Night Of Navy/Sahara Sand Baker's Twine. My video shows how to use the smallest silver brad from the Metallic Brads to attach the hands to the compass.

The base of the easel is made from a 30.5 x 10.5 cm (12" x 4") piece of cardstock scored at 15.25 cm and 7.6 cm (6" and 3"). Glue a 15.25 x 10.5 cm (6" x 4") piece of coloured cardstock to the bottom half of the front of the card and a 14.25 x 9.5 cm (5-3/4" x 3-3/4") piece to the inside of the card. Glue a 14.25 x 9.5 cm (5-3/4" x 3-3/4") piece of designer series paper to the coloured front mat.

Glue the mini calendar to a piece of coloured cardstock which is slightly larger than the calendar, in my case that was a 7.6 x 5 cm (3" x 2") piece. You should be able to purchase the mini calendars online from a store in your country, however they need to be bought several months before the end of the year. Alternatively, you could print out your own and staple the months together. Glue the mini calendar to the dsp on the front of the card towards the bottom.

Stamp a piece of Whisper White cardstock with images from the Sailing Home stamp set and cut them out using the Smooth Sailing dies or the 3.8cm (1-1/2") Circle Punch depending on the images you stamp. You can also cut out images from coloured cardstock with the dies, such as the hands of the compass, the ship's wheel or the rope.

You can see exactly how to make one of these cards on my video here.

I taught this card at one of my Parent & Child classes recently, but we made it with the Good Morning Magnolia Bundle (Good Morning Magnolia Cling Stamp Set and the Magnolia Memory Dies). Some participants chose to stamp the image while others created a 3-D magnolia using the dies.
This would be a perfect gift for someone or make it for your desk so you have some note paper handy and will always know the date!

#KeepCalmAndCraft #ComputerAndCraftDesigns #StampinUp #creativetherapy #StayHome #PaperCraftIdeas #EaselCard #MiniCalendar #StickyNotes

Thursday, 14 November 2019

Swaps for OnStage Auckland

I love making things with paper and swapping at the Stampin' Up! OnStage event in Auckland is a good excuse for me to get creative. To that end, I made little sewing kit holders to give to my fellow demonstrators on November 16th. I saw the idea online from another demonstrator, Tracy Grant, but I changed the design to turn it into a 'matchbook' fold and sized it to get the most out of the sheets of cardstock I used.


It Starts With Art Bundle
I used the It Starts With Art stamp set with matching dies for these little swaps. This is one of my favourite sets as it has such lovely images which are relevant for most crafters, especially if you are like me and love stamping as much as you love embroidery. The images are so cute -- re-inkers, ribbon, sequins, buttons, pens, clips and thread bobbins -- and they have matching dies so it is easy to quickly put a project together. 

I chose the colours of cardstock and ink to match the four colours of Nature's Twine that I used -- Grapefruit Grove, Mint Macaron, Crumb Cake and Blackberry Bliss. I then sized the matchbooks to fit the little travel sewing kits I had purchased online. Each base piece of cardstock was 5 cm x 14 cm (2" x 5-1/2") and I scored them at 6 cm and 12.7 cm (2-3/8" and 5"). I folded the cardstock in at the score lines and then stapled the smaller bottom piece in place allowing me to tuck the longer top piece into it to make the matchbook.

I embossed a contrasting piece of 4.5 cm x 5 cm (1-3/4" x 2") cardstock with the Button Button Embossing Folder and glued it to the front of the matchbook. I cut long button and ribbon shapes using the Arts & Crafts dies to decorate the bottom front of each little matchbook to cover up the staple.

In order to stamp the thread holders, I first die cut the shapes out of Whisper White thick cardstock and placed them in a template I had made for the Stamparatus. This allowed me to quickly stamp each one accurately, since I was making 80 of them. I then put some Snail Adhesive on the back of each one to hold the ends of the twine in place as I wrapped it around the shape. I used about 46 cm (18") of twine for each thread spool and popped them up on the embossed piece of the holder using Stampin' Dimensionals. I then glued a die cut button on to the twine in a contrasting colour.

Steps to make mini sewing kit holders
I finished them by using a bit of Snail Adhesive to hold a mini sewing kit in place on the inside of each little matchbook.

Here is my YouTube video showing exactly how I made these swaps.

Watch out for my next blog post where I will showcase the talents of my fellow Stampin' Up! demonstrators with pictures of the swaps I receive. I love the ideas I get from swapping at OnStage!

#KeepCalmAndCraft #ComputerAndCraftDesigns #StampinUp #creativetherapy #StayHome #PaperCraftIdeas #HandmadeCard #Swaps #OnStage2019 #AucklandOnStage #SaleABration #MiniSewingKit #Matchbook 

Sunday, 3 November 2019

Want To Melt A Snowman?

I live in a country where Christmas is hot and sunny because it is summertime here in New Zealand in December, however I still love all the traditional festive images of snowflakes, starlit nights, Santa in his red suit and dreaming of a white Christmas. I really like snowmen as they come in lots of different sizes and shapes, which got me thinking of a melting snowman. I remember making one out of felt many years ago so I decided to try to recreate it using paper.

I cut an A4 piece of Whisper White cardstock at 14 cm (5.5") on the long side. I used the 14 x 21 cm (5.5" x 8.25") piece to die cut the Mini Curvy Keepsake Box to make the snowman head.
Mini Curvy Keepsake Box dies
Frosted Foliage stamp set
Christmas Countdown stamp set
I then cut the remaining 15.7 x 21 cm (6.25" x 8.25") piece into a 'melted' blob for the body of the snowman. I stamped all over both pieces with Silvery Shimmer ink using the little star/snowflake stamp from the Christmas Countdown stamp set.
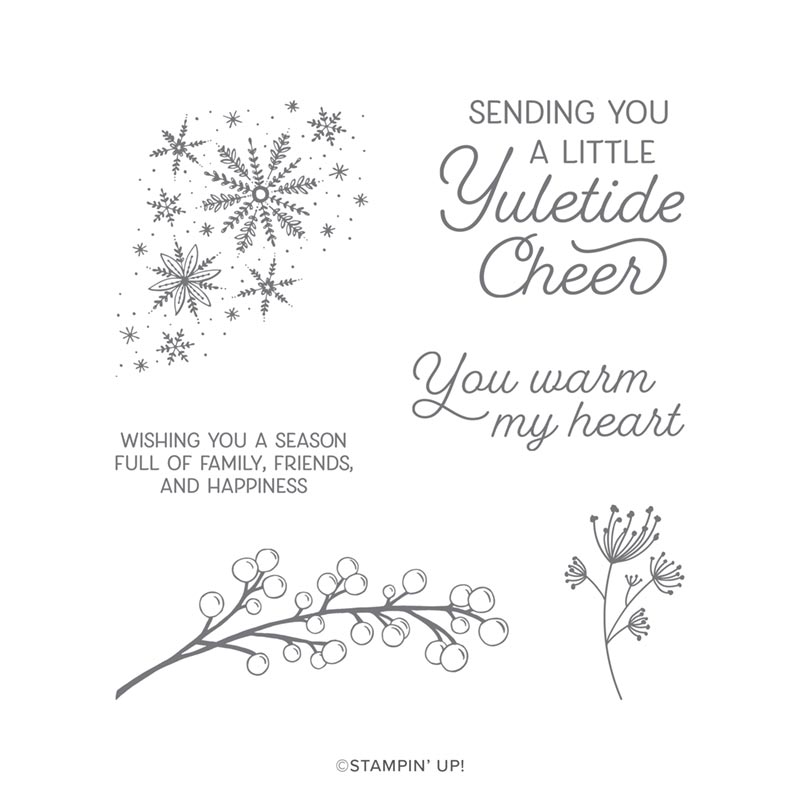
On the remainder of the 14 cm Whisper White cardstock I stamped the words 'You Warm My Heart' from the Frosted Foliage stamp set using Memento Tuxedo Black ink. I then punched it out with the Story Label punch and popped it on to the melted snowman using dimensionals.
SEASONAL LAYERS DIES
Seasonal Layers dies

I cut a scrap of Basic Black cardstock into a hat shape and glued a little strip of Old Olive cardstock on it as a hat band. I attached it to the melted snowman body using black mini dimensionals. I cut a long triangle from a scrap of Pumpkin Pie cardstock and drew little lines on it with a Basic Black Stampin' Write pen to make the carrot nose. The two arms are cut out of Early Espresso cardstock using the branch die from the Seasonal Layers die set.

Before assembling the box I drew a 'melting' mouth on one side with the Basic Black Stampin' Write pen and I used a Basic Black Dark Stampin' Blends pen to colour two Pearl Basic Jewels for the eyes. I then glued all the pieces to the base and used three Red Rhinestone Jewels for the buttons which had fallen off the body as it melted.

Have a look at this video for instructions on how to make one for yourself.


If you live in New Zealand you can order all the products you need to make this adorable snowman at my shop or from your demonstrator. Then you can get started on melting your own snowman!

#KeepCalmAndCraft #ComputerAndCraftDesigns #StampinUp #creativetherapy #StayHome #PaperCraftIdeas #ChristmasCard #HandmadeCard #SnowmanCard #CurvyKeepsake 

Thursday, 23 May 2019

Apron Gift Boxes with Mini TicTacs


These adorable little boxes were made using the Apron Of Love stamp set and matching dies. The moment I saw this set I thought of creating a container with it. It was so easy to make as I just die cut two sides of the apron from designer series paper and then attached them together with a little piece of cardstock between the two aprons.


The only stamping I did on this craft was the sentiment on the apron pocket and the tiny card I made to go into the little pocket. I love this set as it has so many parts to make wonderful cards and crafts for any occasion -- Mother's Day, Father's Day, friends, thank you, etc.


I put mini TicTacs in them as gifts for my customers last year and I made some more with chocolates and hand sanitisers in them to sell at my craft markets. You could make the container bigger for other items, like a Tombow glue bottle, soap, lollies or anything you want!


Of course you can use this set for cards, scrapbooking or even home decor. The possibilities are endless and you can see a few of these ideas on my website and on Pinterest.

Unfortunately this set is going to retire on June 3rd, so if you'd like to make this project you will need to buy the Apron of Love set soon. If you are in New Zealand you can contact me to order or look online to find a Stampin' Up! demonstrator in your country to order from.

#ComputerAndCraftDesigns #StampinUp #creativetherapy #PaperCraftIdeas #HandmadeGifts #3DPapercrafts

Sunday, 5 May 2019

Quick and Easy Crafting with Kits


Sometimes I lose my crafting mojo and even though I can find lots of beautiful things to create online, when I sit down at my table I feel overwhelmed. That is when a kit comes to the rescue!

Much like going to a class, a kit provides you with everything you need to make several projects. The only thing missing is the teacher and classmates, but sometimes I just want to be alone and do my crafting in the comfort of my pajamas. I certainly can't do that at a class! 😉

When I became an independent Stampin' Up! demonstrator over 2 years ago I bought a couple kits from the current catalogue. I followed the instructions and made all the cards exactly as shown in the pictures. This quickly gave me a large quantity of cards to offer for sale at the craft markets I started attending and I didn't have to invest a lot of money in full products to make things.

Cards from 2017-18 All-Inclusive Kits
Now that I am a 'seasoned' demonstrator I still use kits for a variety of reasons. Even though Stampin' Up! offers a multitude of coordinating products and has a beautiful catalogue with hundreds of fabulous project ideas sometimes I just need something quick and easy to do. That is why the kits come in different styles, depending on what the crafter wants and needs -- all-inclusive kits, project kits and limited-time kits.

Different kits from the 2018-19 catalogues
I love kits because of the versatility of the products they have which allows me to make cards quickly or I use the items to create other projects. Using a kit is a great way to try different things without having to purchase a full set of products. With a kit you can use different embellishments, such as twine, vellum, glitter paper, foil paper, pearls, ribbons, dsp and dimensionals. Some kits also have different shapes and sizes of cards and envelopes as well as different cardstock colours. The other great thing is you get to play with cutout shapes without having a die cutting machine or a punch.

Another wonderful benefit of using kits is you get exclusive products which usually cannot be purchased separately. Each kit comes with an ink spot, cards, envelopes and embellishments created just for that kit. So purchasing several kits with different ink colours will allow you to collect a supply of ink without having to invest in the full-size ink pads. I personally prefer using ink spots with the Stamparatus as it creates less mess on the plates. The spots are also easier to travel with.

The 'All-Inclusive' kits come with everything you need to make the cards -- stamps, ink, cards, envelopes, embellishments and dimensionals. These kits are great for 'on the go' crafting as you have everything you need except for scissors, Tombow multipurpose liquid glue or Tear & Tape adhesive. The supplies usually come in a sturdy box for easy storage or you can use the box as gift packaging when you complete your kit. The kits usually come with matching envelopes so you are ready to post the cards once you are done. When you complete an 'all-inclusive' kit you then have stamps and an ink spot to use for other projects which is why these kits cost a bit more than other kits.

Made To Bloom all-inclusive card kit #148537 $57 NZD
Lots of Happy all-inclusive card kit #146388 $74 NZD
Soft Sayings all-inclusive card kit #145466 $74 NZD
The 'Project' kits do not come with stamps as the stamp set is sold separately. So you can use any stamp set you have to complete the cards in this type of kit or you can purchase the recommended stamp set to make them as shown in the instructions. The benefit of having the stamp set separate from the kit is that you can purchase more than one kit if you wish to make a lot of cards and you won't end up with duplicate stamps. Sometimes these kits include an exclusive item, such as the clear storage box in the 'Incredible Like You' project kit. You will need to use your own scissors, adhesive, inks and stamps to complete the cards in a project kit, however that is reflected in the lower price.

Incredible Like You project kit #148552 $57 NZD
Matching Incredible Like You stamp set #148708 $36 NZD
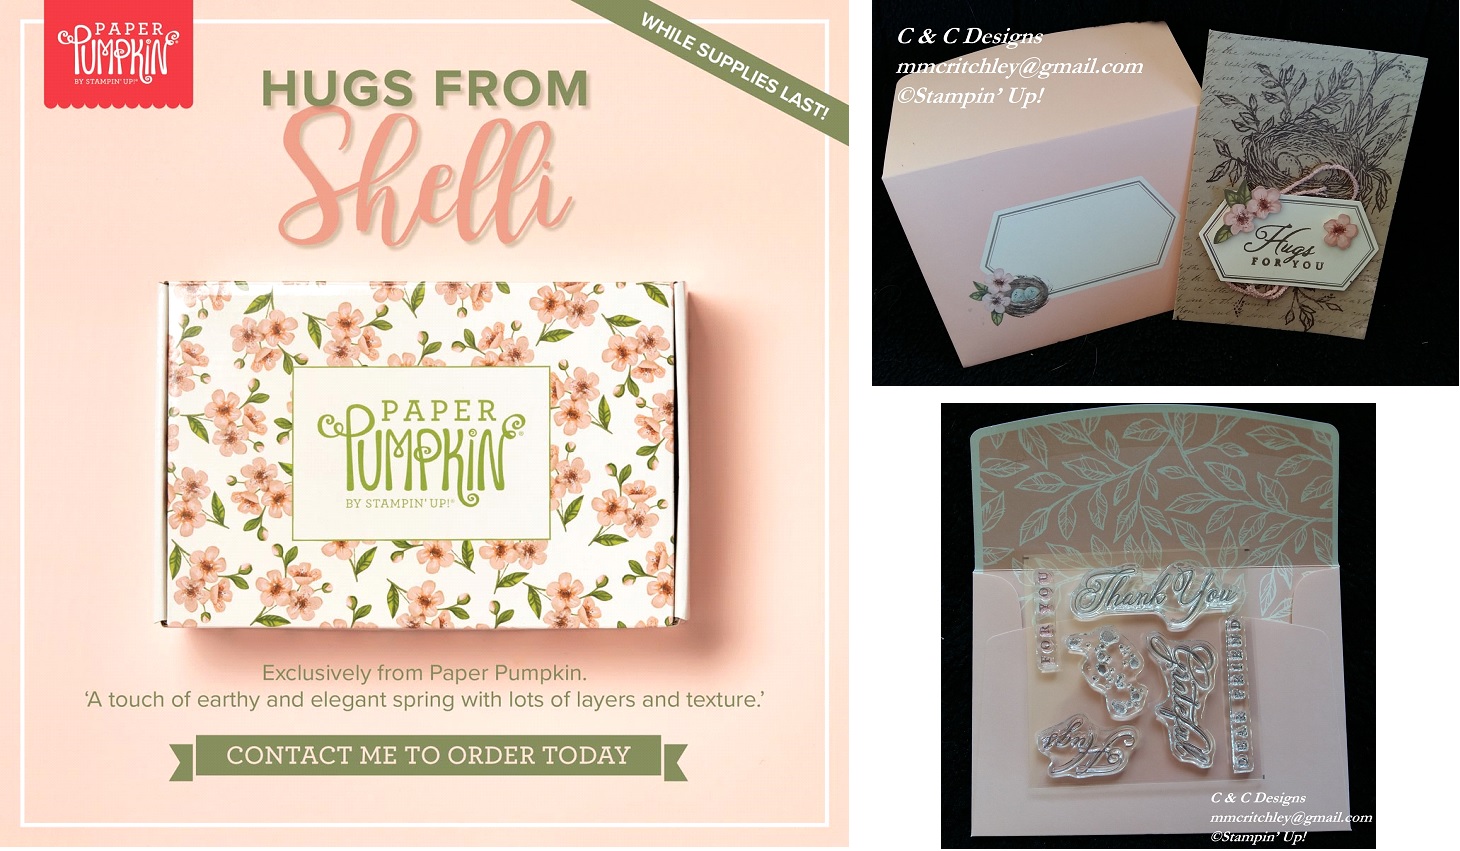
Occasionally Stampin' Up! comes out with limited-time offers and on May 15th there will be an exclusive kit offered here in New Zealand. In the USA and Canada, crafters can subscribe to a stamping kit from Paper Pumpkin which has exclusive Stampin' Up! products in it each month. However for one time only, we will be able to get a kit from Paper Pumpkin which is called the 'Hugs From Shelli' kit and it will include an exclusive stamp set not available anywhere else, one Classic Stampin’ Spot®, paper and crafting materials to create 12 cards (3 cards of 4 unique designs), 12 coordinating envelopes, adhesives and embellishments for all 12 cards in a decorated storage box.

This kit was created with the help of Shelli Gardner, co-founder of Stampin' Up! It will only cost $44 NZD and is available for a limited time, so if you'd like one of these kits please let me know asap as when they sell out they will be gone forever. The Paper Pumpkin kits are always a surprise so I can't show you what will be in it as I don't know, however I was lucky enough to get to make one of the exclusive cards when I attended OnStage last month and I even got to keep the photopolymer stamps!


Hugs from Shelli Paper Pumpkin kit #152032 $44 NZD
When I am pressed for time, I sometimes use a kit for one of my classes so I don't have to prep all the different elements for the cards. Kits are also wonderful if you need a lot of a similar cards made quickly, such as birthday or thank you cards. Sometimes just making a few cards from a kit can get my mojo going so I can then get back into my creative groove!
#ComputerAndCraftDesigns #StampinUp #creativetherapy #PaperCraftIdeas #HandmadeGifts #HandmadeCard #PapercraftKit