Showing posts with label ink. Show all posts

Sunday, 22 March 2020

April Mailbag Make -- Poppy Wreath plus 3 Notecards!

In New Zealand and Australia we celebrate ANZAC Day on April 25th every year to remember those who have paid the ultimate sacrifice to keep our countries safe. ANZAC is the acronym for Australian and New Zealand Army Corps and was created in WWI.

A symbol of this remembrance day is a red poppy known as Flanders' Poppy, which was the first plant to re-emerge from the churned up soil of soldiers' graves during the First World War. Most people wear a cloth poppy on their shirt on ANZAC day, and during the week leading up to the ceremonies, as a sign of respect for those who have fought in wars.

I decided to create a wreath of poppies using the Poppy Moments dies with the intention of laying it at my local war memorial or putting on my front door. I thought maybe others would like to create poppy wreaths as well so I have made my design into a Mailbag Make. This is a perfect project to be doing at home with the kids or if you are not able to get out to craft classes. I have made each poppy a little bit different using a variety of techniques with the ink and glue.

The Poppy Wreath Mailbag Make includes everything you need to get crafting straight out of the mailbag! You will receive several die cut poppy and leaf elements as well as a Fine Tip Glue Pen, a bottle of Real Red Ink Refill and a sponge dauber. You will also get a link to a private instructional video showing you how to put everything together including tips and techniques using the ink refill.

Have a look at this 'sneak peak' video for more information and details on how to order.
I hope you like my project and find a way to celebrate ANZAC day on April 25th!

#Poppies #FlandersPoppy #AnzacDay #Wreath #RemembranceDay #KeepCalmAndCraft #ComputerAndCraftDesigns #StampinUp #creativetherapy #StayHome #MailbagMake 

Thursday, 14 November 2019

Swaps for OnStage Auckland

I love making things with paper and swapping at the Stampin' Up! OnStage event in Auckland is a good excuse for me to get creative. To that end, I made little sewing kit holders to give to my fellow demonstrators on November 16th. I saw the idea online from another demonstrator, Tracy Grant, but I changed the design to turn it into a 'matchbook' fold and sized it to get the most out of the sheets of cardstock I used.


It Starts With Art Bundle
I used the It Starts With Art stamp set with matching dies for these little swaps. This is one of my favourite sets as it has such lovely images which are relevant for most crafters, especially if you are like me and love stamping as much as you love embroidery. The images are so cute -- re-inkers, ribbon, sequins, buttons, pens, clips and thread bobbins -- and they have matching dies so it is easy to quickly put a project together. 

I chose the colours of cardstock and ink to match the four colours of Nature's Twine that I used -- Grapefruit Grove, Mint Macaron, Crumb Cake and Blackberry Bliss. I then sized the matchbooks to fit the little travel sewing kits I had purchased online. Each base piece of cardstock was 5 cm x 14 cm (2" x 5-1/2") and I scored them at 6 cm and 12.7 cm (2-3/8" and 5"). I folded the cardstock in at the score lines and then stapled the smaller bottom piece in place allowing me to tuck the longer top piece into it to make the matchbook.

I embossed a contrasting piece of 4.5 cm x 5 cm (1-3/4" x 2") cardstock with the Button Button Embossing Folder and glued it to the front of the matchbook. I cut long button and ribbon shapes using the Arts & Crafts dies to decorate the bottom front of each little matchbook to cover up the staple.

In order to stamp the thread holders, I first die cut the shapes out of Whisper White thick cardstock and placed them in a template I had made for the Stamparatus. This allowed me to quickly stamp each one accurately, since I was making 80 of them. I then put some Snail Adhesive on the back of each one to hold the ends of the twine in place as I wrapped it around the shape. I used about 46 cm (18") of twine for each thread spool and popped them up on the embossed piece of the holder using Stampin' Dimensionals. I then glued a die cut button on to the twine in a contrasting colour.

Steps to make mini sewing kit holders
I finished them by using a bit of Snail Adhesive to hold a mini sewing kit in place on the inside of each little matchbook.

Here is my YouTube video showing exactly how I made these swaps.

Watch out for my next blog post where I will showcase the talents of my fellow Stampin' Up! demonstrators with pictures of the swaps I receive. I love the ideas I get from swapping at OnStage!

#KeepCalmAndCraft #ComputerAndCraftDesigns #StampinUp #creativetherapy #StayHome #PaperCraftIdeas #HandmadeCard #Swaps #OnStage2019 #AucklandOnStage #SaleABration #MiniSewingKit #Matchbook 

Friday, 8 November 2019

Snowman 'Empathy' Card

I came up with an idea to make a card showing a snowman whose head has fallen off. Why has it fallen off ? I don't know. Maybe it was starting to melt. Maybe there was a gust of wind that blew it off. Maybe the snowman was in a snowball fight and got hit in the head. Maybe whoever was making the snowman went away and never finished putting the head on the body. No matter what story you create, it seems a bit sad to see the snowman reaching for it's fallen head. Since this didn't seem to be a Christmas card (even though there is a snowman), I decided to make it into an 'empathy' card.
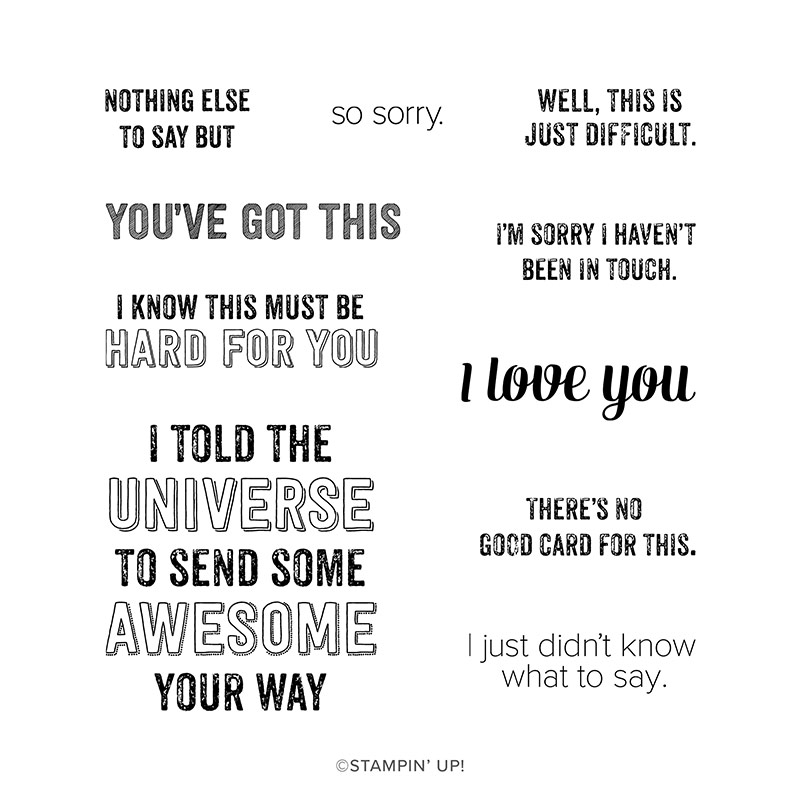
The inside of the card on the left says "I know this must be hard for you" and the inside of the card on the right says "I just didn't know what to say."

Genuine Gems Cling Stamp Set
The Genuine Gems stamps were perfect for the sentiments because this stamp set has lots of sayings for those times you just can't find the appropriate words. This card would be perfect to give to someone to let them know you are thinking of them during a difficult time in their life.
The base of the card is a standard Whisper White A6 size (5-13/16 x 4-1/8"). I used two Balmy Blue pieces cut to 14.3 x 10 cm (5-5/8 x 4") for the background on the front and a mat on the inside. I cut one piece of Whisper White cardstock to 13.8 x 9.5 cm (5-7/16 x 3-3/4") for the inside of the card. I used two 2 x 10 cm (2-3/4 x 4") thin Whisper White pieces for the snowdrifts on the front of the card. I cut three circles using the smallest Layering Circles dies out of Whisper White cardstock to make the snowman.

SEASONAL LAYERS DIES
Seasonal Layers Dies
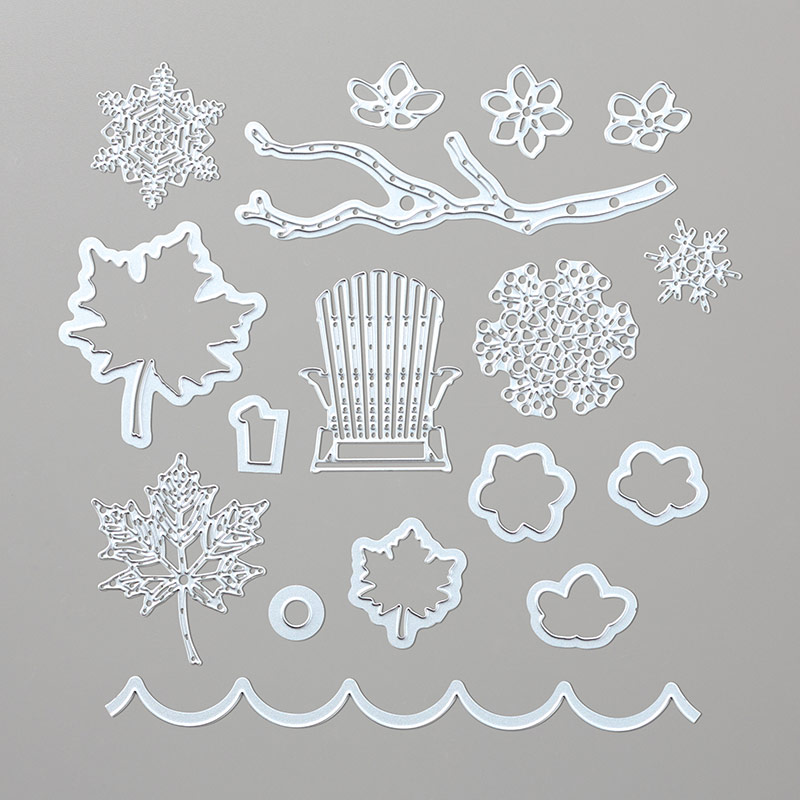
I stuck the snowman pieces to the card with Tombow Multipurpose Liquid Glue and Stampin' Dimensionals, tucking parts into the snowdrifts. I cut a scrap of Basic Black cardstock into a hat shape and glued a little strip of Old Olive cardstock on it as a hat band before placing it on the card with dimensionals. I cut a long triangle from a scrap of Pumpkin Pie cardstock and drew little lines on it with a Basic Black Stampin' Write pen to make the carrot nose. The two arms are cut out of Early Espresso cardstock using just the top part of the branch die from the Seasonal Layers die set. All pieces were glued into place using Tombow.

I made a video with instructions -- actually two videos because my phone stopped recording just before I had finished the card. In the first video I show you how to get the snowstorm effect by splattering Snowfall Accents Puff Paint on the Balmy Blue background before heating it with a Heat Tool. I also demonstrate how to tear the thin Whisper White cardstock for the bottom of the card. These pieces are layered to make a snowdrift effect for the snowman to be stuck in. To make the eyes and buttons I used Stampin' Blends to colour Basic Pearls and Rhinestone Jewels. I then had the difficult task of choosing which words to stamp on the front and inside of the card with Memento Tuxedo Black ink. There are so many good choices from the Genuine Gems stamp set!


If you live in New Zealand you can order all the products you need to make this cute snowman card at my shop or from your demonstrator.

#KeepCalmAndCraft #ComputerAndCraftDesigns #StampinUp #creativetherapy #StayHome #PaperCraftIdeas #ChristmasCard #HandmadeCard #SnowmanCard #Empathy 

Sunday, 3 November 2019

Want To Melt A Snowman?

I live in a country where Christmas is hot and sunny because it is summertime here in New Zealand in December, however I still love all the traditional festive images of snowflakes, starlit nights, Santa in his red suit and dreaming of a white Christmas. I really like snowmen as they come in lots of different sizes and shapes, which got me thinking of a melting snowman. I remember making one out of felt many years ago so I decided to try to recreate it using paper.

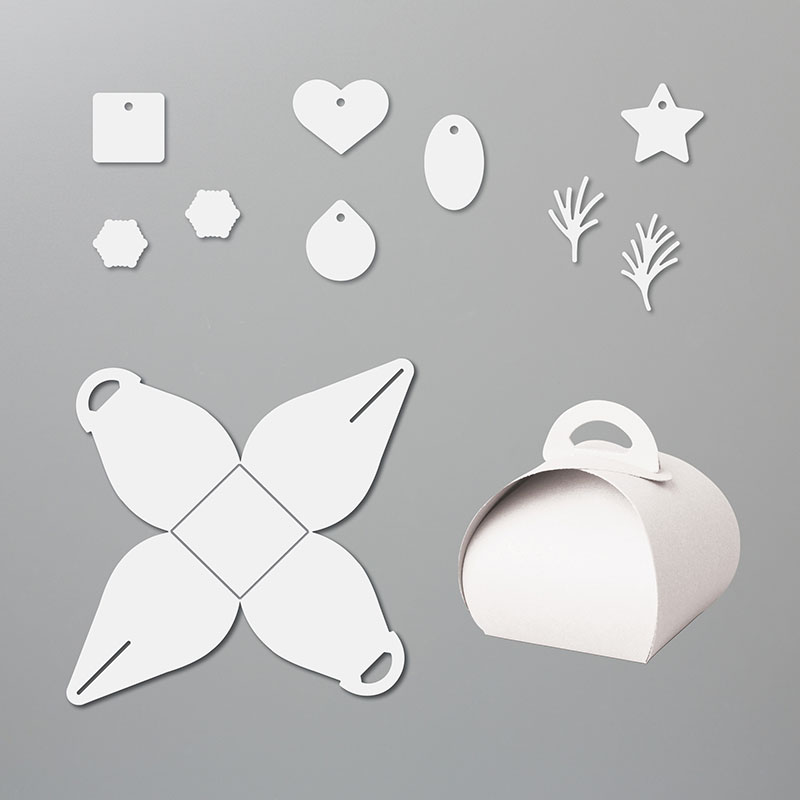
I cut an A4 piece of Whisper White cardstock at 14 cm (5.5") on the long side. I used the 14 x 21 cm (5.5" x 8.25") piece to die cut the Mini Curvy Keepsake Box to make the snowman head.
Mini Curvy Keepsake Box dies
Frosted Foliage stamp set
Christmas Countdown stamp set
I then cut the remaining 15.7 x 21 cm (6.25" x 8.25") piece into a 'melted' blob for the body of the snowman. I stamped all over both pieces with Silvery Shimmer ink using the little star/snowflake stamp from the Christmas Countdown stamp set.
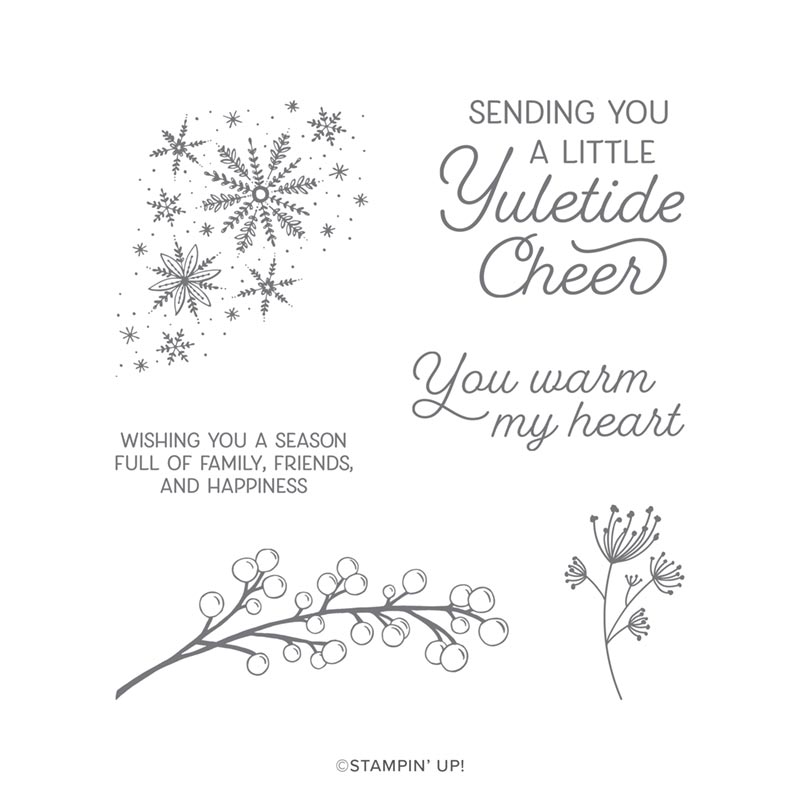
On the remainder of the 14 cm Whisper White cardstock I stamped the words 'You Warm My Heart' from the Frosted Foliage stamp set using Memento Tuxedo Black ink. I then punched it out with the Story Label punch and popped it on to the melted snowman using dimensionals.
SEASONAL LAYERS DIES
Seasonal Layers dies

I cut a scrap of Basic Black cardstock into a hat shape and glued a little strip of Old Olive cardstock on it as a hat band. I attached it to the melted snowman body using black mini dimensionals. I cut a long triangle from a scrap of Pumpkin Pie cardstock and drew little lines on it with a Basic Black Stampin' Write pen to make the carrot nose. The two arms are cut out of Early Espresso cardstock using the branch die from the Seasonal Layers die set.

Before assembling the box I drew a 'melting' mouth on one side with the Basic Black Stampin' Write pen and I used a Basic Black Dark Stampin' Blends pen to colour two Pearl Basic Jewels for the eyes. I then glued all the pieces to the base and used three Red Rhinestone Jewels for the buttons which had fallen off the body as it melted.

Have a look at this video for instructions on how to make one for yourself.


If you live in New Zealand you can order all the products you need to make this adorable snowman at my shop or from your demonstrator. Then you can get started on melting your own snowman!

#KeepCalmAndCraft #ComputerAndCraftDesigns #StampinUp #creativetherapy #StayHome #PaperCraftIdeas #ChristmasCard #HandmadeCard #SnowmanCard #CurvyKeepsake 

Thursday, 31 October 2019

Custom Handmade Christmas Cards

I love papercrafts and that is why being an independent Stampin' Up! demonstrator is a perfect fit for me. I really enjoy making cards and other handicrafts and love to show my creations to other people. That is how I got a custom Christmas card order from my daughter's boss. Last year I was showing her a Christmas card I had just made and she asked if I could make 20 of them for her to give to her customers. That was my first custom order!

So this year I created a couple 'sample' cards using the So Many Stars bundle especially for my daughter's boss. I showed her the two cards a few weeks ago and she chose to order the design on the right with the swirls.
I used my computer to print her company's name on whisper white cardstock which I cut to size for the inside of each card. I then went about making 20 of these Christmas cards using balmy blue cardstock, silver foil, silver glimmer paper, silvery shimmer delicata metallic ink for the background stars and silver embossing powder for the sentiment.

I love the Stitched Stars dies because they look beautiful in glimmer paper and the stitching even makes plain paper look more elegant. I used the little stars which cut out of the swirl die as accents on the front of the card as well as one on the back of the envelope, which I stamped in balmy blue ink with the speckled stars from the So Many Stars photopolymer stamp set.
I don't have much family here in New Zealand and the cost of postage to send cards to my relatives in the USA is very expensive so I don't send many Christmas cards, however I am still able to satisfy my desire to make handmade Christmas cards by doing custom orders.

So if you live in New Zealand and would like some handmade cards just let me know. Or better yet, I can teach you how to make your own cards at one of my classes! Just have a look at my website for my contact details and upcoming classes.

#KeepCalmAndCraft #ComputerAndCraftDesigns #StampinUp #creativetherapy #StayHome #PaperCraftIdeas #ChristmasCard #HandmadeCard #SoManyStars 

Thursday, 22 August 2019

Daisy Punch Meets Rooted In Nature Wood Stamp

During a recent class I was teaching, I explained how I punch out images on a sheet of scrap paper so I can easily see which punches I have and how the shapes will fit over a sentiment before stamping it. I hold the 'negative' punched image over the stamp to see if it will fit the shape. This also helps me figure out if the punch will fit a piece of cardstock I want to use, thus saving me time and paper.

While I was demonstrating how to do this I was using a scrap of paper on which I had punched out daisies the night before and I suddenly had an 'aha!' moment. The large daisy fits perfectly over the large wooden ring image from the Rooted in Nature stamp set. So I grabbed one of the ink pads we were using in class and soon I had a textured daisy.

When I was trying to remove the cardstock from the punch, I wondered if I could make more petals by punching out the remaining stamped cardstock. I then had a complete daisy and lots of petals in the same textured colour. I did it again using Cajun Craze ink and began putting my new flower design together. I stuck the two complete daisies on each other and then glued each petal to the centre overlapping the other colour.


Then I went looking for cardstock and DSP to use to make a card with my new flower. That's usually how I create (unless I am CASEing someone else's awesome designs) -- I play around with stamps and dies or punches and then try to use them in a project. I don't always match up colours precisely as I don't think about what coloured cardstock I have before I make the embellishments, plus I'm not thinking of the final design when I'm playing with my stamps and dies. I guess I'm doing things backwards, but it's more fun and challenging that way!

I knew I had a lot of Mint Macaron cardstock so I started with that colour and discovered that the Mosaic Mood Specialty Designer Series Paper used it as well as Cajun Craze, which was one of my flower colours. I then chose Very Vanilla cardstock for the base and central layer because that was in the DSP as well. From there I used my leaf punch and the Painted Harvest stamp set to make two-toned leaves to match the other DSP colours. The Stamparatus allowed me to line up the two-step stamp easily to make the leaves very quickly. I used a 1/2" circle punch to make a Daffodil Delight coloured circle piece which I shaped to fit the centre of my flower. I used Stampin' Write pens in the colours of the flower for the sentiment and pretty soon I was finished with my card.
So now I can't wait to go through all my stamps to see which will fit my daisy punches to create more unique flowers or maybe I can find new textures for my cat and dog punches!


#ComputerAndCraftDesigns #StampinUp #creativetherapy #PaperCraftIdeas #HandmadeCard #CardTechnique

Friday, 7 June 2019

Emboss Resist Technique with a Twist!

I have tried the emboss resist technique many times in the past and there are lots of videos online to show how to do it. For those of you who don't know what it is . . . you heat emboss an image using white or clear embossing powder on to white card stock and then rub ink all over the paper so that the image 'resists' the ink. It looks like a magic trick when the image suddenly appears! I remember doing this as a kid with waxed crayons and paint to make 'secret messages' appear on paper.


Recently I tried a little twist to this technique which I have seen a few times online. There is one extra step to achieve this effect. Before embossing I coloured the glossy paper with a few different inks to go with the image I wanted to use. For the leaf card I chose regal autunm colours and for the daisy card I used bright summery colours.

I decided to try two different ways of colouring the glossy card. For the leaves I put a few drops of reinkers (Calypso Coral, So Saffron, and Pear Pizzazz) on the cardstock and then used my heat tool to dry the ink while moving it around the paper. This gave me more colours when the ink mixed on the page which resembled the colour of autumn leaves.

For the daisy card I used sponge daubers to rub three different inks (Lovely Lipstick, Grapefruit Grove, and Pineapple Punch) in various areas on the paper. I started with the darkest colour and them moved up to the lighter colours because I could always add more of the darker colour if I needed. I rubbed the lightest colour (Pineapple Punch) all over the top of the other two to blend any hard lines.

After waiting for the inked pieces of glossy cardstock to dry, I rubbed the cardstock with the Embossing Buddy to prevent any embossing powder from sticking where I didn't want it to go. I then used Versamark ink to stamp my images from the Daisy Lane and Rooted in Nature stamp sets all over the paper before sprinkling clear embossing powder over those images and heat embossing them. This protected the coloured background under the stamped images for my next step.
To make the embossed images more visible, I inked over the entire cardstock with a darker colour. This can be done with a sponge or just pressing the ink pad all over the card stock. After it was all inked up I then took a dry cloth and rubbed the ink off the top of the embossed images just like the traditional emboss resist technique. Then the coloured background showed through the clear embossed images, giving me multi-coloured daisies and leaves!
Once I had finished the emboss resist technique I then had to do something with the pages I had made. This took the longest time as I wasn't happy with the dark green background or the placement of the daisies. I did love how the leaves turned out but I needed to find accessories to create a card for that page.

I then concentrated on the easiest part of the cards, the inside! I stamped a flower on Pineapple Punch cardstock for the inside of the daisy card and then tried to replicate the mixed leaf colours for my autumn card. I used another technique to stamp a different leaf image from the Rooted in Nature set. Using Stampin' Write Markers I coloured different parts of the stamp and then sprayed a little water on it with the Stampin' Spritzer. This made the ink merge and when I stamped the leaf it had a watercolour look to it which matched the embossed leaves on the front of the card.

For my other card, I cut circles out of Grapefruit Grove cardstock to let the daisies show through and I fussy-cut one out of the embossed page to create a bit of dimension. I have since ordered the matching daisy punches so I won't have to fussy-cut daisies again! It's not the best card I've made but I was able to use a lot of images from the Daisy Lane set.

I always learn something new every time I create a papercraft project and this time it was that I should decide on my background colour carefully when doing this technique as you cannot change it once you put the ink down. However I was so excited to try it that I just jumped right in without thinking of what the finished card would be . . . lesson learned!

#ComputerAndCraftDesigns #StampinUp #creativetherapy #PaperCraftIdeas #HandmadeCard #EmbossResist #CardTechnique

Sunday, 5 May 2019

Quick and Easy Crafting with Kits


Sometimes I lose my crafting mojo and even though I can find lots of beautiful things to create online, when I sit down at my table I feel overwhelmed. That is when a kit comes to the rescue!

Much like going to a class, a kit provides you with everything you need to make several projects. The only thing missing is the teacher and classmates, but sometimes I just want to be alone and do my crafting in the comfort of my pajamas. I certainly can't do that at a class! 😉

When I became an independent Stampin' Up! demonstrator over 2 years ago I bought a couple kits from the current catalogue. I followed the instructions and made all the cards exactly as shown in the pictures. This quickly gave me a large quantity of cards to offer for sale at the craft markets I started attending and I didn't have to invest a lot of money in full products to make things.

Cards from 2017-18 All-Inclusive Kits
Now that I am a 'seasoned' demonstrator I still use kits for a variety of reasons. Even though Stampin' Up! offers a multitude of coordinating products and has a beautiful catalogue with hundreds of fabulous project ideas sometimes I just need something quick and easy to do. That is why the kits come in different styles, depending on what the crafter wants and needs -- all-inclusive kits, project kits and limited-time kits.

Different kits from the 2018-19 catalogues
I love kits because of the versatility of the products they have which allows me to make cards quickly or I use the items to create other projects. Using a kit is a great way to try different things without having to purchase a full set of products. With a kit you can use different embellishments, such as twine, vellum, glitter paper, foil paper, pearls, ribbons, dsp and dimensionals. Some kits also have different shapes and sizes of cards and envelopes as well as different cardstock colours. The other great thing is you get to play with cutout shapes without having a die cutting machine or a punch.

Another wonderful benefit of using kits is you get exclusive products which usually cannot be purchased separately. Each kit comes with an ink spot, cards, envelopes and embellishments created just for that kit. So purchasing several kits with different ink colours will allow you to collect a supply of ink without having to invest in the full-size ink pads. I personally prefer using ink spots with the Stamparatus as it creates less mess on the plates. The spots are also easier to travel with.

The 'All-Inclusive' kits come with everything you need to make the cards -- stamps, ink, cards, envelopes, embellishments and dimensionals. These kits are great for 'on the go' crafting as you have everything you need except for scissors, Tombow multipurpose liquid glue or Tear & Tape adhesive. The supplies usually come in a sturdy box for easy storage or you can use the box as gift packaging when you complete your kit. The kits usually come with matching envelopes so you are ready to post the cards once you are done. When you complete an 'all-inclusive' kit you then have stamps and an ink spot to use for other projects which is why these kits cost a bit more than other kits.

Made To Bloom all-inclusive card kit #148537 $57 NZD
Lots of Happy all-inclusive card kit #146388 $74 NZD
Soft Sayings all-inclusive card kit #145466 $74 NZD
The 'Project' kits do not come with stamps as the stamp set is sold separately. So you can use any stamp set you have to complete the cards in this type of kit or you can purchase the recommended stamp set to make them as shown in the instructions. The benefit of having the stamp set separate from the kit is that you can purchase more than one kit if you wish to make a lot of cards and you won't end up with duplicate stamps. Sometimes these kits include an exclusive item, such as the clear storage box in the 'Incredible Like You' project kit. You will need to use your own scissors, adhesive, inks and stamps to complete the cards in a project kit, however that is reflected in the lower price.

Incredible Like You project kit #148552 $57 NZD
Matching Incredible Like You stamp set #148708 $36 NZD
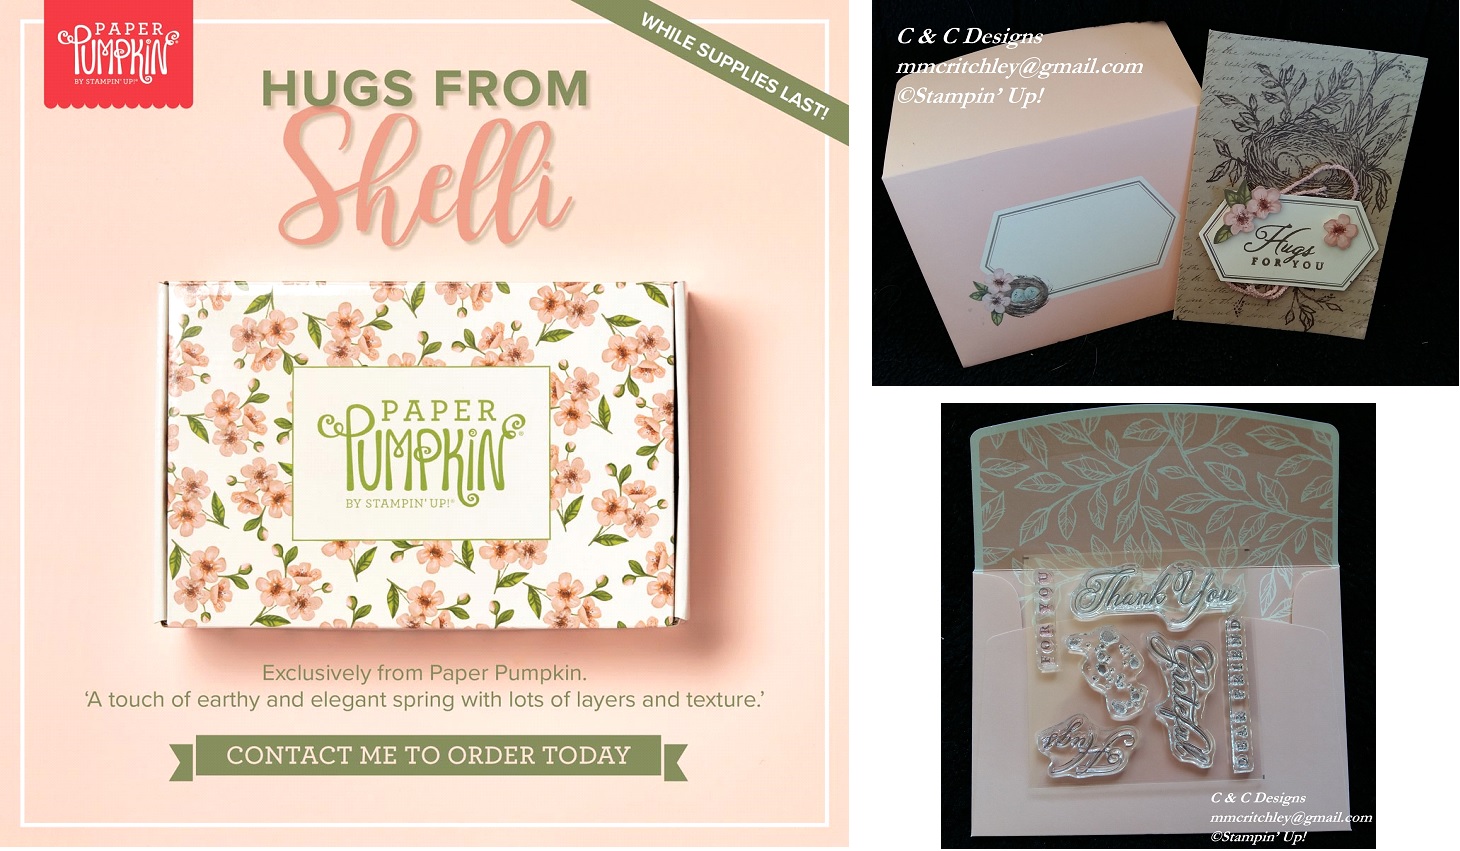
Occasionally Stampin' Up! comes out with limited-time offers and on May 15th there will be an exclusive kit offered here in New Zealand. In the USA and Canada, crafters can subscribe to a stamping kit from Paper Pumpkin which has exclusive Stampin' Up! products in it each month. However for one time only, we will be able to get a kit from Paper Pumpkin which is called the 'Hugs From Shelli' kit and it will include an exclusive stamp set not available anywhere else, one Classic Stampin’ Spot®, paper and crafting materials to create 12 cards (3 cards of 4 unique designs), 12 coordinating envelopes, adhesives and embellishments for all 12 cards in a decorated storage box.

This kit was created with the help of Shelli Gardner, co-founder of Stampin' Up! It will only cost $44 NZD and is available for a limited time, so if you'd like one of these kits please let me know asap as when they sell out they will be gone forever. The Paper Pumpkin kits are always a surprise so I can't show you what will be in it as I don't know, however I was lucky enough to get to make one of the exclusive cards when I attended OnStage last month and I even got to keep the photopolymer stamps!


Hugs from Shelli Paper Pumpkin kit #152032 $44 NZD
When I am pressed for time, I sometimes use a kit for one of my classes so I don't have to prep all the different elements for the cards. Kits are also wonderful if you need a lot of a similar cards made quickly, such as birthday or thank you cards. Sometimes just making a few cards from a kit can get my mojo going so I can then get back into my creative groove!

#ComputerAndCraftDesigns #StampinUp #creativetherapy #PaperCraftIdeas #HandmadeGifts #HandmadeCard #PapercraftKit

Saturday, 27 April 2019

Stamping Outside the Paper!

I know the title of my blog is Papercraft Addiction, but sometimes I need to do crafting without paper. Crazy thought, I know! However I did used ink and stamps, so it's still a hand-craft.

I watched a video online and then attended my upline's technique class to learn how to stamp on to a ceramic mug. The main things you need to know to do this technique are that you use StazOn ink and bake the mug at 180 degrees Celsius for at least 20 minutes to make the ink stick to the mug. You can then colour the image with Stampin' Blends and re-bake it to fix the ink to the mug. However I am not sure the image would stay on if you wash the mug in a dishwasher, but I don't have one so I can't test that theory.

At the class I attended I was able to get a good image after only a couple tries and then I was asked to help other students as I seemed to have mastered the technique. I was so impressed with how easy it seemed that I went out and bought 10 mugs so I could make some to sell at my monthly craft markets.

Well, I don't know what happened from when I learned the technique to the day I tried to stamp my own mugs because it seemed so simple before, but when I was doing it at my own home I kept having problems. Fortunately I could wipe off the ink before it dried and try, try, try, try again!

I think my first problem was that I attempted to put too many images on the mug in one go. The mug kept slipping and smearing the images. I then decided to only use a couple of stamps and eventually I got an image that I was happy with. I thought I had finally figured out the correct pressure, angle, and speed, but no! I continued to wipe off more ink than I kept on the mugs.

I would say this technique is best for patient people or stubborn ones like me, as I was determined to get all 10 mugs stamped! My frustrations were increasing as I couldn't understand why it had been so easy the first time I did it only the week before.

I learned a lot from my mistakes though, like the images don't go on straight because the mug is curved. That is why most of my sentiments are at quirky angles, but I think it looks like it was meant to be that way. At least that's my story and I'm sticking with it!

Finally with multiple adjustments in stamp placement . . . trying it while standing . . . trying it while sitting . . . rolling the mug from the left . . . from the right . . . and even backwards . . . I was finally able to get all 10 mugs stamped and baked.

The next step was to colour them. Although after having so much trouble stamping the images I was afraid of messing them up, but I persevered. I used the Stampin' Blends to colour each mug. I started with the easy one -- the panda holding a balloon. Then I coloured the daffodils and discovered that even though the mugs had been 'heat set' in the oven the Blends would smear the black ink if I rubbed too hard or too long in one spot.

After a bit of a learning curve, I finally got the hang of how to colour each mug without ruining the image. I even found out that the Color Lifter works like an eraser to remove the ink, even the black ink which had already been baked on. It was really handy in fixing some of the smeared images. And if I didn't like the colour/shade I used I could go over it with a different colour and the previous ink would come off.

So here are the final, coloured mugs which I hope to sell at my markets. I am a bit worried that the images will come off when the mugs are washed so I think I will add a note to them saying they should be gently hand-washed.
Since I didn't use paper maybe I should change the name of my blog to Stamping Addiction or Try Try Again Crafting or Trying Crafter or just Stubborn Crafter Who Won't Give Up! What do you think?

#ComputerAndCraftDesigns #StampinUp #creativetherapy #PaperCraftIdeas #HandmadeGifts

Wednesday, 3 April 2019

Creative Space

When making papercrafts you need a place to do your creating. Some people are lucky enough to have a large house with a dedicated room or maybe even a converted garage or sleepout which has been made into a craft room. However I suspect many people are probably like me and have to find space to create where ever they can.
When my children were still living at home, I used to keep everything in boxes in a closet and get things out only when I was making a project. I would take over the dining table during the day but I would have to clean everything up each evening in time for dinner. However sometimes I wasn't finished creating, so I would leave everything on the table and my family would have to eat on their laps siting on the couch or in their bedrooms. I guess I wasn't going to get the Mother-of-the-Year award!

The bad thing about crafting out of a closet is that I didn't always know where things were. Sometimes I knew I had a specific item I needed but I couldn't find it so I would just buy another one. That is how I ended up with so many 'googly' eyes -- every Christmas when I went to make candy cane reindeer I couldn't find the eyes! And now I have lots of other things I forgot I had bought.

When I became an independent Stampin' Up! demonstrator I wanted to have everything easily accessible. So I created some space using an old computer desk in the hallway. I was able to store all my stamps on the top shelves of the desk and my other bits and bobs on the lower shelves where the computer and printer used to sit. Having the pull-out keyboard drawer was handy for storing my Stampin' Trimmer.

This setup worked well for a little while as I was able to find things readily, and except for having to use the dining table for my Big Shot, I made things quickly and easily. It was nice to sit in one spot and reach everything I needed. I did have less space to spread out than what I had with the dining table, though sometimes I would use that space as well.

The only problem with that setup was I am a night owl and I do most of my creative work from 8 pm until after midnight. However my desk was right outside my daughter's bedroom and she would often yell at me to turn the hallway light off and stop making noise as she was trying to get some sleep. So here's a tip . . . do not setup your creative space in an area which will impact others!

So I then moved into a room which was vacated by my other daughter when she moved out. You would think I'd have plenty of space to be creative, but no! Half of the room was full of furniture and belongings she had left behind, including a drum set. I piled all of her belongings on one side of the room and made a little pathway through the middle of the room so I could access a large table to make cards and other projects. This worked for a little while until I acquired too many stamping supplies, if that is even possible! 😜


I slowly got rid of some of the belongings and sold the drum set so I was finally able to access more of the room. After a year of clearing out things, and acquiring more Stampin' Up! products, I had made a decent area to call my craft space. I still have some work to do to get the room completely organised along with painting the walls and fixing the closet doors, but it is a good start. I have big plans for my craft room!

I now have all my stamp sets stacked alphabetically and my other supplies are in drawers or on shelves within easy reach of my desk chair. I bought a small trolley for my Big Shot which has drawers to store accessories and it can be wheeled out to the dining room when I hold my weekly classes. And now that Stampin' Up! is offering modular storage, I will be able to tailor my creative space to my way!