Showing posts with label punch. Show all posts

Thursday, 7 January 2021

Fun Fold Card to display a Mini 2021 Calendar

To welcome in the year 2021 I designed a card to hold a mini calendar. 

I created a special fold so that when the card is opened the mini calendar on the inside can be displayed on a desk or countertop.

If you love dragonflies you'll love this card as I used the new Dragonfly Garden stamps and matching Dragonfly Punch to cut out the large and small dragonflies from the Dandy Garden designer series paper.

You can find these new products in the 2021 Mini Catalogue by Stampin' Up!

This is perfect as a thank you card for a friend, however you could make it for anyone by just removing the sentiment on the left side of the card.

You can use it as a gift as well since the mini calendar can be displayed easily when opened.


I used my Wink of Stella Glitter Brush to add some bling to the wings of the dragonflies.

When I first made this design I stamped two dragonfly images and coloured them with watercolour pencils to match the background designer series paper before punching them out with the new dragonfly punch.

I stamped some of the smaller images on the mini calendar pages as well as on to the dsp. Be sure to stamp off the image on scrap paper before stamping on the calendar or it will be too dark to see the dates.

The card base was 10.5 cm x 29.7 cm -- I cut an A4 sheet of cardstock in half lengthwise.

I scored it at 7.5 cm and 9 cm from the short edge on both sides to create the special fold.

I cut four pieces of designer series paper to 7 cm x 10 cm -- two for the front and two for the inside. You could cut four pieces of the same dsp and use the opposite side on the inside of the card or choose complimentary designs and colours. The large dsp for the inside centre section is 11 cm x 10 cm.

I cut some cardstock slightly larger than the mini calendar and die cut the numbers from the centre of it before sticking it down on the inside. Don't forget to attach some ribbon or cord to the front before attaching the dsp so you can close the card.

I made a video showing how to make the 'Thank You' card as a participant of the Global Monthly Video Hop. You can see it here and I've put links to the other members of the GMVH in the description of my YouTube video so you can see more 'Thank You' projects from demonstrators around the world.

I hope you like my special card and have a wonderful New Year!

#KeepCalmAndCraft #ComputerAndCraftDesigns #StampinUp #CreativeTherapy #KeepStamping #RubberStamping #FunFoldCard #CardMaking

Saturday, 6 June 2020

Triple fold card using the new Jar of Flowers Bundle plus the Comfort & Hope stamp set by Stampin' Up!

The 2020-21 Annual Catalogue from Stampin' Up! has been released and there are some fabulous new products in it!


I made a Facebook Live video using the new Jar of Flowers Bundle (Jar of Flowers photopolymer stamp set plus Jar Punch) to make a couple triple fold cards. This stamp set has four bunches of flowers to go with the mason jar images. However there are no sentiments in this stamp set, so I used the new Comfort & Hope cling stamp set for the words on the front and inside of my cards.


I started with a piece of the new 2020-2022 In Color cardstock (Cinnamon Cider and Bumble Bee) cut to 13.5 x 29.7 cm (5-1/4" x 11-2/3") and scored at 10 cm (4") and 20 cm (8"). This created a tri-fold card base. I used two pieces of Whisper White cardstock that were 9 x 12.5 cm (3-1/2" x 5") plus a scrap piece to stamp two of the flower images on which I fussy cut out after colouring with Stampin' Blends.


I used the Jar Punch to punch out a hole in the front of the card as well as one of the Whisper White pieces of cardstock. If you hold both pieces when placing them into the punch you will have the hole punched out at the right spot (watch my video to see how I did this).


I then stamped the jar and the stem images on the Whisper White punched out jar piece with Memento Tuxedo Black Ink. I coloured them with Shaded Spruce and Pool Party Stampin' Blends. You can add some shine by colouring in the jar with a Fine Tip Glue Pen and let it dry.


Stick the stamped jar through the hole on the front piece of the card to help with placement when attaching it to the middle section of the card (right side). I used some dimensionals to place one of the flower bouquets (stamped on the scrap paper) on top of the jar.


I used Memento Black Ink to stamp a flower image above the jar shaped cutout on the Whisper White cardstock as well as on the scrap piece of cardstock and coloured both images with the same Stampin' Blends. I fussy cut the image on the scrap paper and used it to create a 3-D effect on the front of the cards.


Be sure to attach a piece of In Color Ribbon (I used Cinnamon Cider and Misty Moonlight on my cards) on the front of the Mason Jar Shaker Dome before putting the white cardstock on the front of the card. Then attach a little bow with the same ribbon on the front using a glue dot. I added some 'bling' with a few of the 2020-2022 In Color Enamel Dots and brushed parts of the flowers with a Wink of Stella Clear Glitter Brush.

The second piece of Whisper White Cardstock was for the inside (middle) of the card. I used the reversible striped stamp from the Jar of Flowers photopolymer stamp set to create a little border at the bottom of the piece before stamping a sentiment at the top from the Comfort & Hope cling stamp set.


By making a tri-fold card I was able to showcase two of the beautiful floral stamps on each card, using the jar dome as a peek through. Next time I will make a shaker card with the Mason Jar Domes.

#KeepCalmAndCraft #ComputerAndCraftDesigns #StampinUp #CreativeTherapy #AnnualCatalog #AnnualCatalogue #KeepStamping


Monday, 4 May 2020

Many different features and uses of Stampin' Up! punches

Stampin' Up! punches are well made and heavy compared to other companies but that is only one of the many features of these fabulous products. There is so much to say about these punches that I have made three short videos to explain everything and I have included them throughout this blog post.

My Stampin' Up! Punches Stacked
All the punches have a locking mechanism which allows them to be locked in the closed position for easy transportation and storage. You simply slide the dark grey lock towards the punch hole to unlock, which allows it to open up for use. To lock the punch, just hold it closed and slide the grey plastic towards the front of the punch. This keeps it flat so you can store the punch stacked on a shelf or in a drawer.

The shapes and sizes of some punches -- the two on the far left are unlocked and the rest are locked and stacked.
The image on the top of each punch shows the actual size of the item that will be created when you use the punch. The front, angled edge of the punch has a small picture of the image as well, so you can easily find the punch when they are stacked.


When I first get a new punch I use it on some cardstock so I can test how it works. I am then left with a template which is very useful when designing my projects.

Punch templates are handy when designing a project as you can use them to choose the correct size for your sentiments.
I can place the template over my cardstock to see how the image will fit my project. I can also use the templates to determine which size label punch will fit the sentiments I want to use.

Some cards and papercraft projects with the punches I used to make them.
The templates are also very useful when using a punch that has more than one image. Place the stamps on top of the cutout sections of the template (the negative space) to arrange them so they will perfectly fit in the punch after you have stamped the cardstock.


I show you how to do this with the Hot Air Balloon punch in this video.


Stampin' Up! punches are strong and durable but sometimes they do get dull with a lot of use. You can sharpen them easily by punching some aluminium as shown in my next video.


You can use the image you have leftover after sharpening to make some interesting projects. Here I have made some flowers with the daisy and leaf punches. I just attached the metal images to some green wire and gently shaped the flowers with a bone folder and my fingers.

Some little metal flowers and leaves made from aluminium cans, wire and buttons.
I hope you've learnt some things about using punches from this post and my videos. Punches are great tools for enhancing your cards and to complement your projects!

#KeepCalmAndCraft #ComputerAndCraftDesigns #StampinUp #creativetherapy #StayHome #Punches

Thursday, 23 January 2020

A Bouquet of Paper Tulips

I've been having so much fun with the new Tulip Builder Punch which is part of the Timeless Tulips Bundle from Stampin' Up!

I started off stamping and then punching out the flowers and leaves to give dimension to my cards but then I decided to take things to a another level with three dimensional flowers.

It is so quick and easy to make adorable tulips with this punch.

You can stamp the cardstock before punching or just decorate them using other techniques such as sponging, embossing, water colouring, blending, spritzing, or colourong with pencils or pens. You can also combine several of these techniques to add even more colour and depth to your tulips.
Tulip Builder Punch

To make these 3-D tulips all you need is some cardstock and the Tulip Builder Punch. You should punch out five flower pieces from a 2" x 6" piece of cardstock. Score the centre of each flower from the tip of the middle petal and fold each one in half lengthwise. If you want to decorate the flowers, you should do this now before gluing the sections together.

To decorate the tulips you will need some additional items besides just cardstock. Depending on the technique you use you may need some ink, pencils, pens, sponges, embossing folders, or daubers.

Glue all five flower pieces together to form the tulip, making sure you place a wooden skewer in the centre for the stem. You should colour the skewer with Stampin' Blends before attaching it to the flower. Punch out two leaf pieces from Garden Green cardstock and glue them together on the wooden stem. You could attach a banner with a sentiment to the stem if you wish.

Have a look at my video below to see how to put the flowers together along with other tips for decorating the tulips. I show samples of cards I've made at the end of the video as well as how to stamp the reverse image on a leaf using the Stamparatus.
If you like these tulips check out my other videos and blog posts using this stamp set!

#KeepCalmAndCraft #ComputerAndCraftDesigns #StampinUp #creativetherapy #StayHome #TimelessTulips #SaleABration #3DFlower #Stamparatus

Sunday, 3 November 2019

Want To Melt A Snowman?

I live in a country where Christmas is hot and sunny because it is summertime here in New Zealand in December, however I still love all the traditional festive images of snowflakes, starlit nights, Santa in his red suit and dreaming of a white Christmas. I really like snowmen as they come in lots of different sizes and shapes, which got me thinking of a melting snowman. I remember making one out of felt many years ago so I decided to try to recreate it using paper.

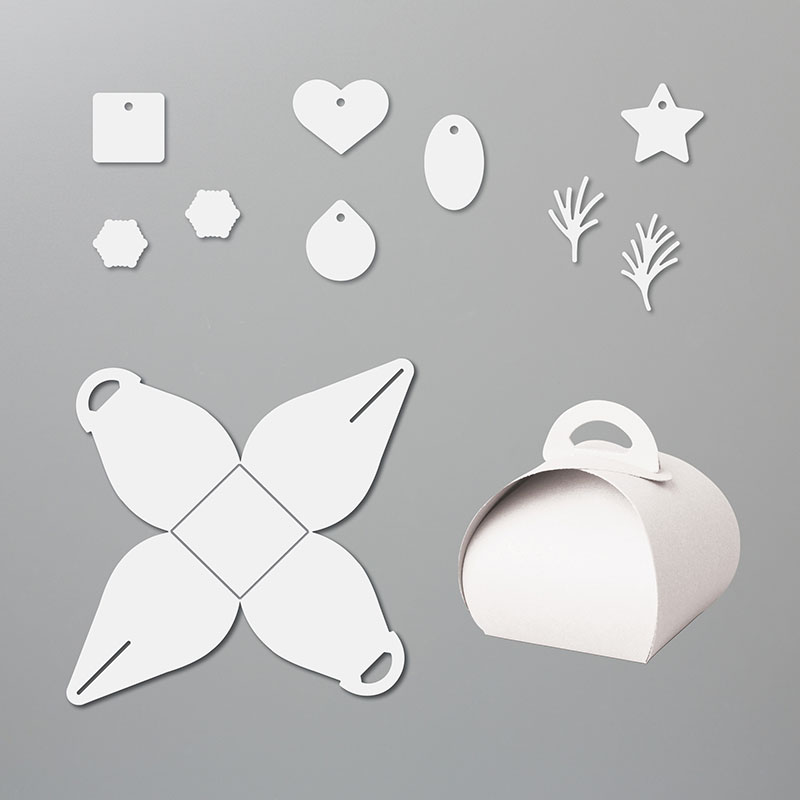
I cut an A4 piece of Whisper White cardstock at 14 cm (5.5") on the long side. I used the 14 x 21 cm (5.5" x 8.25") piece to die cut the Mini Curvy Keepsake Box to make the snowman head.
Mini Curvy Keepsake Box dies
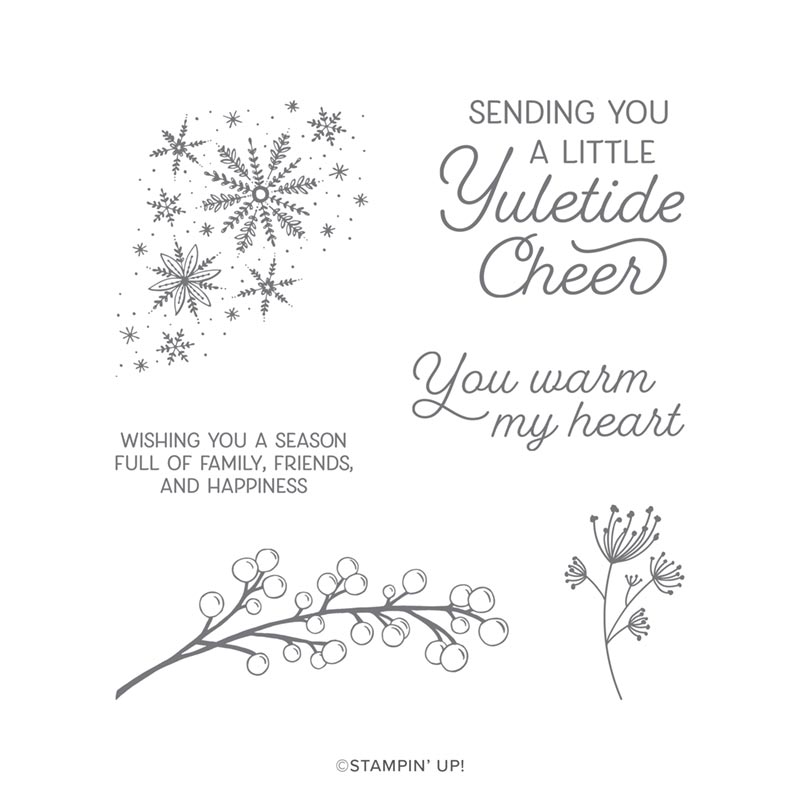
Frosted Foliage stamp set
Christmas Countdown stamp set
I then cut the remaining 15.7 x 21 cm (6.25" x 8.25") piece into a 'melted' blob for the body of the snowman. I stamped all over both pieces with Silvery Shimmer ink using the little star/snowflake stamp from the Christmas Countdown stamp set.
On the remainder of the 14 cm Whisper White cardstock I stamped the words 'You Warm My Heart' from the Frosted Foliage stamp set using Memento Tuxedo Black ink. I then punched it out with the Story Label punch and popped it on to the melted snowman using dimensionals.
SEASONAL LAYERS DIES
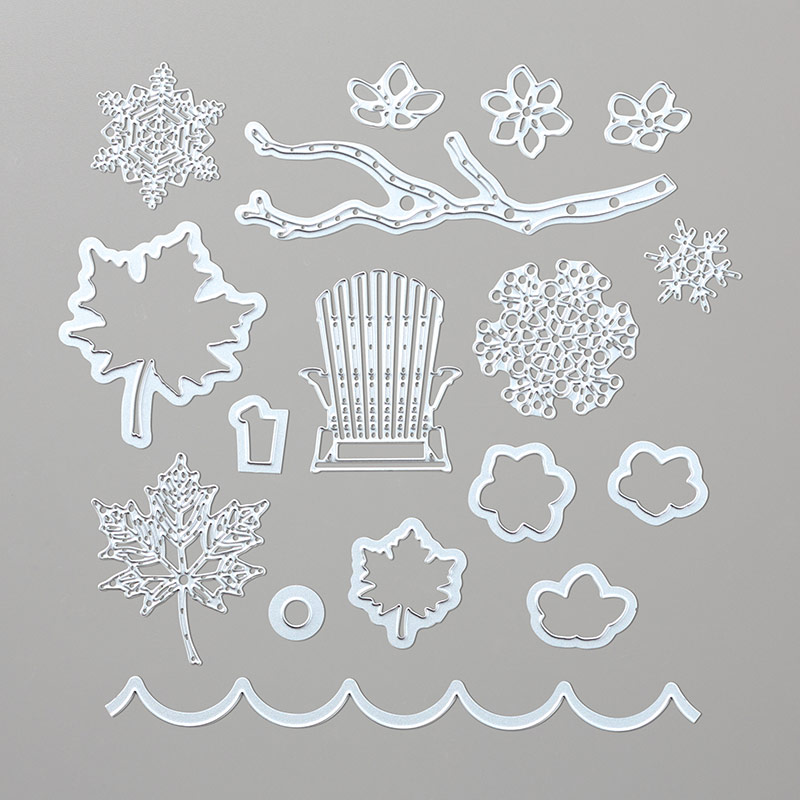
Seasonal Layers dies

I cut a scrap of Basic Black cardstock into a hat shape and glued a little strip of Old Olive cardstock on it as a hat band. I attached it to the melted snowman body using black mini dimensionals. I cut a long triangle from a scrap of Pumpkin Pie cardstock and drew little lines on it with a Basic Black Stampin' Write pen to make the carrot nose. The two arms are cut out of Early Espresso cardstock using the branch die from the Seasonal Layers die set.

Before assembling the box I drew a 'melting' mouth on one side with the Basic Black Stampin' Write pen and I used a Basic Black Dark Stampin' Blends pen to colour two Pearl Basic Jewels for the eyes. I then glued all the pieces to the base and used three Red Rhinestone Jewels for the buttons which had fallen off the body as it melted.

Have a look at this video for instructions on how to make one for yourself.


If you live in New Zealand you can order all the products you need to make this adorable snowman at my shop or from your demonstrator. Then you can get started on melting your own snowman!

#KeepCalmAndCraft #ComputerAndCraftDesigns #StampinUp #creativetherapy #StayHome #PaperCraftIdeas #ChristmasCard #HandmadeCard #SnowmanCard #CurvyKeepsake 

Friday, 7 June 2019

Emboss Resist Technique with a Twist!

I have tried the emboss resist technique many times in the past and there are lots of videos online to show how to do it. For those of you who don't know what it is . . . you heat emboss an image using white or clear embossing powder on to white card stock and then rub ink all over the paper so that the image 'resists' the ink. It looks like a magic trick when the image suddenly appears! I remember doing this as a kid with waxed crayons and paint to make 'secret messages' appear on paper.


Recently I tried a little twist to this technique which I have seen a few times online. There is one extra step to achieve this effect. Before embossing I coloured the glossy paper with a few different inks to go with the image I wanted to use. For the leaf card I chose regal autunm colours and for the daisy card I used bright summery colours.

I decided to try two different ways of colouring the glossy card. For the leaves I put a few drops of reinkers (Calypso Coral, So Saffron, and Pear Pizzazz) on the cardstock and then used my heat tool to dry the ink while moving it around the paper. This gave me more colours when the ink mixed on the page which resembled the colour of autumn leaves.

For the daisy card I used sponge daubers to rub three different inks (Lovely Lipstick, Grapefruit Grove, and Pineapple Punch) in various areas on the paper. I started with the darkest colour and them moved up to the lighter colours because I could always add more of the darker colour if I needed. I rubbed the lightest colour (Pineapple Punch) all over the top of the other two to blend any hard lines.

After waiting for the inked pieces of glossy cardstock to dry, I rubbed the cardstock with the Embossing Buddy to prevent any embossing powder from sticking where I didn't want it to go. I then used Versamark ink to stamp my images from the Daisy Lane and Rooted in Nature stamp sets all over the paper before sprinkling clear embossing powder over those images and heat embossing them. This protected the coloured background under the stamped images for my next step.
To make the embossed images more visible, I inked over the entire cardstock with a darker colour. This can be done with a sponge or just pressing the ink pad all over the card stock. After it was all inked up I then took a dry cloth and rubbed the ink off the top of the embossed images just like the traditional emboss resist technique. Then the coloured background showed through the clear embossed images, giving me multi-coloured daisies and leaves!
Once I had finished the emboss resist technique I then had to do something with the pages I had made. This took the longest time as I wasn't happy with the dark green background or the placement of the daisies. I did love how the leaves turned out but I needed to find accessories to create a card for that page.

I then concentrated on the easiest part of the cards, the inside! I stamped a flower on Pineapple Punch cardstock for the inside of the daisy card and then tried to replicate the mixed leaf colours for my autumn card. I used another technique to stamp a different leaf image from the Rooted in Nature set. Using Stampin' Write Markers I coloured different parts of the stamp and then sprayed a little water on it with the Stampin' Spritzer. This made the ink merge and when I stamped the leaf it had a watercolour look to it which matched the embossed leaves on the front of the card.

For my other card, I cut circles out of Grapefruit Grove cardstock to let the daisies show through and I fussy-cut one out of the embossed page to create a bit of dimension. I have since ordered the matching daisy punches so I won't have to fussy-cut daisies again! It's not the best card I've made but I was able to use a lot of images from the Daisy Lane set.

I always learn something new every time I create a papercraft project and this time it was that I should decide on my background colour carefully when doing this technique as you cannot change it once you put the ink down. However I was so excited to try it that I just jumped right in without thinking of what the finished card would be . . . lesson learned!

#ComputerAndCraftDesigns #StampinUp #creativetherapy #PaperCraftIdeas #HandmadeCard #EmbossResist #CardTechnique

Wednesday, 10 April 2019

Swaps

Today I am off to Auckland to stay in an apartment with fellow Stampin' Up! demonstrators from my upline. We are going to be attending OnStage Live at Sky City Convention Centre. This 3-day event will be lots of fun for everyone attending as we get to play with some new products, see demonstrations, mingle with other demonstrators from all around the world, and get a sneak peak at the upcoming annual catalogue, which goes live on June 1st.

One of the fun things I love to do every time I go to OnStage (the event happens twice a year) is make things to swap with other demonstrators. I usually make 3-D objects such as boxes or little baskets but this time I decided to make some small cards. I can't wait to see all the creative gifts I receive in exchange for my swaps. I will be sure to show pictures of them in a future post, but for now I'd like to share how I made the 100 cards I have to give to other demonstrators.


I chose to use the dog and cat stamp sets with matching punches for my cards -- Happy Tail, Dog Builder Punch, Nine Lives and Cat Punch. I first designed the 3" x 3" silhouette cards in black and white. However I don't like to waste anything so I stamped the animal images on one side of the whisper white square using my Stamparatus.

Then I cut the animals out with the matching punches. I turned the 'negative' card over and again used the Stamparatus to stamp the sentiment on each one. I love using my Stamparatus to make multiple cards as I can line each piece of the card up perfectly to get identical images quickly. 

I stamped small hearts on a piece of whisper white cardstock for the inside of each card along with a matching sentiment -- Meow! or Ruff! Then it was just a matter of adhering each layer to the 3" x 3" card bases and putting a red heart, made from the dog punch, on each silhouette. Of course I had to stamp a cute image on the matching envelopes. 


I made one larger card using the punched out animals from two smaller cards. I used Wood Textures (1" x 4") and Gingham Gala (3" x 4") designer series paper along with matching cardstock to make a 3.875" x 4.125" card (9.9 cm x 10.5 cm). This sizing allowed me to get three cards from one A4 piece of cardstock without any waste, however you will have to adjust these sizes if you are using letter-sized paper. I used my Stamparatus to place the sentiment on the top left corner of the Gingham Gala paper. Besides allowing me perfect placement, using the Stamparatus let me stamp the words again if the Memento ink didn't come out evenly.

I adhered the DSP to the front of the card as shown in the pictures (overlapping the Gingham Gala with the Wood Texture dsp) and popped the animals up on dimensionals along with a stamped heart cut out from the dog punch. For the inside of the card I stamped the sentiment from the Happy Tails stamp set along with a paw print.

I hope you've enjoyed seeing my swaps for OnStage and if you are one of the demonstrators I get to swap with, thank you very much!

#ComputerAndCraftDesigns #StampinUp #creativetherapy #PaperCraftIdeas #HandmadeCard #Swaps #OnStage #AucklandOnStage #MiniCard