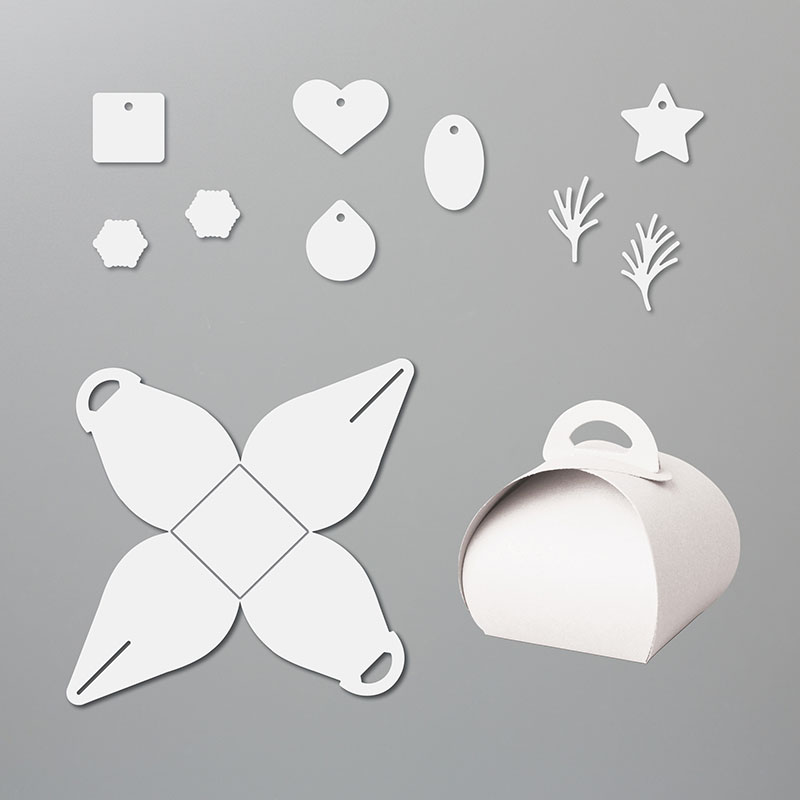
I cut an A4 piece of Whisper White cardstock at 14 cm (5.5") on the long side. I used the 14 x 21 cm (5.5" x 8.25") piece to die cut the Mini Curvy Keepsake Box to make the snowman head.
 |
| Mini Curvy Keepsake Box dies |
 |
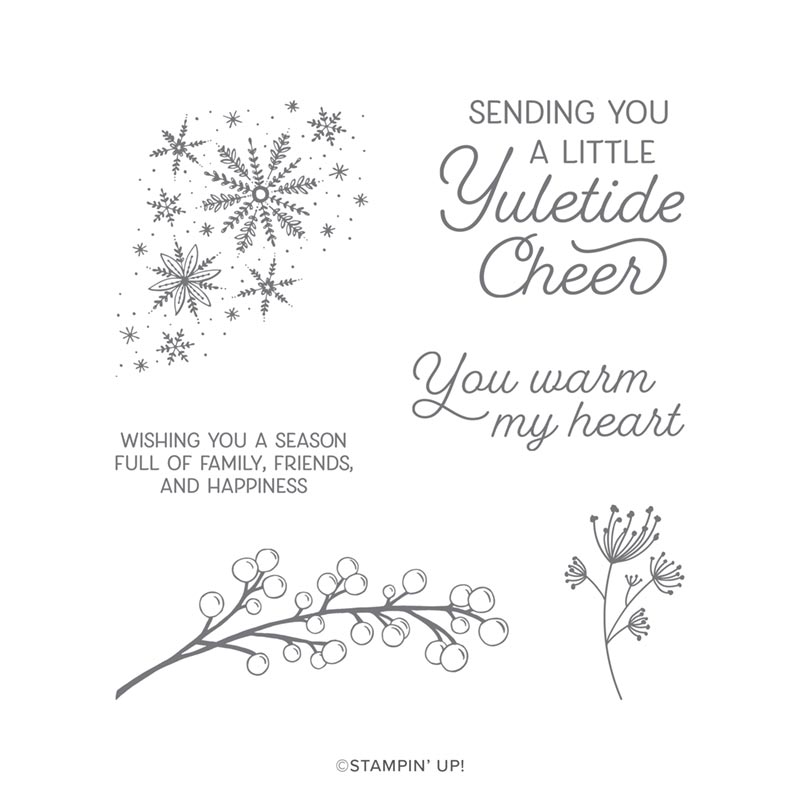
| Frosted Foliage stamp set |
 |
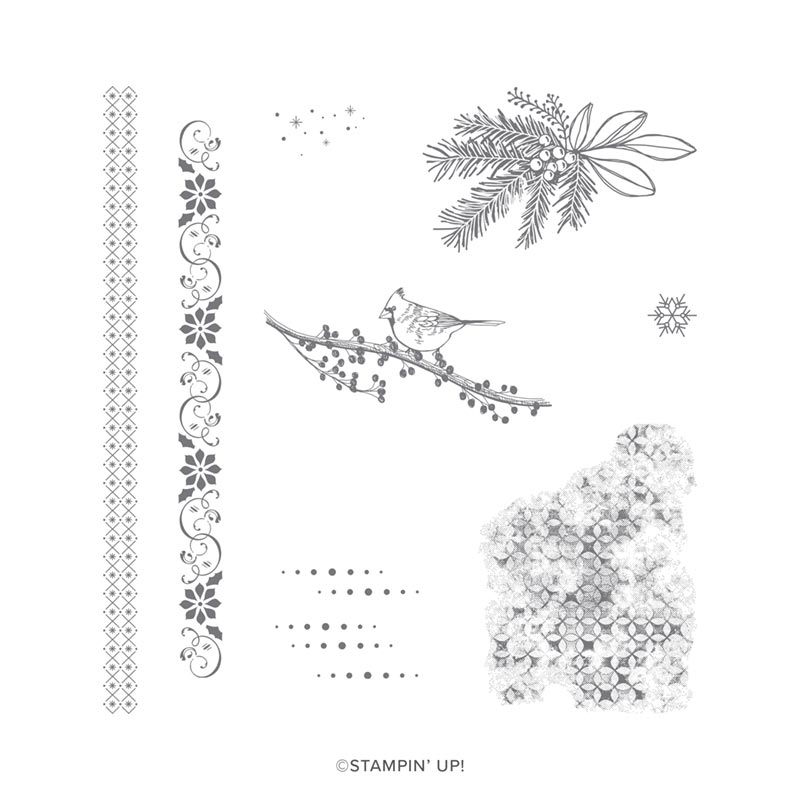
| Christmas Countdown stamp set |
On the remainder of the 14 cm Whisper White cardstock I stamped the words 'You Warm My Heart' from the Frosted Foliage stamp set using Memento Tuxedo Black ink. I then punched it out with the Story Label punch and popped it on to the melted snowman using dimensionals.
 |
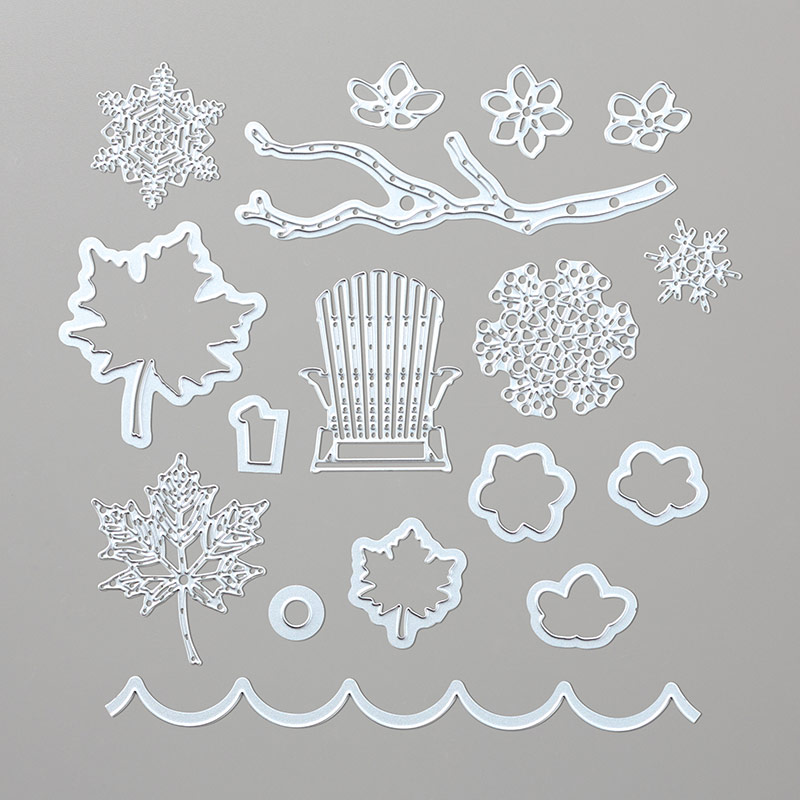
| Seasonal Layers dies |
I cut a scrap of Basic Black cardstock into a hat shape and glued a little strip of Old Olive cardstock on it as a hat band. I attached it to the melted snowman body using black mini dimensionals. I cut a long triangle from a scrap of Pumpkin Pie cardstock and drew little lines on it with a Basic Black Stampin' Write pen to make the carrot nose. The two arms are cut out of Early Espresso cardstock using the branch die from the Seasonal Layers die set.
Before assembling the box I drew a 'melting' mouth on one side with the Basic Black Stampin' Write pen and I used a Basic Black Dark Stampin' Blends pen to colour two Pearl Basic Jewels for the eyes. I then glued all the pieces to the base and used three Red Rhinestone Jewels for the buttons which had fallen off the body as it melted.
Have a look at this video for instructions on how to make one for yourself.
If you live in New Zealand you can order all the products you need to make this adorable snowman at my shop or from your demonstrator. Then you can get started on melting your own snowman!
#KeepCalmAndCraft #ComputerAndCraftDesigns #StampinUp #creativetherapy #StayHome #PaperCraftIdeas #ChristmasCard #HandmadeCard #SnowmanCard #CurvyKeepsake

No comments:
Post a Comment