Showing posts with label stamp. Show all posts

Sunday, 10 May 2020

How to make a fabric face mask you can stamp on!

Now that things are slowly moving towards a 'new normal' I am gearing up to have crafting classes in my home again. To protect my students as well as myself, I decided we should all wear face masks while crafting in close proximity.

I looked online to learn how to make homemade face masks and once I found a design I liked, which I could easily make with materials I have here at home, I got started on sewing the masks. However, being a creative person I had to decorate them as well!


I started with a 5" x 9" (12.5 cm x 22.5 cm) rectangle piece of material which was not porous and had a flat surface so I could stamp on it. I marked 2" (5 cm) in from each corner and connected the marks with a diagonal line which I then cut off as shown in my video.


I folded down each long side 1.5" (3.8 cm) and ironed it in place, making a crease. I then folded over each short end twice to make a sleeve for the ribbon and sewed it in place. Next I folded back the long sides and placed a few small stitches on an angle to make a pleat which created a 3-D effect. You could even colour the image in with permanent pen like Stampin' Blends to make it prettier.


To finish up I pulled the ribbon through each sleeve, leaving a loop on the bottom of the face mask. After placing a bead on the ends of the ribbon I was able to secure them with a double knot. To wear the face mask, place the loop over your head and around the back of your neck. Tie the ribbon into a bow on the top of your head to hold the mask in place.


I hope you are able to follow my instructions and will make your own face mask to stay safe and healthy. Don't forget to decorate it with your favourite rubber stamp!

#KeepCalmAndCraft #ComputerAndCraftDesigns #StampinUp #creativetherapy #StayHome #Punches #Covid19 #FaceMask 

Saturday, 25 January 2020

How to make a field of tulips with the masking technique

Masking is a great way to give depth to a card, allowing you to create the illusion of images being in the background. With the masking technique I have created a field of tulips on a card by only using a couple of flower stamps.
This technique can be used in so many different ways to create beautiful cards and images. It's a fairly simple technique in which you use a piece of sticky note paper to protect your stamped image from ink placed on top of it.

This is a standard A6 card done as a portrait orientation with the fold at the top. The base of the card is an A4 piece of Garden Green cardstock cut down the middle on the short side (21 cm side) at 10.5 cm and scored at 14.8 cm (11-3/4" x 4-1/8" scored at 5-7/8").

I used Whisper White cardstock for the front and the inside layers cut to 14.3 cm x 10 cm (5-5/8" x 4"). The other products I used are listed at the bottom of my YouTube video which you can see below.

In the video I show you how to make the blue card using the Timeless Tulip Bundle (Timeless Tulips Photopolymer Stamp Set and Tulip Builder Punch) along with tips on how to successfully mask the images. The colours I used are Seaside Spray, Garden Green and Tuxedo Black Memento ink.

I have stamped off with some of the images to create a lighter shade which looks like lavender.
I hope you like my video and cards and will give the masking technique a try for yourself!

#KeepCalmAndCraft #ComputerAndCraftDesigns #StampinUp #creativetherapy #StayHome #TimelessTulips #MaskingTechnique 

Thursday, 23 January 2020

A Bouquet of Paper Tulips

I've been having so much fun with the new Tulip Builder Punch which is part of the Timeless Tulips Bundle from Stampin' Up!

I started off stamping and then punching out the flowers and leaves to give dimension to my cards but then I decided to take things to a another level with three dimensional flowers.

It is so quick and easy to make adorable tulips with this punch.

You can stamp the cardstock before punching or just decorate them using other techniques such as sponging, embossing, water colouring, blending, spritzing, or colourong with pencils or pens. You can also combine several of these techniques to add even more colour and depth to your tulips.
Tulip Builder Punch

To make these 3-D tulips all you need is some cardstock and the Tulip Builder Punch. You should punch out five flower pieces from a 2" x 6" piece of cardstock. Score the centre of each flower from the tip of the middle petal and fold each one in half lengthwise. If you want to decorate the flowers, you should do this now before gluing the sections together.

To decorate the tulips you will need some additional items besides just cardstock. Depending on the technique you use you may need some ink, pencils, pens, sponges, embossing folders, or daubers.

Glue all five flower pieces together to form the tulip, making sure you place a wooden skewer in the centre for the stem. You should colour the skewer with Stampin' Blends before attaching it to the flower. Punch out two leaf pieces from Garden Green cardstock and glue them together on the wooden stem. You could attach a banner with a sentiment to the stem if you wish.

Have a look at my video below to see how to put the flowers together along with other tips for decorating the tulips. I show samples of cards I've made at the end of the video as well as how to stamp the reverse image on a leaf using the Stamparatus.
If you like these tulips check out my other videos and blog posts using this stamp set!

#KeepCalmAndCraft #ComputerAndCraftDesigns #StampinUp #creativetherapy #StayHome #TimelessTulips #SaleABration #3DFlower #Stamparatus

Thursday, 14 November 2019

Swaps for OnStage Auckland

I love making things with paper and swapping at the Stampin' Up! OnStage event in Auckland is a good excuse for me to get creative. To that end, I made little sewing kit holders to give to my fellow demonstrators on November 16th. I saw the idea online from another demonstrator, Tracy Grant, but I changed the design to turn it into a 'matchbook' fold and sized it to get the most out of the sheets of cardstock I used.


It Starts With Art Bundle
I used the It Starts With Art stamp set with matching dies for these little swaps. This is one of my favourite sets as it has such lovely images which are relevant for most crafters, especially if you are like me and love stamping as much as you love embroidery. The images are so cute -- re-inkers, ribbon, sequins, buttons, pens, clips and thread bobbins -- and they have matching dies so it is easy to quickly put a project together. 

I chose the colours of cardstock and ink to match the four colours of Nature's Twine that I used -- Grapefruit Grove, Mint Macaron, Crumb Cake and Blackberry Bliss. I then sized the matchbooks to fit the little travel sewing kits I had purchased online. Each base piece of cardstock was 5 cm x 14 cm (2" x 5-1/2") and I scored them at 6 cm and 12.7 cm (2-3/8" and 5"). I folded the cardstock in at the score lines and then stapled the smaller bottom piece in place allowing me to tuck the longer top piece into it to make the matchbook.

I embossed a contrasting piece of 4.5 cm x 5 cm (1-3/4" x 2") cardstock with the Button Button Embossing Folder and glued it to the front of the matchbook. I cut long button and ribbon shapes using the Arts & Crafts dies to decorate the bottom front of each little matchbook to cover up the staple.

In order to stamp the thread holders, I first die cut the shapes out of Whisper White thick cardstock and placed them in a template I had made for the Stamparatus. This allowed me to quickly stamp each one accurately, since I was making 80 of them. I then put some Snail Adhesive on the back of each one to hold the ends of the twine in place as I wrapped it around the shape. I used about 46 cm (18") of twine for each thread spool and popped them up on the embossed piece of the holder using Stampin' Dimensionals. I then glued a die cut button on to the twine in a contrasting colour.

Steps to make mini sewing kit holders
I finished them by using a bit of Snail Adhesive to hold a mini sewing kit in place on the inside of each little matchbook.

Here is my YouTube video showing exactly how I made these swaps.

Watch out for my next blog post where I will showcase the talents of my fellow Stampin' Up! demonstrators with pictures of the swaps I receive. I love the ideas I get from swapping at OnStage!

#KeepCalmAndCraft #ComputerAndCraftDesigns #StampinUp #creativetherapy #StayHome #PaperCraftIdeas #HandmadeCard #Swaps #OnStage2019 #AucklandOnStage #SaleABration #MiniSewingKit #Matchbook 

Friday, 8 November 2019

Snowman 'Empathy' Card

I came up with an idea to make a card showing a snowman whose head has fallen off. Why has it fallen off ? I don't know. Maybe it was starting to melt. Maybe there was a gust of wind that blew it off. Maybe the snowman was in a snowball fight and got hit in the head. Maybe whoever was making the snowman went away and never finished putting the head on the body. No matter what story you create, it seems a bit sad to see the snowman reaching for it's fallen head. Since this didn't seem to be a Christmas card (even though there is a snowman), I decided to make it into an 'empathy' card.
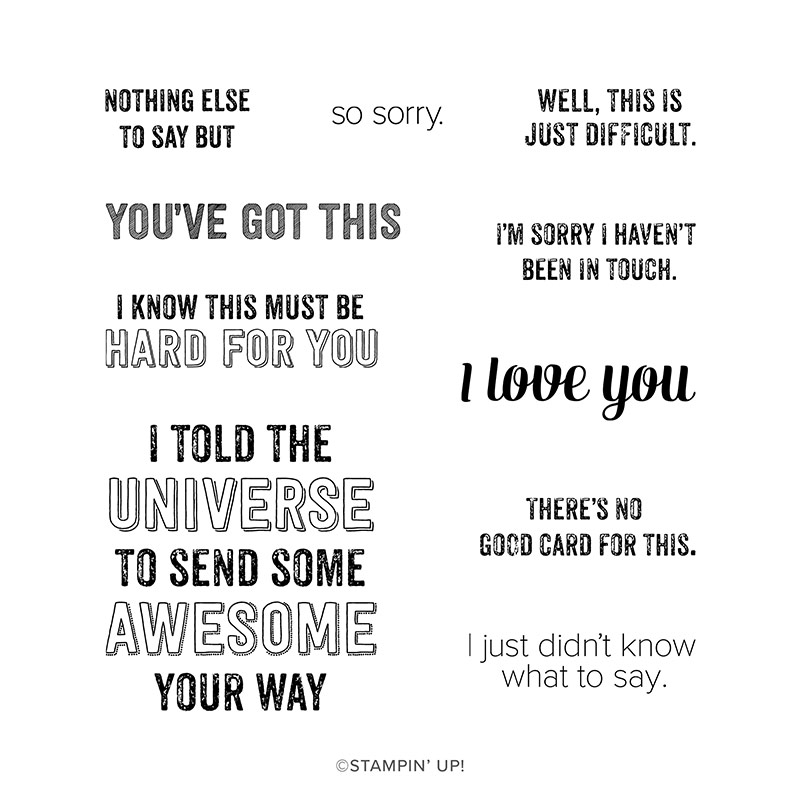
The inside of the card on the left says "I know this must be hard for you" and the inside of the card on the right says "I just didn't know what to say."

Genuine Gems Cling Stamp Set
The Genuine Gems stamps were perfect for the sentiments because this stamp set has lots of sayings for those times you just can't find the appropriate words. This card would be perfect to give to someone to let them know you are thinking of them during a difficult time in their life.
The base of the card is a standard Whisper White A6 size (5-13/16 x 4-1/8"). I used two Balmy Blue pieces cut to 14.3 x 10 cm (5-5/8 x 4") for the background on the front and a mat on the inside. I cut one piece of Whisper White cardstock to 13.8 x 9.5 cm (5-7/16 x 3-3/4") for the inside of the card. I used two 2 x 10 cm (2-3/4 x 4") thin Whisper White pieces for the snowdrifts on the front of the card. I cut three circles using the smallest Layering Circles dies out of Whisper White cardstock to make the snowman.

SEASONAL LAYERS DIES
Seasonal Layers Dies
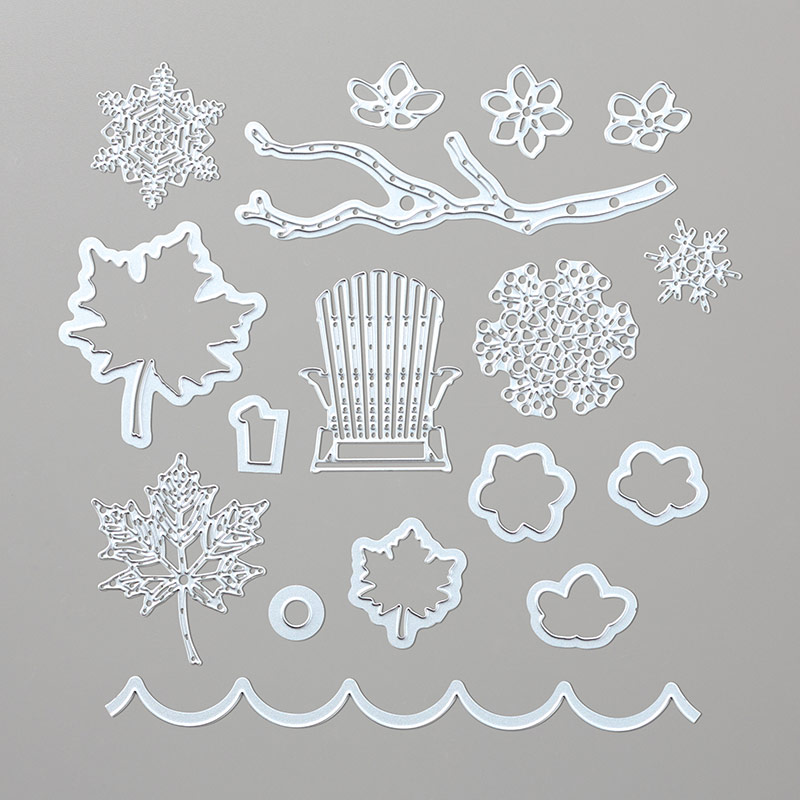
I stuck the snowman pieces to the card with Tombow Multipurpose Liquid Glue and Stampin' Dimensionals, tucking parts into the snowdrifts. I cut a scrap of Basic Black cardstock into a hat shape and glued a little strip of Old Olive cardstock on it as a hat band before placing it on the card with dimensionals. I cut a long triangle from a scrap of Pumpkin Pie cardstock and drew little lines on it with a Basic Black Stampin' Write pen to make the carrot nose. The two arms are cut out of Early Espresso cardstock using just the top part of the branch die from the Seasonal Layers die set. All pieces were glued into place using Tombow.

I made a video with instructions -- actually two videos because my phone stopped recording just before I had finished the card. In the first video I show you how to get the snowstorm effect by splattering Snowfall Accents Puff Paint on the Balmy Blue background before heating it with a Heat Tool. I also demonstrate how to tear the thin Whisper White cardstock for the bottom of the card. These pieces are layered to make a snowdrift effect for the snowman to be stuck in. To make the eyes and buttons I used Stampin' Blends to colour Basic Pearls and Rhinestone Jewels. I then had the difficult task of choosing which words to stamp on the front and inside of the card with Memento Tuxedo Black ink. There are so many good choices from the Genuine Gems stamp set!


If you live in New Zealand you can order all the products you need to make this cute snowman card at my shop or from your demonstrator.

#KeepCalmAndCraft #ComputerAndCraftDesigns #StampinUp #creativetherapy #StayHome #PaperCraftIdeas #ChristmasCard #HandmadeCard #SnowmanCard #Empathy 

Sunday, 3 November 2019

Want To Melt A Snowman?

I live in a country where Christmas is hot and sunny because it is summertime here in New Zealand in December, however I still love all the traditional festive images of snowflakes, starlit nights, Santa in his red suit and dreaming of a white Christmas. I really like snowmen as they come in lots of different sizes and shapes, which got me thinking of a melting snowman. I remember making one out of felt many years ago so I decided to try to recreate it using paper.

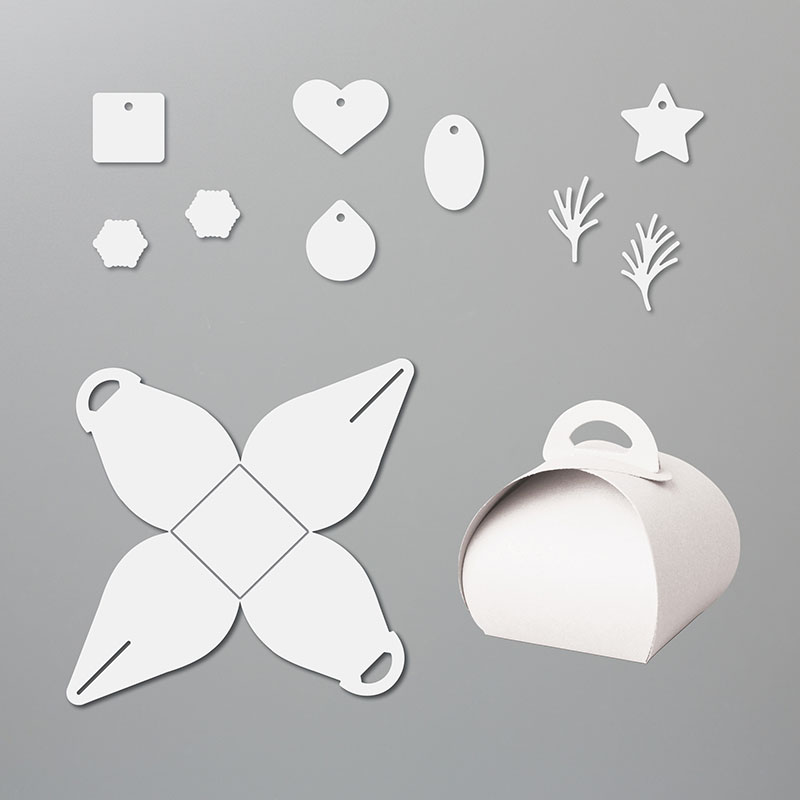
I cut an A4 piece of Whisper White cardstock at 14 cm (5.5") on the long side. I used the 14 x 21 cm (5.5" x 8.25") piece to die cut the Mini Curvy Keepsake Box to make the snowman head.
Mini Curvy Keepsake Box dies
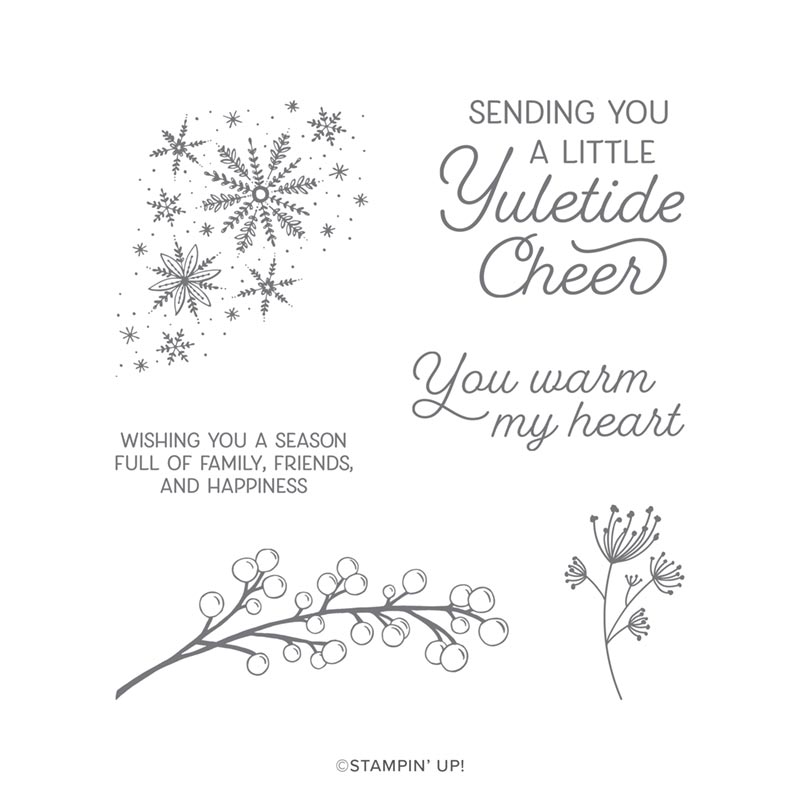
Frosted Foliage stamp set
Christmas Countdown stamp set
I then cut the remaining 15.7 x 21 cm (6.25" x 8.25") piece into a 'melted' blob for the body of the snowman. I stamped all over both pieces with Silvery Shimmer ink using the little star/snowflake stamp from the Christmas Countdown stamp set.
On the remainder of the 14 cm Whisper White cardstock I stamped the words 'You Warm My Heart' from the Frosted Foliage stamp set using Memento Tuxedo Black ink. I then punched it out with the Story Label punch and popped it on to the melted snowman using dimensionals.
SEASONAL LAYERS DIES
Seasonal Layers dies

I cut a scrap of Basic Black cardstock into a hat shape and glued a little strip of Old Olive cardstock on it as a hat band. I attached it to the melted snowman body using black mini dimensionals. I cut a long triangle from a scrap of Pumpkin Pie cardstock and drew little lines on it with a Basic Black Stampin' Write pen to make the carrot nose. The two arms are cut out of Early Espresso cardstock using the branch die from the Seasonal Layers die set.

Before assembling the box I drew a 'melting' mouth on one side with the Basic Black Stampin' Write pen and I used a Basic Black Dark Stampin' Blends pen to colour two Pearl Basic Jewels for the eyes. I then glued all the pieces to the base and used three Red Rhinestone Jewels for the buttons which had fallen off the body as it melted.

Have a look at this video for instructions on how to make one for yourself.


If you live in New Zealand you can order all the products you need to make this adorable snowman at my shop or from your demonstrator. Then you can get started on melting your own snowman!

#KeepCalmAndCraft #ComputerAndCraftDesigns #StampinUp #creativetherapy #StayHome #PaperCraftIdeas #ChristmasCard #HandmadeCard #SnowmanCard #CurvyKeepsake 

Thursday, 31 October 2019

Custom Handmade Christmas Cards

I love papercrafts and that is why being an independent Stampin' Up! demonstrator is a perfect fit for me. I really enjoy making cards and other handicrafts and love to show my creations to other people. That is how I got a custom Christmas card order from my daughter's boss. Last year I was showing her a Christmas card I had just made and she asked if I could make 20 of them for her to give to her customers. That was my first custom order!

So this year I created a couple 'sample' cards using the So Many Stars bundle especially for my daughter's boss. I showed her the two cards a few weeks ago and she chose to order the design on the right with the swirls.
I used my computer to print her company's name on whisper white cardstock which I cut to size for the inside of each card. I then went about making 20 of these Christmas cards using balmy blue cardstock, silver foil, silver glimmer paper, silvery shimmer delicata metallic ink for the background stars and silver embossing powder for the sentiment.

I love the Stitched Stars dies because they look beautiful in glimmer paper and the stitching even makes plain paper look more elegant. I used the little stars which cut out of the swirl die as accents on the front of the card as well as one on the back of the envelope, which I stamped in balmy blue ink with the speckled stars from the So Many Stars photopolymer stamp set.
I don't have much family here in New Zealand and the cost of postage to send cards to my relatives in the USA is very expensive so I don't send many Christmas cards, however I am still able to satisfy my desire to make handmade Christmas cards by doing custom orders.

So if you live in New Zealand and would like some handmade cards just let me know. Or better yet, I can teach you how to make your own cards at one of my classes! Just have a look at my website for my contact details and upcoming classes.

#KeepCalmAndCraft #ComputerAndCraftDesigns #StampinUp #creativetherapy #StayHome #PaperCraftIdeas #ChristmasCard #HandmadeCard #SoManyStars 

Thursday, 22 August 2019

Daisy Punch Meets Rooted In Nature Wood Stamp

During a recent class I was teaching, I explained how I punch out images on a sheet of scrap paper so I can easily see which punches I have and how the shapes will fit over a sentiment before stamping it. I hold the 'negative' punched image over the stamp to see if it will fit the shape. This also helps me figure out if the punch will fit a piece of cardstock I want to use, thus saving me time and paper.

While I was demonstrating how to do this I was using a scrap of paper on which I had punched out daisies the night before and I suddenly had an 'aha!' moment. The large daisy fits perfectly over the large wooden ring image from the Rooted in Nature stamp set. So I grabbed one of the ink pads we were using in class and soon I had a textured daisy.

When I was trying to remove the cardstock from the punch, I wondered if I could make more petals by punching out the remaining stamped cardstock. I then had a complete daisy and lots of petals in the same textured colour. I did it again using Cajun Craze ink and began putting my new flower design together. I stuck the two complete daisies on each other and then glued each petal to the centre overlapping the other colour.


Then I went looking for cardstock and DSP to use to make a card with my new flower. That's usually how I create (unless I am CASEing someone else's awesome designs) -- I play around with stamps and dies or punches and then try to use them in a project. I don't always match up colours precisely as I don't think about what coloured cardstock I have before I make the embellishments, plus I'm not thinking of the final design when I'm playing with my stamps and dies. I guess I'm doing things backwards, but it's more fun and challenging that way!

I knew I had a lot of Mint Macaron cardstock so I started with that colour and discovered that the Mosaic Mood Specialty Designer Series Paper used it as well as Cajun Craze, which was one of my flower colours. I then chose Very Vanilla cardstock for the base and central layer because that was in the DSP as well. From there I used my leaf punch and the Painted Harvest stamp set to make two-toned leaves to match the other DSP colours. The Stamparatus allowed me to line up the two-step stamp easily to make the leaves very quickly. I used a 1/2" circle punch to make a Daffodil Delight coloured circle piece which I shaped to fit the centre of my flower. I used Stampin' Write pens in the colours of the flower for the sentiment and pretty soon I was finished with my card.
So now I can't wait to go through all my stamps to see which will fit my daisy punches to create more unique flowers or maybe I can find new textures for my cat and dog punches!


#ComputerAndCraftDesigns #StampinUp #creativetherapy #PaperCraftIdeas #HandmadeCard #CardTechnique