Showing posts with label balmy blue. Show all posts

Monday, 30 August 2021

Snow Scene Diorama Booklet using the Penguin Playmates Designer Series Paper

This card came together because I wanted to try my Layering Diorama Dies as well as the alcohol vellum technique. I used my Stampin' Blends pens to colour on a piece of Vellum and then put some drops of isopropyl alcohol on it to make the ink spread to create an interesting background which I die cut and glued to the final page of my booklet.

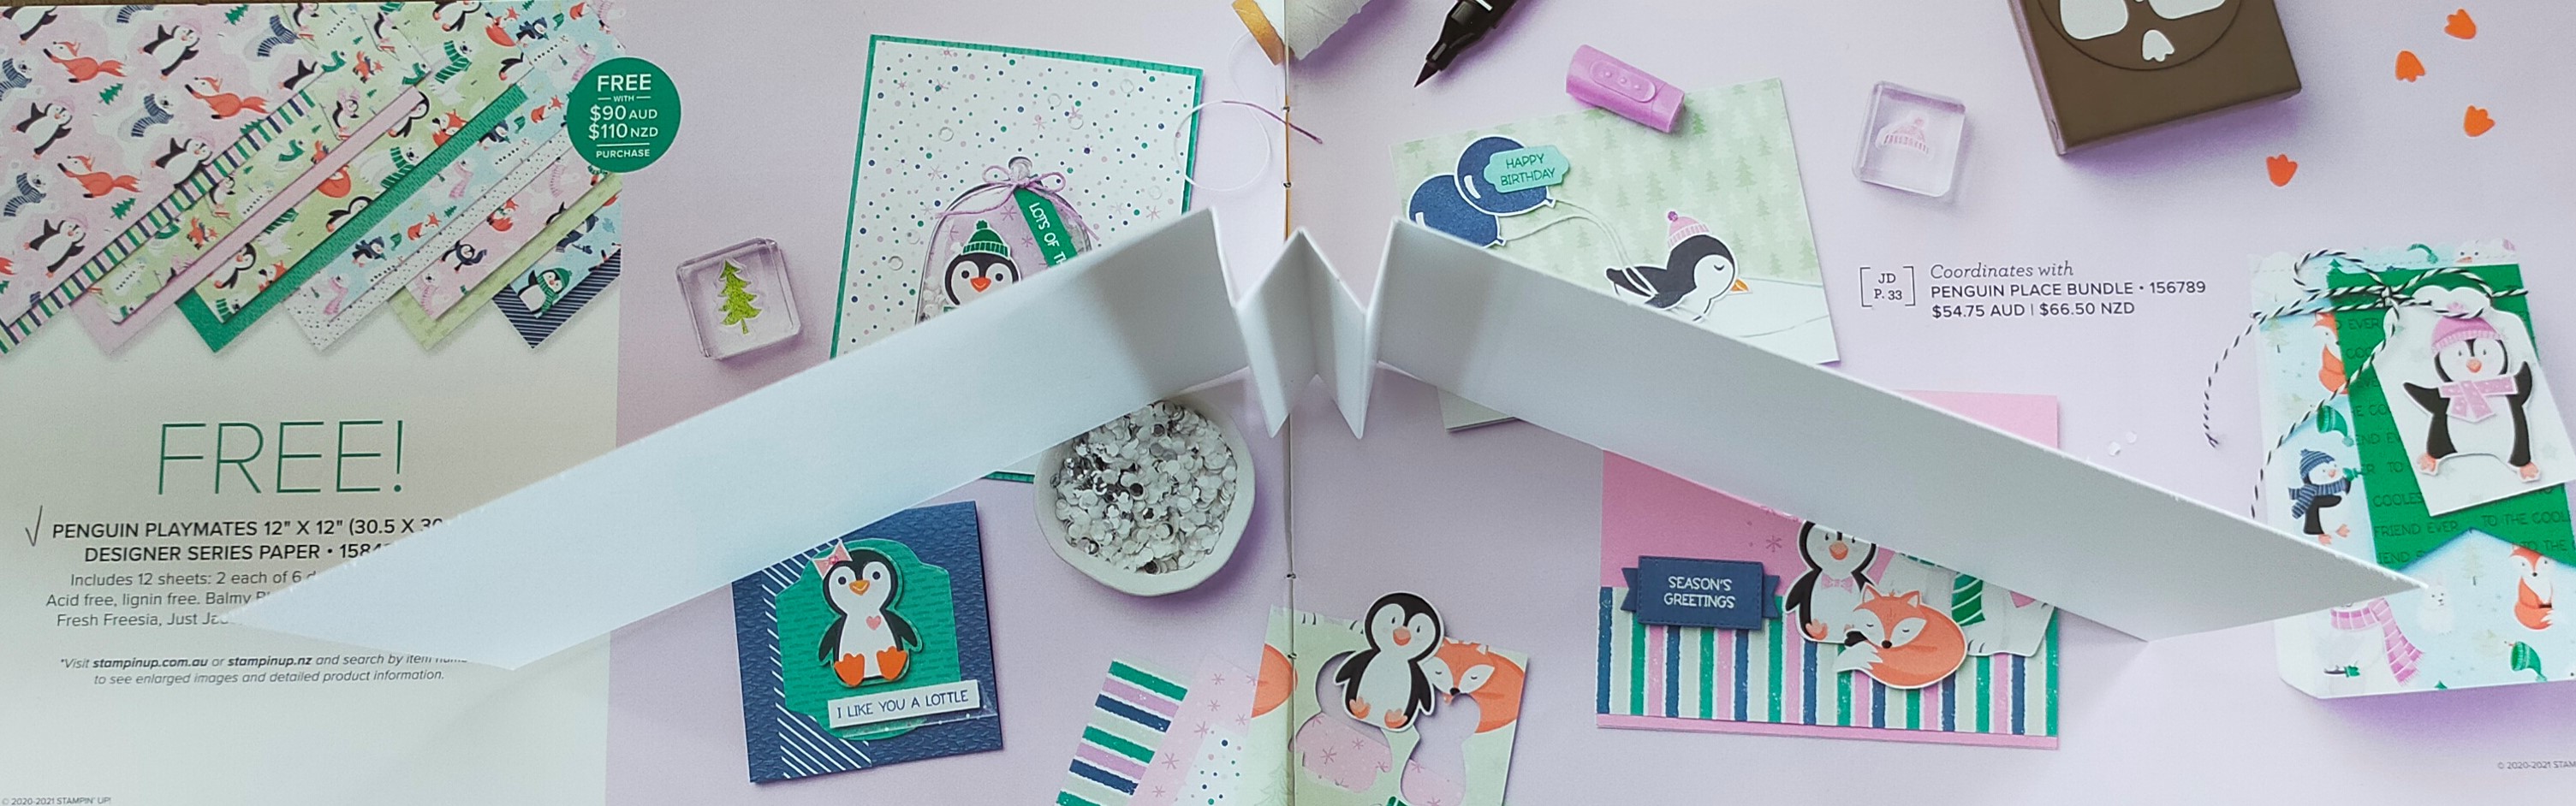
I created the inside pages of the booklet by cutting a 12" x 12" piece of Basic White card at 4" and scored the 12" side at 5", 5-1/2", 6", 6-1/2", and 7". I then concertina folded the scored sections to create the binding for the inside of my card.

I used four 5" x 4" pieces of Basic White cardstock for the inside pages and a 10-5/8" x 4-1/4" piece of Balmy Blue cardstock scored at 5-1/4" and 5-3/8" for the outside cover. I used the two middle size pieces of the diorama dies to die cut the 5" x 4" pieces of basic white cardstock as well as the front of the 12" basic white and balmy blue pieces so you can look through the entire booklet.


I used the left over pieces from cutting the holes in the white cardstock as masks to create some snowy hills on the card with my Blending Brushes and Balmy Blue Ink


I glued two of the 5" x 4" pieces of die cut basic white cardstock to each inside binding section; sandwiching some of the left over diorama pieces to create little hills in those cutout areas. I then glued the completed basic white inside section to the balmy blue cardstock to create the booklet. I fussy cut several small images from the Penguin Playmates DSP using them to create different scenes on the diorama cutout sections of the booklet with glue and mini dimensionals. 


I stamped snowflakes on the front in balmy blue ink using the Snowflake Wishes stamp set and the 'happy holidays!' words on the final page were from the Frosted Gingerbread stamp set. I finished the card by heat embossing words from the Snowflake Wishes stamp set on a piece of vellum using white embossing powder and fussy cutting around the words before gluing them to the front of the booklet.


This was a really fun booklet to make using a lot of different products and techniques. I love how it turned out and I enjoyed fussy cutting the adorable characters from the Penguin Playmates designer series paper which is only available for a limited time. I can hardly wait to make another one!


Saturday, 11 April 2020

Make a mini booklet from one piece of paper

When I was a Brownie Leader, about 15 years ago, I used to print the Brownie promise, song and Girl Guiding rules onto a piece of paper and then with a bit of folding and one little cut I turned it into a mini booklet for the girls. I decided to revisit this idea and create mini booklets with Stampin' Up! products.


I started with an A4 sheet of Whisper White cardstock and scored it in the middle at 10.5 cm (4-1/8") and turned the page 90° to scored it again at 7.425 cm (2-7/8"), 14.85 cm (5-7/8") and 22.275 cm (8-3/4"). I folded it down the middle both ways and then folded each narrow end in towards the middle. I cut the centre scoreline (10.5 cm line) down to the outer fold lines. I then folded the paper on the 10.5 cm middle fold and holding each end, pushed the sides in to create a little booklet.

Sample of cutting and folding using a piece of printer paper
I used a piece of printer paper as a sample to create my design placement. If you are going to stamp on each section you need to do it while the cardstock is flat, before you put the booklet together. Other embellishments can be added when the booklet is folded up.


For my first booklet I used the Beautiful You Cling-Mount Stamps, the Under My Umbrella Photopolymer Stamps and the Umbrella Builder Punch.

Pages 1 and 2 of Umbrella booklet
The designer series paper I used was only available during Sale-A-Bration and the designs matched the Umbrella Builder Punch. I fussy cut the stamped flower images after colouring them with Stampin' Blends.

Pages 3 and 4 of Umbrella booklet
I used a bit of Balmy Blue cardstock and coloured in the stamped images with Tuxedo Black Memento Ink before colouring them in with Stampin' Blends using colours from the umbrella designer series paper.

Pages 5 and 6 of Umbrella booklet
On page five I sponged a bit of Daffodil Delight ink in a circle to create a little sun peeking out of the Balmy Blue cardstock which was die cut using the Stitched So Sweetly Dies.


In my video I show you how to make a mini booklet using Painted Poppies Cling Stamps, Peaceful Moments Cling Stamps, Painted Labels Dies, and Poppy Moments Dies.

Pages 1 and 2 of Poppy booklet
I stamped the images using Tuxedo Black Memento Ink and decorated them with Poppy Parade and Old Olive colours.

Pages 3 and 4 of Poppy booklet
For the die cut flower I used Rich Razzleberry ink, stamping several times to get subtle colour changes in order to match the designer series paper peeking out of the floral die cut from the Poppy Moments Dies.

Pages 5 and 6 of Poppy booklet
I used one of the Peaceful Poppies Elements along with some die cut images from the Painted Labels Dies to decorate the final two pages. To get the black ribbon I coloured a length of Whisper White 1/4" (6.4 Mm) Crinkled Seam Binding Ribbon with the brush end of a Basic Black Dark Stampin' Blends pen.


In my video I show you lots of tips for partial image stamping as well as how to colour embellishments with a Dark Basic Black Stampin' Blend pen.


I hope you liked my little project and make your own little booklet to share with someone special!

#KeepCalmAndCraft #ComputerAndCraftDesigns #StampinUp #creativetherapy #StayHome #Scrapbook #DesignerSeriesPaper #MiniBooklet #MemoryBook #OnePieceOfPaper #CraftHappy

Thursday, 31 October 2019

Custom Handmade Christmas Cards

I love papercrafts and that is why being an independent Stampin' Up! demonstrator is a perfect fit for me. I really enjoy making cards and other handicrafts and love to show my creations to other people. That is how I got a custom Christmas card order from my daughter's boss. Last year I was showing her a Christmas card I had just made and she asked if I could make 20 of them for her to give to her customers. That was my first custom order!

So this year I created a couple 'sample' cards using the So Many Stars bundle especially for my daughter's boss. I showed her the two cards a few weeks ago and she chose to order the design on the right with the swirls.
I used my computer to print her company's name on whisper white cardstock which I cut to size for the inside of each card. I then went about making 20 of these Christmas cards using balmy blue cardstock, silver foil, silver glimmer paper, silvery shimmer delicata metallic ink for the background stars and silver embossing powder for the sentiment.

I love the Stitched Stars dies because they look beautiful in glimmer paper and the stitching even makes plain paper look more elegant. I used the little stars which cut out of the swirl die as accents on the front of the card as well as one on the back of the envelope, which I stamped in balmy blue ink with the speckled stars from the So Many Stars photopolymer stamp set.
I don't have much family here in New Zealand and the cost of postage to send cards to my relatives in the USA is very expensive so I don't send many Christmas cards, however I am still able to satisfy my desire to make handmade Christmas cards by doing custom orders.

So if you live in New Zealand and would like some handmade cards just let me know. Or better yet, I can teach you how to make your own cards at one of my classes! Just have a look at my website for my contact details and upcoming classes.

#KeepCalmAndCraft #ComputerAndCraftDesigns #StampinUp #creativetherapy #StayHome #PaperCraftIdeas #ChristmasCard #HandmadeCard #SoManyStars