Showing posts with label heat emboss. Show all posts

Monday, 30 August 2021

Snow Scene Diorama Booklet using the Penguin Playmates Designer Series Paper

This card came together because I wanted to try my Layering Diorama Dies as well as the alcohol vellum technique. I used my Stampin' Blends pens to colour on a piece of Vellum and then put some drops of isopropyl alcohol on it to make the ink spread to create an interesting background which I die cut and glued to the final page of my booklet.

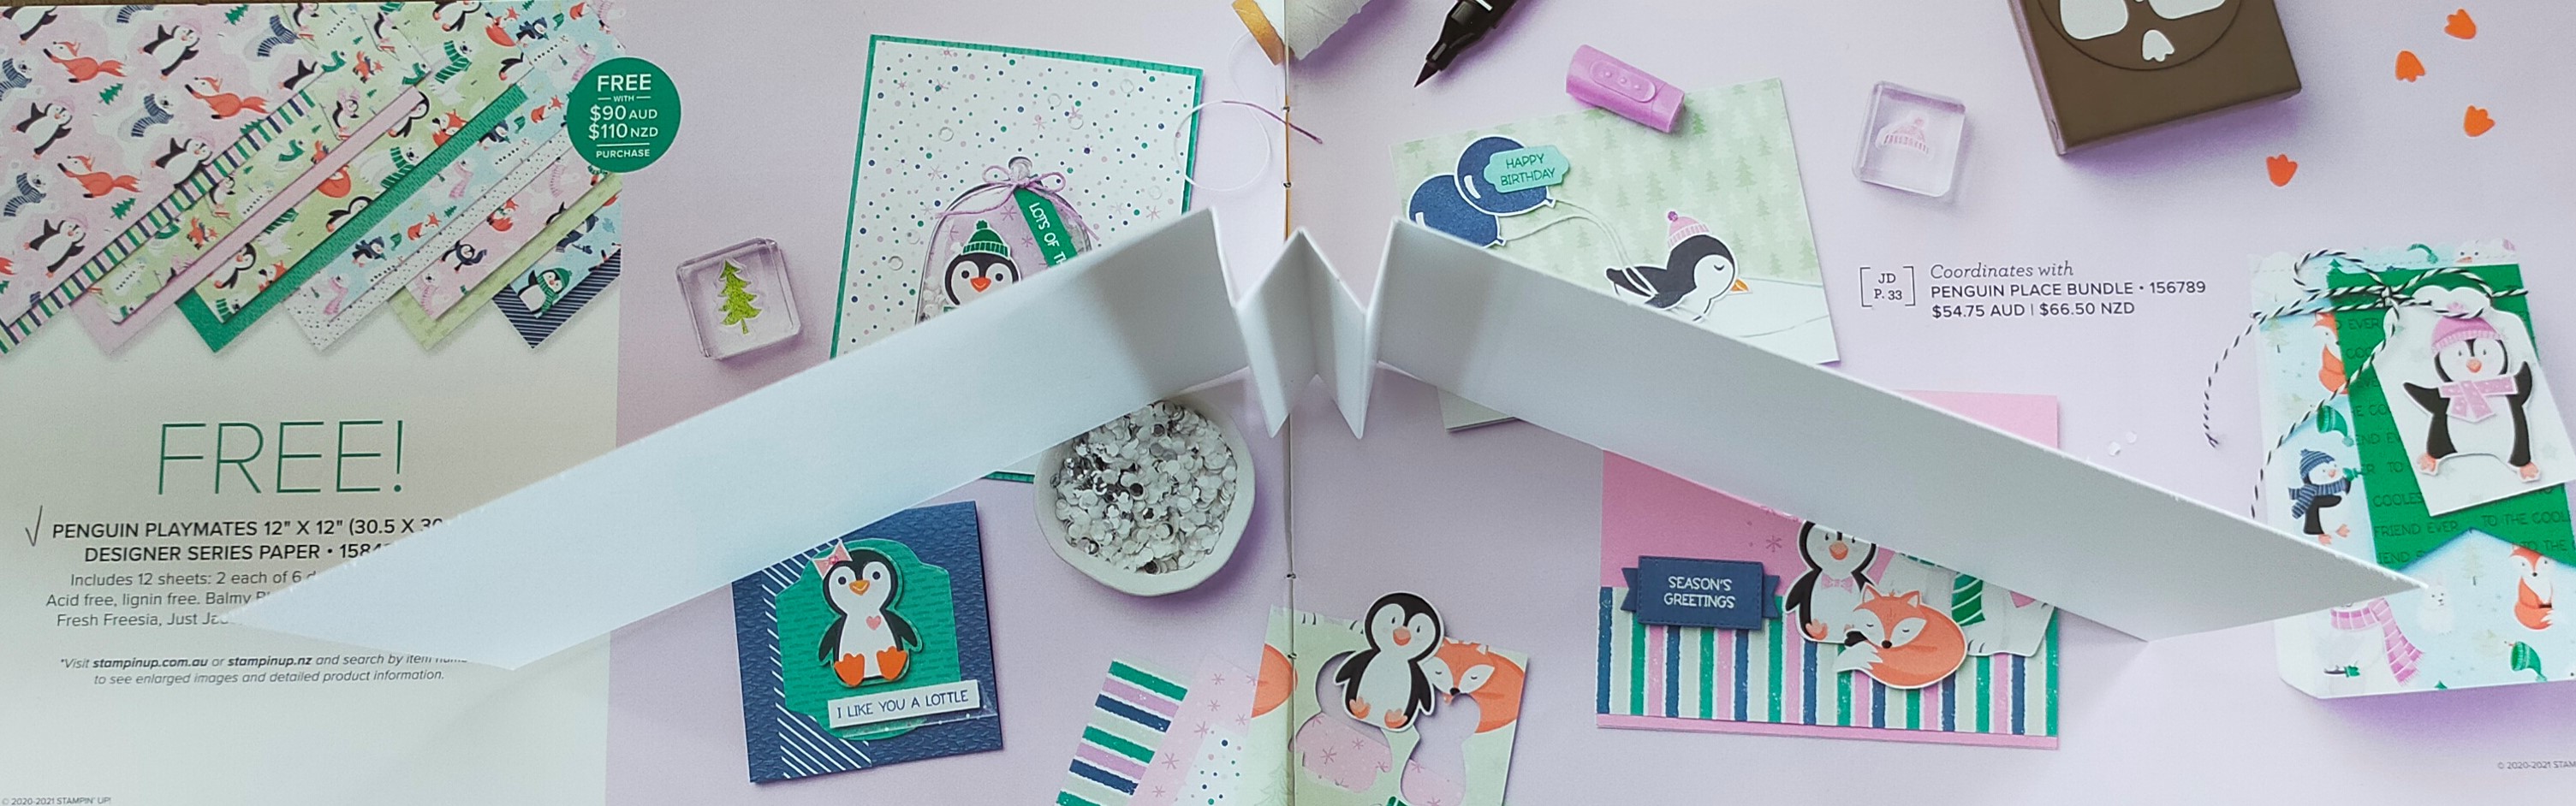
I created the inside pages of the booklet by cutting a 12" x 12" piece of Basic White card at 4" and scored the 12" side at 5", 5-1/2", 6", 6-1/2", and 7". I then concertina folded the scored sections to create the binding for the inside of my card.

I used four 5" x 4" pieces of Basic White cardstock for the inside pages and a 10-5/8" x 4-1/4" piece of Balmy Blue cardstock scored at 5-1/4" and 5-3/8" for the outside cover. I used the two middle size pieces of the diorama dies to die cut the 5" x 4" pieces of basic white cardstock as well as the front of the 12" basic white and balmy blue pieces so you can look through the entire booklet.


I used the left over pieces from cutting the holes in the white cardstock as masks to create some snowy hills on the card with my Blending Brushes and Balmy Blue Ink. 


I glued two of the 5" x 4" pieces of die cut basic white cardstock to each inside binding section; sandwiching some of the left over diorama pieces to create little hills in those cutout areas. I then glued the completed basic white inside section to the balmy blue cardstock to create the booklet. I fussy cut several small images from the Penguin Playmates DSP using them to create different scenes on the diorama cutout sections of the booklet with glue and mini dimensionals. 


I stamped snowflakes on the front in balmy blue ink using the Snowflake Wishes stamp set and the 'happy holidays!' words on the final page were from the Frosted Gingerbread stamp set. I finished the card by heat embossing words from the Snowflake Wishes stamp set on a piece of vellum using white embossing powder and fussy cutting around the words before gluing them to the front of the booklet.


This was a really fun booklet to make using a lot of different products and techniques. I love how it turned out and I enjoyed fussy cutting the adorable characters from the Penguin Playmates designer series paper which is only available for a limited time. I can hardly wait to make another one!


Saturday, 22 August 2020

Open Book Easel Card

I watched a video by a Canadian demonstrator, Tina Zinck, about the Open Book Easel Card technique. This method creates very impressive cards but it is a simple technique. Since I am spending more time at home due to the pandemic I finally got a chance to try this technique and now I am totally in love with Open Book Easel Cards!

You can make them for any occasion just by changing up the type of designer series paper and stamps you use. So far I have made six different cards using a variety of papers and colours, but I'm sure I'll be making lots more!
The first card I made used the Scripty 3D Embossing Folder on Gold Foil along with 'Tis the Season Designer Series Paper for the pages of the book. The front piece was from the new Wonder of the Season Specialty Designer Series Paper which has the words of a Christmas story written in gold foil. I decorated it with a gold embossed poinsettia and other embellishments from the Poinsettia Petals Bundle.
Next I made a 'friendship' card using products from the Snowflake Splendor Suite Collection with Silver Foil and Metallic Mesh Ribbon in shades of blue to match the Feels Like Frost Specialty Designer Series Paper. I used the new Lovely Labels Pick A Punch on the inside of the card to layer up the sentiment for the stand holder.
I used a gold foil edged card as the background for my Christmas Tree design. The layers were made from papers in the Most Wonderful Time Product Medley along with the stamps and dies. I used the Scripty 3D Embossing Folder to create the top layer and lightly sponged some Old Olive ink on the lettering to make it stand out. I made some Gold Foil ornaments for the Christmas tree using the little bauble die from the Little Treat Box Dies.
I then decided to make a monochrome card using some black and white music paper (retired from Stampin' Up!). I used a piece with the music and words for Deck the Halls as the front layer and I didn't feel I should cover it up, so I decorated around it with a garland made from the Wreath Builder Dies. I added a little bow with the Real Red Braided Linen Trim and embellished the wreath with Red Rhinestone Basic Jewels.
I made a smaller card using a Whisper White Notecard and some more of the music designer series paper. To make the unusual page shape I used Celebration Labels Dies. I used the Poinsettia Petals Bundle to embellish the front of the card.
For the final card I made a video using the World of Good Suite Collection. I made the page layers with designer series paper and some Memories & More cards.
I hope I have inspired you to make your own Open Book Easel Card and be warned . . . you will get addicted to making them!

Sunday, 19 April 2020

Endless Card a.k.a. Left & Right Hand Opening Card

I find it interesting where I get inspiration for my projects sometimes. It is usually the normal places like YouTube and Pinterest, but this week I found inspiration in a different place. I organised my sewing room and came across a 'magic' needle case and then found an unused kit with instructions for making one.


That led me to thinking I could make something similar with cardstock. So after a day of fiddling around with paper, ink, ribbon and designer series paper I came up with several versions.

Front of gift card holders
I know there is something called a 'Never Ending' card and I have made one in the past, but this card version is smaller and a lot quicker to make. You can open it from the left or right side over and over again which is why I decided to call it an 'Endless' card.

Back of gift card holders
My first attempt at re-creating the magic card holder was using the Itty Bitty Birthdays stamp set and Birthday Bonanza Designer Series Paper.

Inside of card when opened from the left
You could also called it a 'Left & Right Hand Opening' card because you can open it from either side.

Inside of card when opened from the right
The original needle case uses ribbon to attach each side. I made one small card with ribbon however it loosened up once I put the tea bags inside the card.

So I decided making it with cardstock or designer series paper (DSP) in place of the ribbon was the best option.

The size of the cardstock you need to make this card depends on the size of the contents (e.g., gift card or tea bags).

I used images from the Tea Together stamp set for the card I made in my video. The outside was created with two pieces of Night of Navy cardstock cut to 3-1/4" x 3-1/2" (9 x 8 cm) which I embossed with roses in white.


I decorated it by stamping the teapot and teacup in Memento Tuxedo Black Ink before colouring the images with Stampin' Blends (the colours I used are listed in my video description on YouTube).


The inside was made with two pieces of 3" x 3-1/4" (7.5 x 8 cm) Whisper White cardstock. Again I used the Memento Tuxedo Black Ink to stamp the sentiments and flowers which I coloured with Stampin' Blends.


I used four strips of 1/2" x 4-1/2" (1 x 12 cm) DSP instead of ribbon to create the mechanism which allows the card to be opened from either side as shown in my video. This also allows you to see the beauty of both sides of the DSP.


It's amazing what items can trigger creativity and inspiration. I can hardly wait to discover something else in my home to recreate as a card!

Saturday, 11 April 2020

Make a mini booklet from one piece of paper

When I was a Brownie Leader, about 15 years ago, I used to print the Brownie promise, song and Girl Guiding rules onto a piece of paper and then with a bit of folding and one little cut I turned it into a mini booklet for the girls. I decided to revisit this idea and create mini booklets with Stampin' Up! products.


I started with an A4 sheet of Whisper White cardstock and scored it in the middle at 10.5 cm (4-1/8") and turned the page 90° to scored it again at 7.425 cm (2-7/8"), 14.85 cm (5-7/8") and 22.275 cm (8-3/4"). I folded it down the middle both ways and then folded each narrow end in towards the middle. I cut the centre scoreline (10.5 cm line) down to the outer fold lines. I then folded the paper on the 10.5 cm middle fold and holding each end, pushed the sides in to create a little booklet.

Sample of cutting and folding using a piece of printer paper
I used a piece of printer paper as a sample to create my design placement. If you are going to stamp on each section you need to do it while the cardstock is flat, before you put the booklet together. Other embellishments can be added when the booklet is folded up.


For my first booklet I used the Beautiful You Cling-Mount Stamps, the Under My Umbrella Photopolymer Stamps and the Umbrella Builder Punch.

Pages 1 and 2 of Umbrella booklet
The designer series paper I used was only available during Sale-A-Bration and the designs matched the Umbrella Builder Punch. I fussy cut the stamped flower images after colouring them with Stampin' Blends.

Pages 3 and 4 of Umbrella booklet
I used a bit of Balmy Blue cardstock and coloured in the stamped images with Tuxedo Black Memento Ink before colouring them in with Stampin' Blends using colours from the umbrella designer series paper.

Pages 5 and 6 of Umbrella booklet
On page five I sponged a bit of Daffodil Delight ink in a circle to create a little sun peeking out of the Balmy Blue cardstock which was die cut using the Stitched So Sweetly Dies.


In my video I show you how to make a mini booklet using Painted Poppies Cling Stamps, Peaceful Moments Cling Stamps, Painted Labels Dies, and Poppy Moments Dies.

Pages 1 and 2 of Poppy booklet
I stamped the images using Tuxedo Black Memento Ink and decorated them with Poppy Parade and Old Olive colours.

Pages 3 and 4 of Poppy booklet
For the die cut flower I used Rich Razzleberry ink, stamping several times to get subtle colour changes in order to match the designer series paper peeking out of the floral die cut from the Poppy Moments Dies.

Pages 5 and 6 of Poppy booklet
I used one of the Peaceful Poppies Elements along with some die cut images from the Painted Labels Dies to decorate the final two pages. To get the black ribbon I coloured a length of Whisper White 1/4" (6.4 Mm) Crinkled Seam Binding Ribbon with the brush end of a Basic Black Dark Stampin' Blends pen.


In my video I show you lots of tips for partial image stamping as well as how to colour embellishments with a Dark Basic Black Stampin' Blend pen.


I hope you liked my little project and make your own little booklet to share with someone special!

#KeepCalmAndCraft #ComputerAndCraftDesigns #StampinUp #creativetherapy #StayHome #Scrapbook #DesignerSeriesPaper #MiniBooklet #MemoryBook #OnePieceOfPaper #CraftHappy

Friday, 7 June 2019

Emboss Resist Technique with a Twist!

I have tried the emboss resist technique many times in the past and there are lots of videos online to show how to do it. For those of you who don't know what it is . . . you heat emboss an image using white or clear embossing powder on to white card stock and then rub ink all over the paper so that the image 'resists' the ink. It looks like a magic trick when the image suddenly appears! I remember doing this as a kid with waxed crayons and paint to make 'secret messages' appear on paper.


Recently I tried a little twist to this technique which I have seen a few times online. There is one extra step to achieve this effect. Before embossing I coloured the glossy paper with a few different inks to go with the image I wanted to use. For the leaf card I chose regal autunm colours and for the daisy card I used bright summery colours.

I decided to try two different ways of colouring the glossy card. For the leaves I put a few drops of reinkers (Calypso Coral, So Saffron, and Pear Pizzazz) on the cardstock and then used my heat tool to dry the ink while moving it around the paper. This gave me more colours when the ink mixed on the page which resembled the colour of autumn leaves.

For the daisy card I used sponge daubers to rub three different inks (Lovely Lipstick, Grapefruit Grove, and Pineapple Punch) in various areas on the paper. I started with the darkest colour and them moved up to the lighter colours because I could always add more of the darker colour if I needed. I rubbed the lightest colour (Pineapple Punch) all over the top of the other two to blend any hard lines.

After waiting for the inked pieces of glossy cardstock to dry, I rubbed the cardstock with the Embossing Buddy to prevent any embossing powder from sticking where I didn't want it to go. I then used Versamark ink to stamp my images from the Daisy Lane and Rooted in Nature stamp sets all over the paper before sprinkling clear embossing powder over those images and heat embossing them. This protected the coloured background under the stamped images for my next step.
To make the embossed images more visible, I inked over the entire cardstock with a darker colour. This can be done with a sponge or just pressing the ink pad all over the card stock. After it was all inked up I then took a dry cloth and rubbed the ink off the top of the embossed images just like the traditional emboss resist technique. Then the coloured background showed through the clear embossed images, giving me multi-coloured daisies and leaves!
Once I had finished the emboss resist technique I then had to do something with the pages I had made. This took the longest time as I wasn't happy with the dark green background or the placement of the daisies. I did love how the leaves turned out but I needed to find accessories to create a card for that page.

I then concentrated on the easiest part of the cards, the inside! I stamped a flower on Pineapple Punch cardstock for the inside of the daisy card and then tried to replicate the mixed leaf colours for my autumn card. I used another technique to stamp a different leaf image from the Rooted in Nature set. Using Stampin' Write Markers I coloured different parts of the stamp and then sprayed a little water on it with the Stampin' Spritzer. This made the ink merge and when I stamped the leaf it had a watercolour look to it which matched the embossed leaves on the front of the card.

For my other card, I cut circles out of Grapefruit Grove cardstock to let the daisies show through and I fussy-cut one out of the embossed page to create a bit of dimension. I have since ordered the matching daisy punches so I won't have to fussy-cut daisies again! It's not the best card I've made but I was able to use a lot of images from the Daisy Lane set.

I always learn something new every time I create a papercraft project and this time it was that I should decide on my background colour carefully when doing this technique as you cannot change it once you put the ink down. However I was so excited to try it that I just jumped right in without thinking of what the finished card would be . . . lesson learned!

#ComputerAndCraftDesigns #StampinUp #creativetherapy #PaperCraftIdeas #HandmadeCard #EmbossResist #CardTechnique