Showing posts with label Halloween. Show all posts

Saturday, 30 July 2022

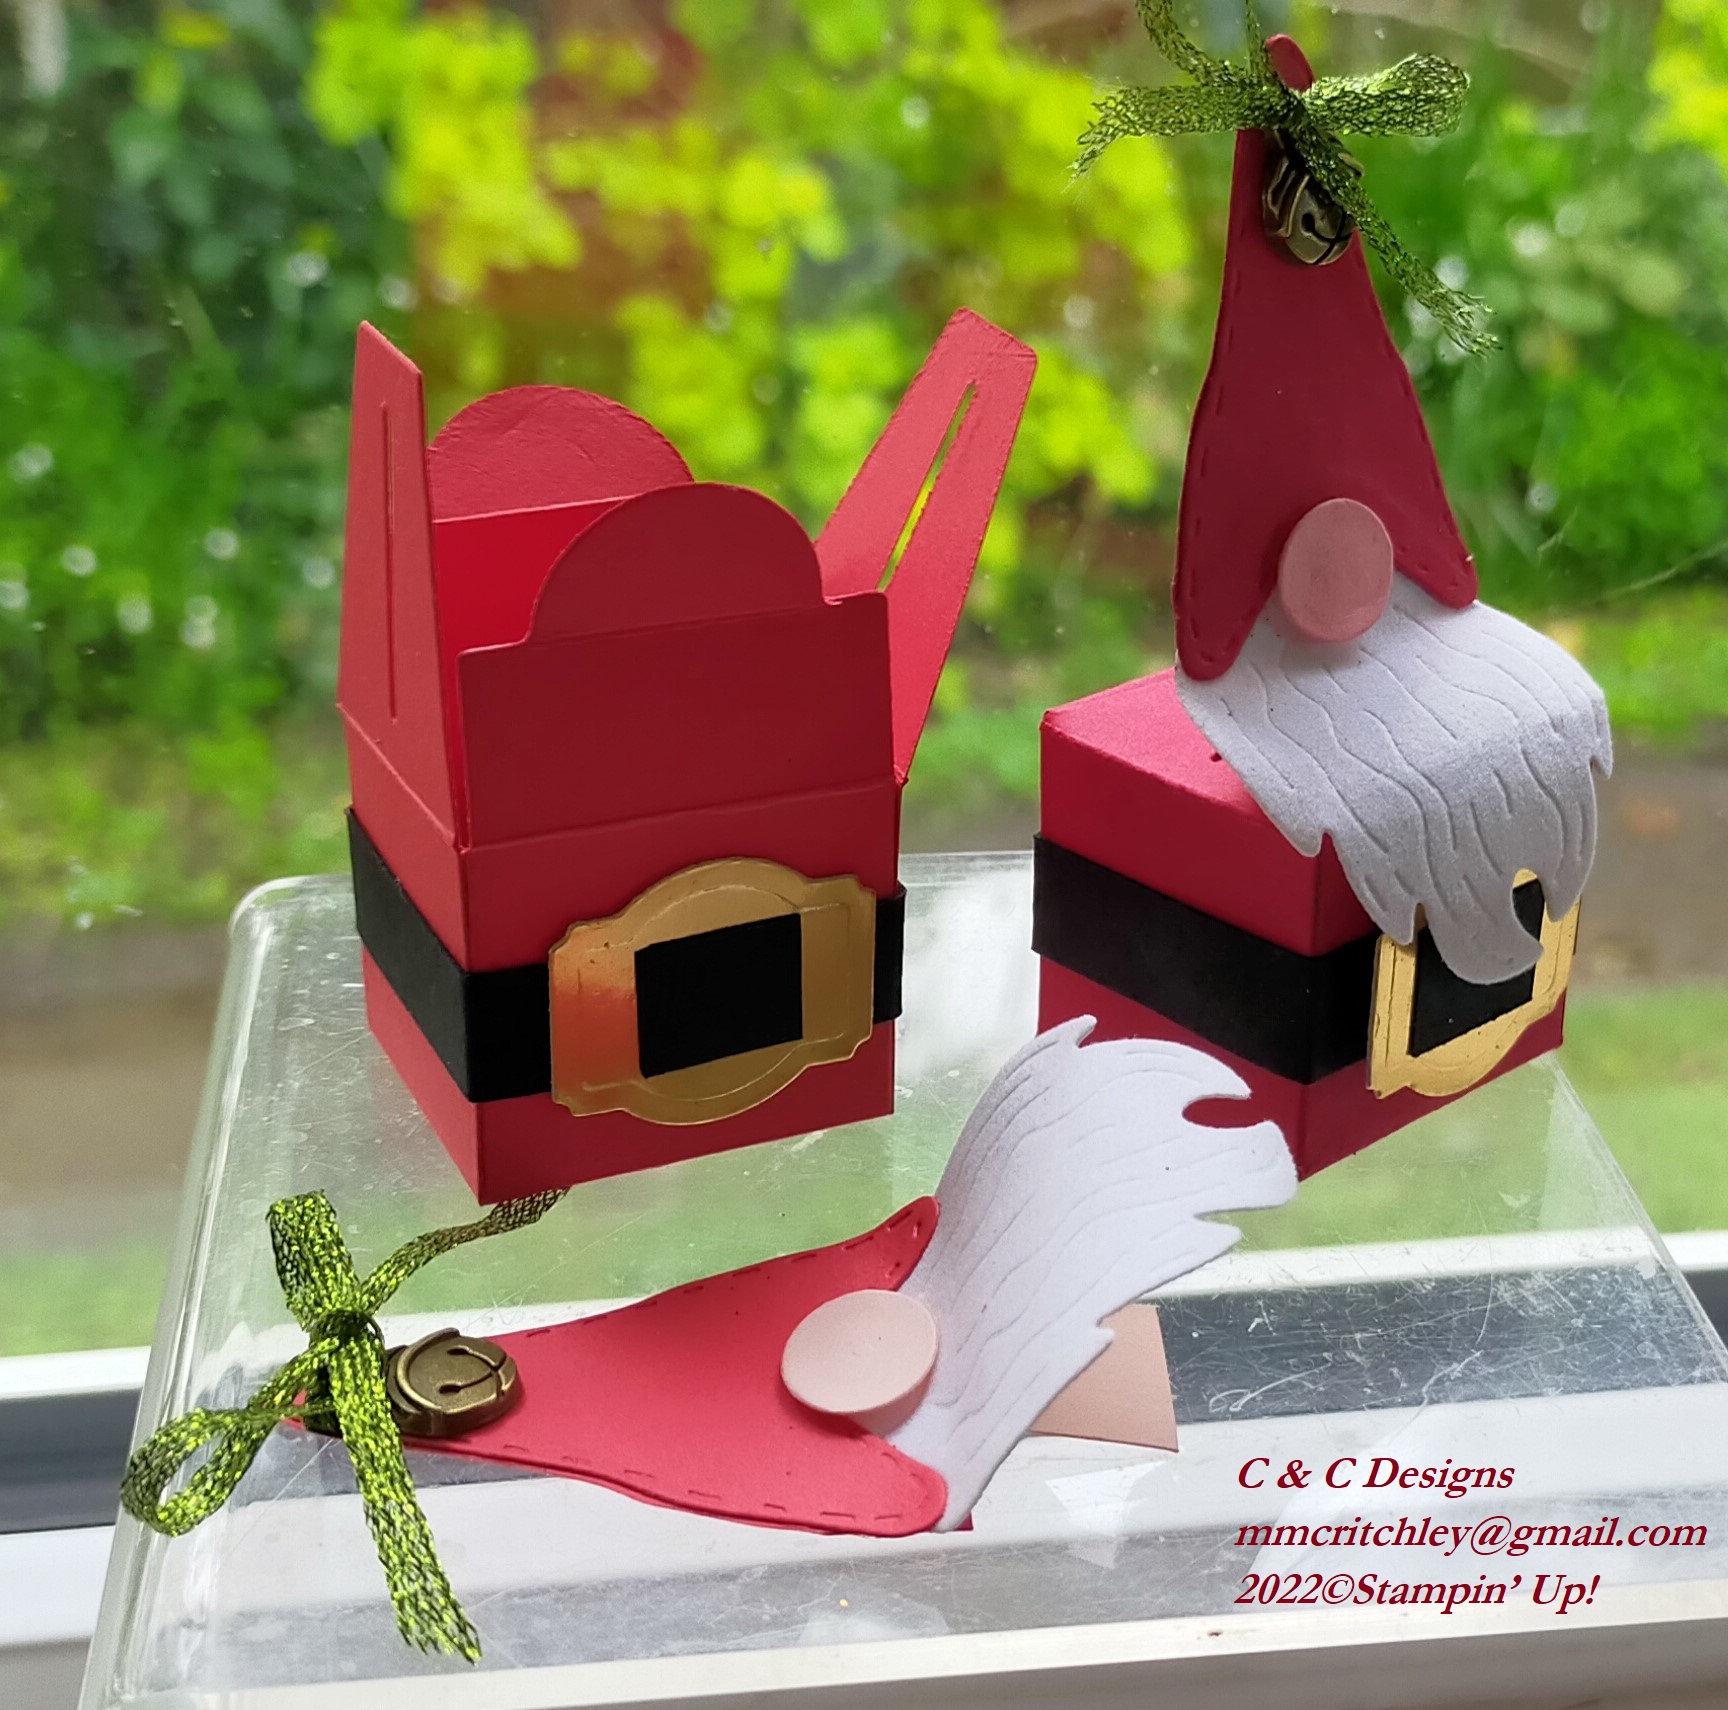
Dress up your gift giving with the Design a Treat Box Dies!

I've been having lots of fun playing with the new Design a Treat Box Dies from Stampin' Up! There is so much you can do with these dies along with the coordinating stamp set. This bundle allows you to make treat boxes for a variety of occasions -- birthdays, anniversaries, Easter, Halloween, Christmas and other celebrations.

I started by die cutting the little box from different papers -- cardstock, designer series paper, and glimmer sheets -- to see how the boxes come together. Then I couldn't stop creating! I just had to try out the different dies in this set.

I found that in order to still be able to open the boxes you need to die cut two of the top pieces (bow or bats) and glue them together just at the top so the centre will remain open. You can then slip it over the half-circle at the top of the box to decorate it.

When I first saw the dies in the Annual Catalogue I couldn't wait to get them to make a snowman. I stacked two white boxes for the body of the snowman with two 'branch' arms between them. I drew a face on the top box and used gems for the eyes and nose. I then made a little top hat from Basic Black cardstock and attached it to one side of the box top so that it could still be opened and closed.

The die set includes numbers from 0 to 9 so I decided to make an advent calendar tree. 

I used a piece of adhesive sheets on the back of gold foil before die cutting the numbers. This allowed me to easily attach them to my project. I chose to use the 'negative' image on red glimmer paper for my numbers. I will save the rest of the gold numbers for another project.

I die cut 12 boxes, 10 in Old Olive and 2 in Early Espresso cardstock.


I embossed the green pieces with the pine branch folder from the Wintry 3D Embossing Folders set and the brown cardstock with the Timber 3D Embossing Folder to give them some texture. 

I enhanced the embossing on the green pieces by using a blending brush to add a little Old Olive ink to them.

By stacking the boxes sideways I was able make the tree so you can remove one box at a time to get the treats out. 

The boxes are small so you can only fit a Hersey Kiss or two in them. You could put an inspirational message inside each box or maybe a hint for a scavenger hunt to find a bigger gift!

After creating all these projects I had an idea of sticking four boxes together so they would fold up to create a bigger box, but it wouldn't stay closed so I just left the pieces on my table. When I went back to my table a day or two later, I thought the connected boxes looked like a caterpillar until I started playing with some of the die cut wings. Next thing I know, I was creating a dragon!

I used the wing die to create the arms, legs, tail and of course wings for my dragon. I created the look of scales with a spotty stamp from the Perfect Pomegranate host stamp set.

I had glued adjoining flaps together so that each box was connected but could still be opened. So this little dragon can hold lots of treats!

The eyes were made using the zero die and the oval die with some glimmer paper. I used more glimmer paper to make the flames using the antler die and the zero die for the mouth to 'blow' the flames out! I think my little dragon turned out really cute.


I am very surprised by how many different projects I made with these very versatile treat box dies. You can see them all in my video as well as a cute Santa 'gnome' to go along with the reindeer!

What would you make with these little boxes?


Thursday, 14 October 2021

Tombstone Treat Boxes -- Tips and Tricks for decorating them

The Tombstone Treat Boxes from Stampin' Up! are so adorable and the perfect size to hide treats and gifts for your ghouls and goblins this Halloween!

The Tombstone Treat Boxes are shipped as a flat-packed kit ready for you to make 8 double-sided gift boxes which can also be used as table decorations. However by using a little Basic White cardstock you can make 16 single-sided boxes that are perfect to treat your little ghouls and goblins this Halloween!


There are two sizes for the inside of the Tombstone Boxes so you'll need to make a back section to fit the size front you are using. Either start with a 6" x 5" (15 cm x 12.5 cm) or 4-3/4" x 5-3/4" (12 cm x 14 cm) rectangle and then score all four sides at 1-1/4" (3.2 cm). After you fold and burnish on the score lines, cut a slit in each of the sides before sticking them together as shown in this picture (as well as in my video).


Here are some of the treat boxes I made using a variety of products from Stampin' Up!


You can even make them in to a light up box, like the two in the centre of the following picture. You just need to die cut an image into the front of the tombstone, add some vellum and use a battery-operated tea light in the box. This would be really spooky at night!


You can heat emboss a sentiment on the tombstone, but make sure you do this before putting the box together.


In my YouTube video I show you how to make this ghost using the Diorama Dies as well give you tips and tricks for creating with the tombstone gift boxes. You can have a look at my video here.


Friday, 30 October 2020

Special Halloween Card and Treat Holders

The spooky season is upon us and I've made a peekaboo card with the Apple Builder Punch and matching stamp set.


When you pull the skull you will see what is hiding behind the jack-o’-lantern.


Boo! It's a scared little owl hiding behind a small jack-o’-lantern!


There's more spookiness inside the card with an owl being scared by a little spider in the tree.

If you'd like to make your own peekaboo card, I show you how in this video.

The owl from the Have a Hoot set is so adorable that I used it to decorate a package made from the Little Treat Box Dies.


I also made several other treat holders with the Little Treat Box dies in Halloween colours of Basic Black and Pumpkin Pie.


I then made a coffin box using last year's little boxes which I embossed with the new Cobwebs 3D Embossing Folder.


I used the retired Cookie-Cutter Halloween stamps and punch to create a vampire which pops out of coffin.


I even made a little 3-D pumpkin using the the Apple Builder Punch. I cut out five pumpkin shapes I had stamped on Pumpkin Pie cardstock and then stuck each one together to form a little 3-D pumpkin. I then embellished the pumpkin using a decorative die from the Butterfly Beauty Dies and some Old Olive cardstock which I glued into the top of the pumpkin and along the bottom to look like a vine.


I've had so much fun making lots of cute cards and decorations with products from Stampin' Up! I hope you enjoyed seeing them.