Showing posts with label Reindeer. Show all posts

Saturday, 30 July 2022

Dress up your gift giving with the Design a Treat Box Dies!

I've been having lots of fun playing with the new Design a Treat Box Dies from Stampin' Up! There is so much you can do with these dies along with the coordinating stamp set. This bundle allows you to make treat boxes for a variety of occasions -- birthdays, anniversaries, Easter, Halloween, Christmas and other celebrations.

I started by die cutting the little box from different papers -- cardstock, designer series paper, and glimmer sheets -- to see how the boxes come together. Then I couldn't stop creating! I just had to try out the different dies in this set.

I found that in order to still be able to open the boxes you need to die cut two of the top pieces (bow or bats) and glue them together just at the top so the centre will remain open. You can then slip it over the half-circle at the top of the box to decorate it.

When I first saw the dies in the Annual Catalogue I couldn't wait to get them to make a snowman. I stacked two white boxes for the body of the snowman with two 'branch' arms between them. I drew a face on the top box and used gems for the eyes and nose. I then made a little top hat from Basic Black cardstock and attached it to one side of the box top so that it could still be opened and closed.

The die set includes numbers from 0 to 9 so I decided to make an advent calendar tree. 

I used a piece of adhesive sheets on the back of gold foil before die cutting the numbers. This allowed me to easily attach them to my project. I chose to use the 'negative' image on red glimmer paper for my numbers. I will save the rest of the gold numbers for another project.

I die cut 12 boxes, 10 in Old Olive and 2 in Early Espresso cardstock.


I embossed the green pieces with the pine branch folder from the Wintry 3D Embossing Folders set and the brown cardstock with the Timber 3D Embossing Folder to give them some texture. 

I enhanced the embossing on the green pieces by using a blending brush to add a little Old Olive ink to them.

By stacking the boxes sideways I was able make the tree so you can remove one box at a time to get the treats out. 

The boxes are small so you can only fit a Hersey Kiss or two in them. You could put an inspirational message inside each box or maybe a hint for a scavenger hunt to find a bigger gift!

After creating all these projects I had an idea of sticking four boxes together so they would fold up to create a bigger box, but it wouldn't stay closed so I just left the pieces on my table. When I went back to my table a day or two later, I thought the connected boxes looked like a caterpillar until I started playing with some of the die cut wings. Next thing I know, I was creating a dragon!

I used the wing die to create the arms, legs, tail and of course wings for my dragon. I created the look of scales with a spotty stamp from the Perfect Pomegranate host stamp set.

I had glued adjoining flaps together so that each box was connected but could still be opened. So this little dragon can hold lots of treats!

The eyes were made using the zero die and the oval die with some glimmer paper. I used more glimmer paper to make the flames using the antler die and the zero die for the mouth to 'blow' the flames out! I think my little dragon turned out really cute.


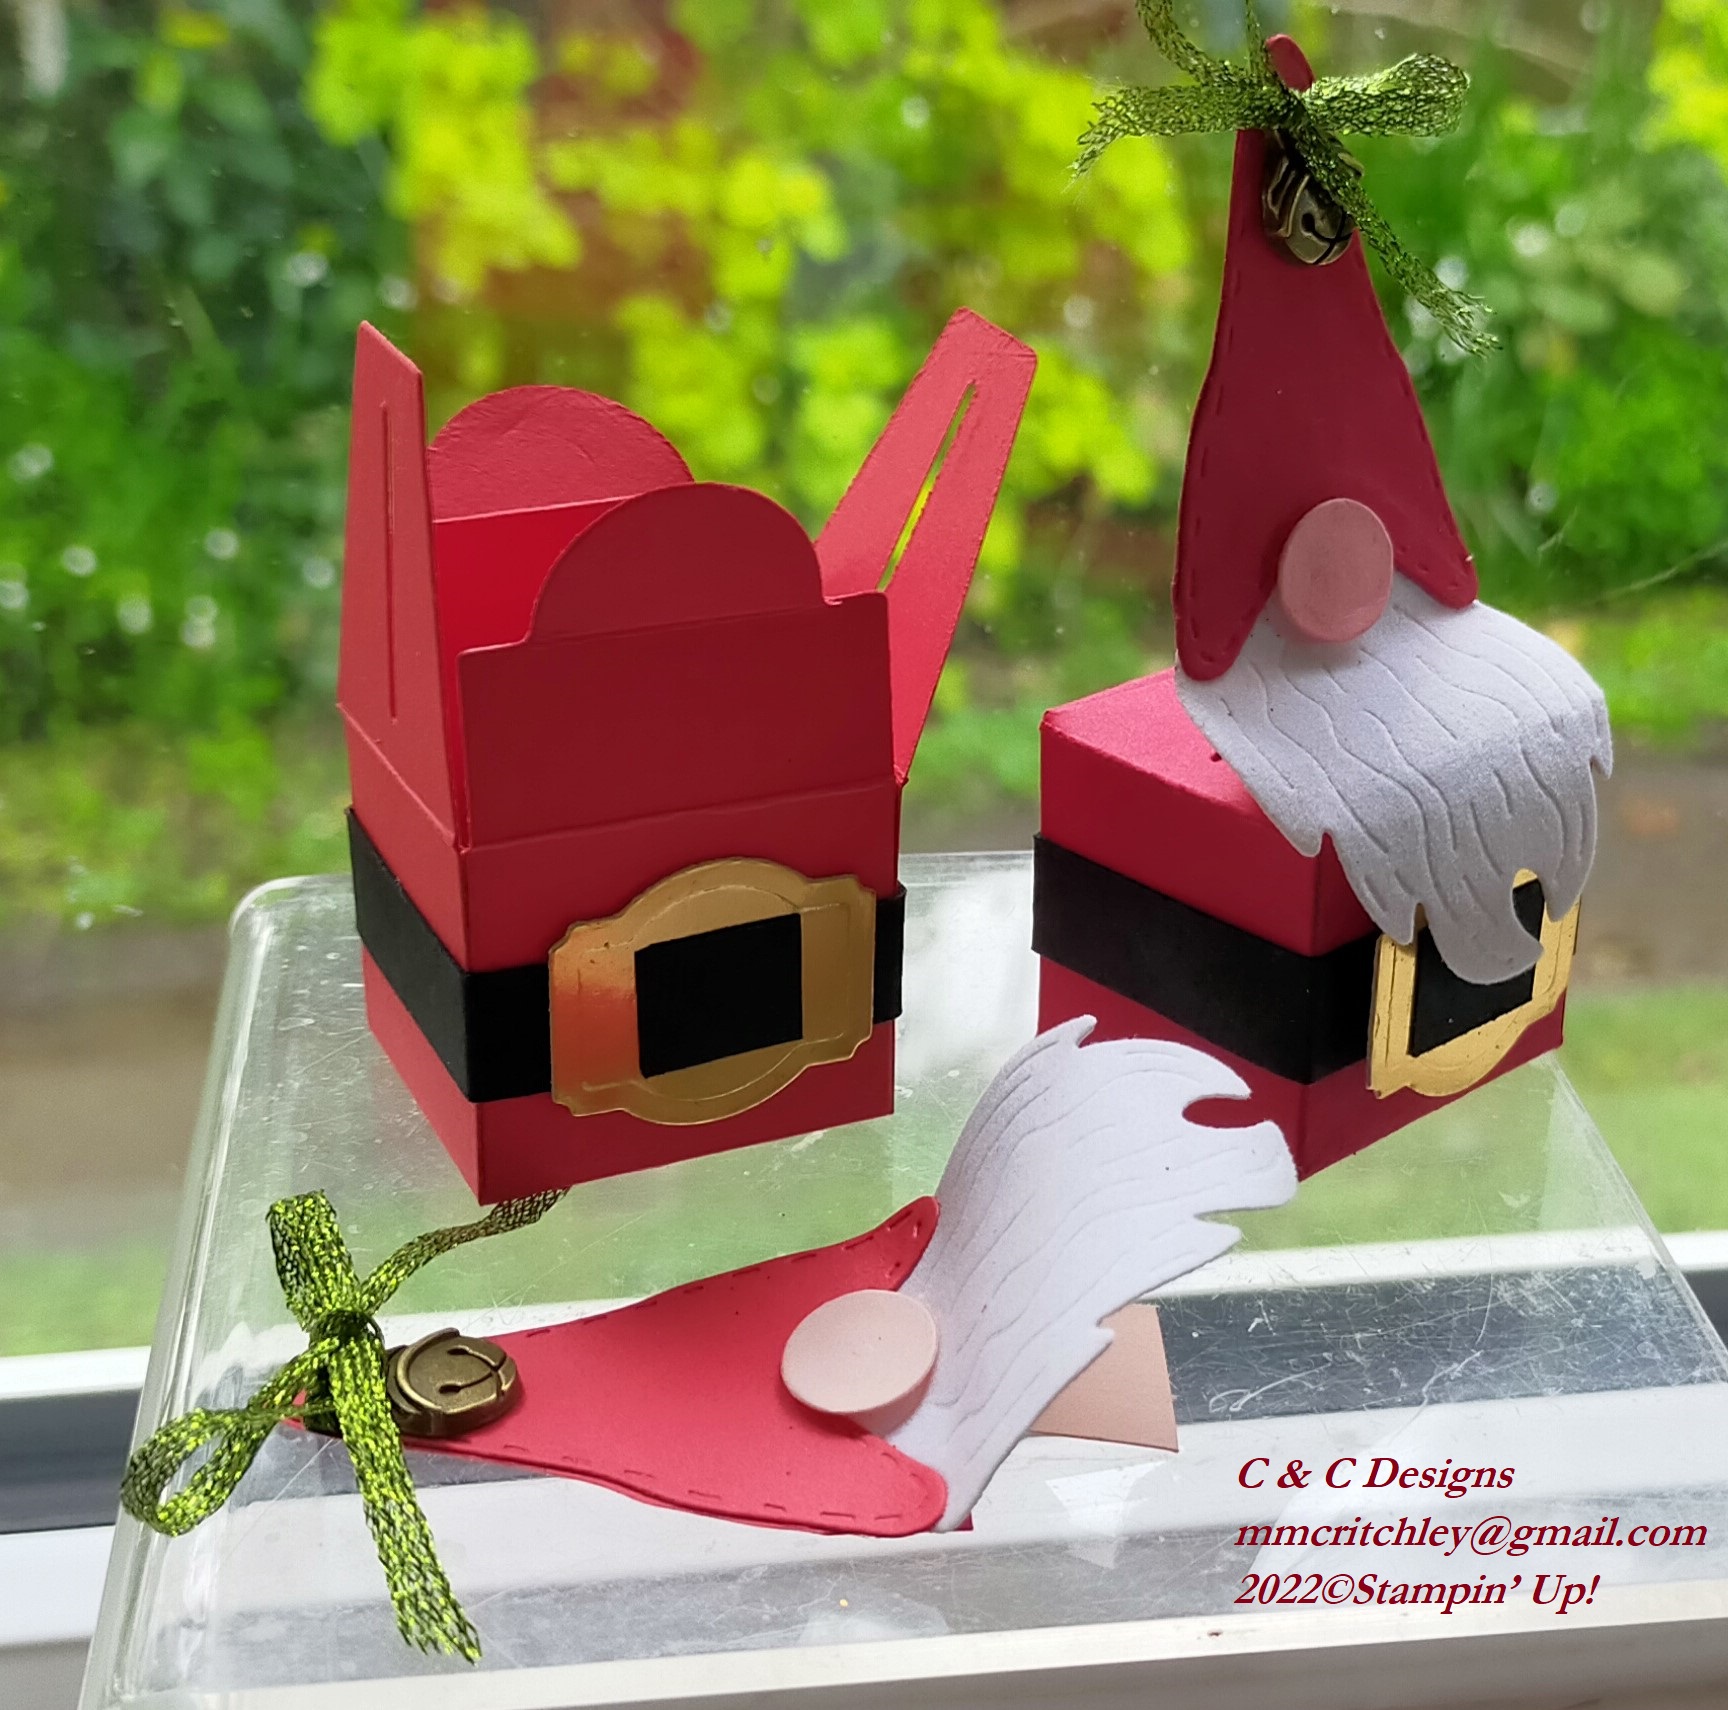
I am very surprised by how many different projects I made with these very versatile treat box dies. You can see them all in my video as well as a cute Santa 'gnome' to go along with the reindeer!

What would you make with these little boxes?


Monday, 2 December 2019

How to Make a Christmas Pop-up Card

Last year I made my first pop-up card by watching several different videos online and I even taught several classes using the Animal Outings and Signs of Santa stamps and Designer Series Paper. I really love how pretty pop-up cards are and how they show off the designs. They are perfect if you have a stamp set that has too many cute images and a flat card just won't do it justice.

This year I had a customer order five pop-up Christmas cards and now that I have a YouTube Channel I decided to make an instructional video to show how they are made. I re-sized the card base to fit in a standard size envelope (A6) and so I could create a card from one piece of paper. In fact, I can get 1-1/2 card bases from one A4 sheet of cardstock, so I can make three cards from two pieces of paper.
Pop-Up Christmas Cards


Most Wonderful Time Product Medley

Several of the cards I made for my customer used retired stamps and DSP, but three are made with current products -- Truck Ride dies, Stitched Stars dies and the Most Wonderful Time Product Medley from the 2019 Holiday catalogue. 

The video shows you how to make the Christmas tree and reindeer card using supplies from the Most Wonderful Time Product Medley along with Old Olive and Whisper White cardstock and Old Olive and Golden Glitz inks.
Most Wonderful Time Christmas Pop-Up Card
I mentioned the sizes in the video and I have a Word Document I created last year with instructions in metric sizes showing the Signs of Santa bundle which is now retired. If you would like a copy of the instructions please give me your email address and I will send it to you. I would love to see the cards you make with my instructions!

#KeepCalmAndCraft #ComputerAndCraftDesigns #StampinUp #creativetherapy #StayHome #PaperCraftIdeas #ChristmasCard #PopUpCard #SoManyStars #SignsofSanta